Update Dec. ’22: The building inspector passed us for final inspection. The city planning dept and stormwater dept have some issues for us to resolve before we can get a Certificate of Occupancy. We hope to come to an agreement with them by the 2nd week of January so we can move in.
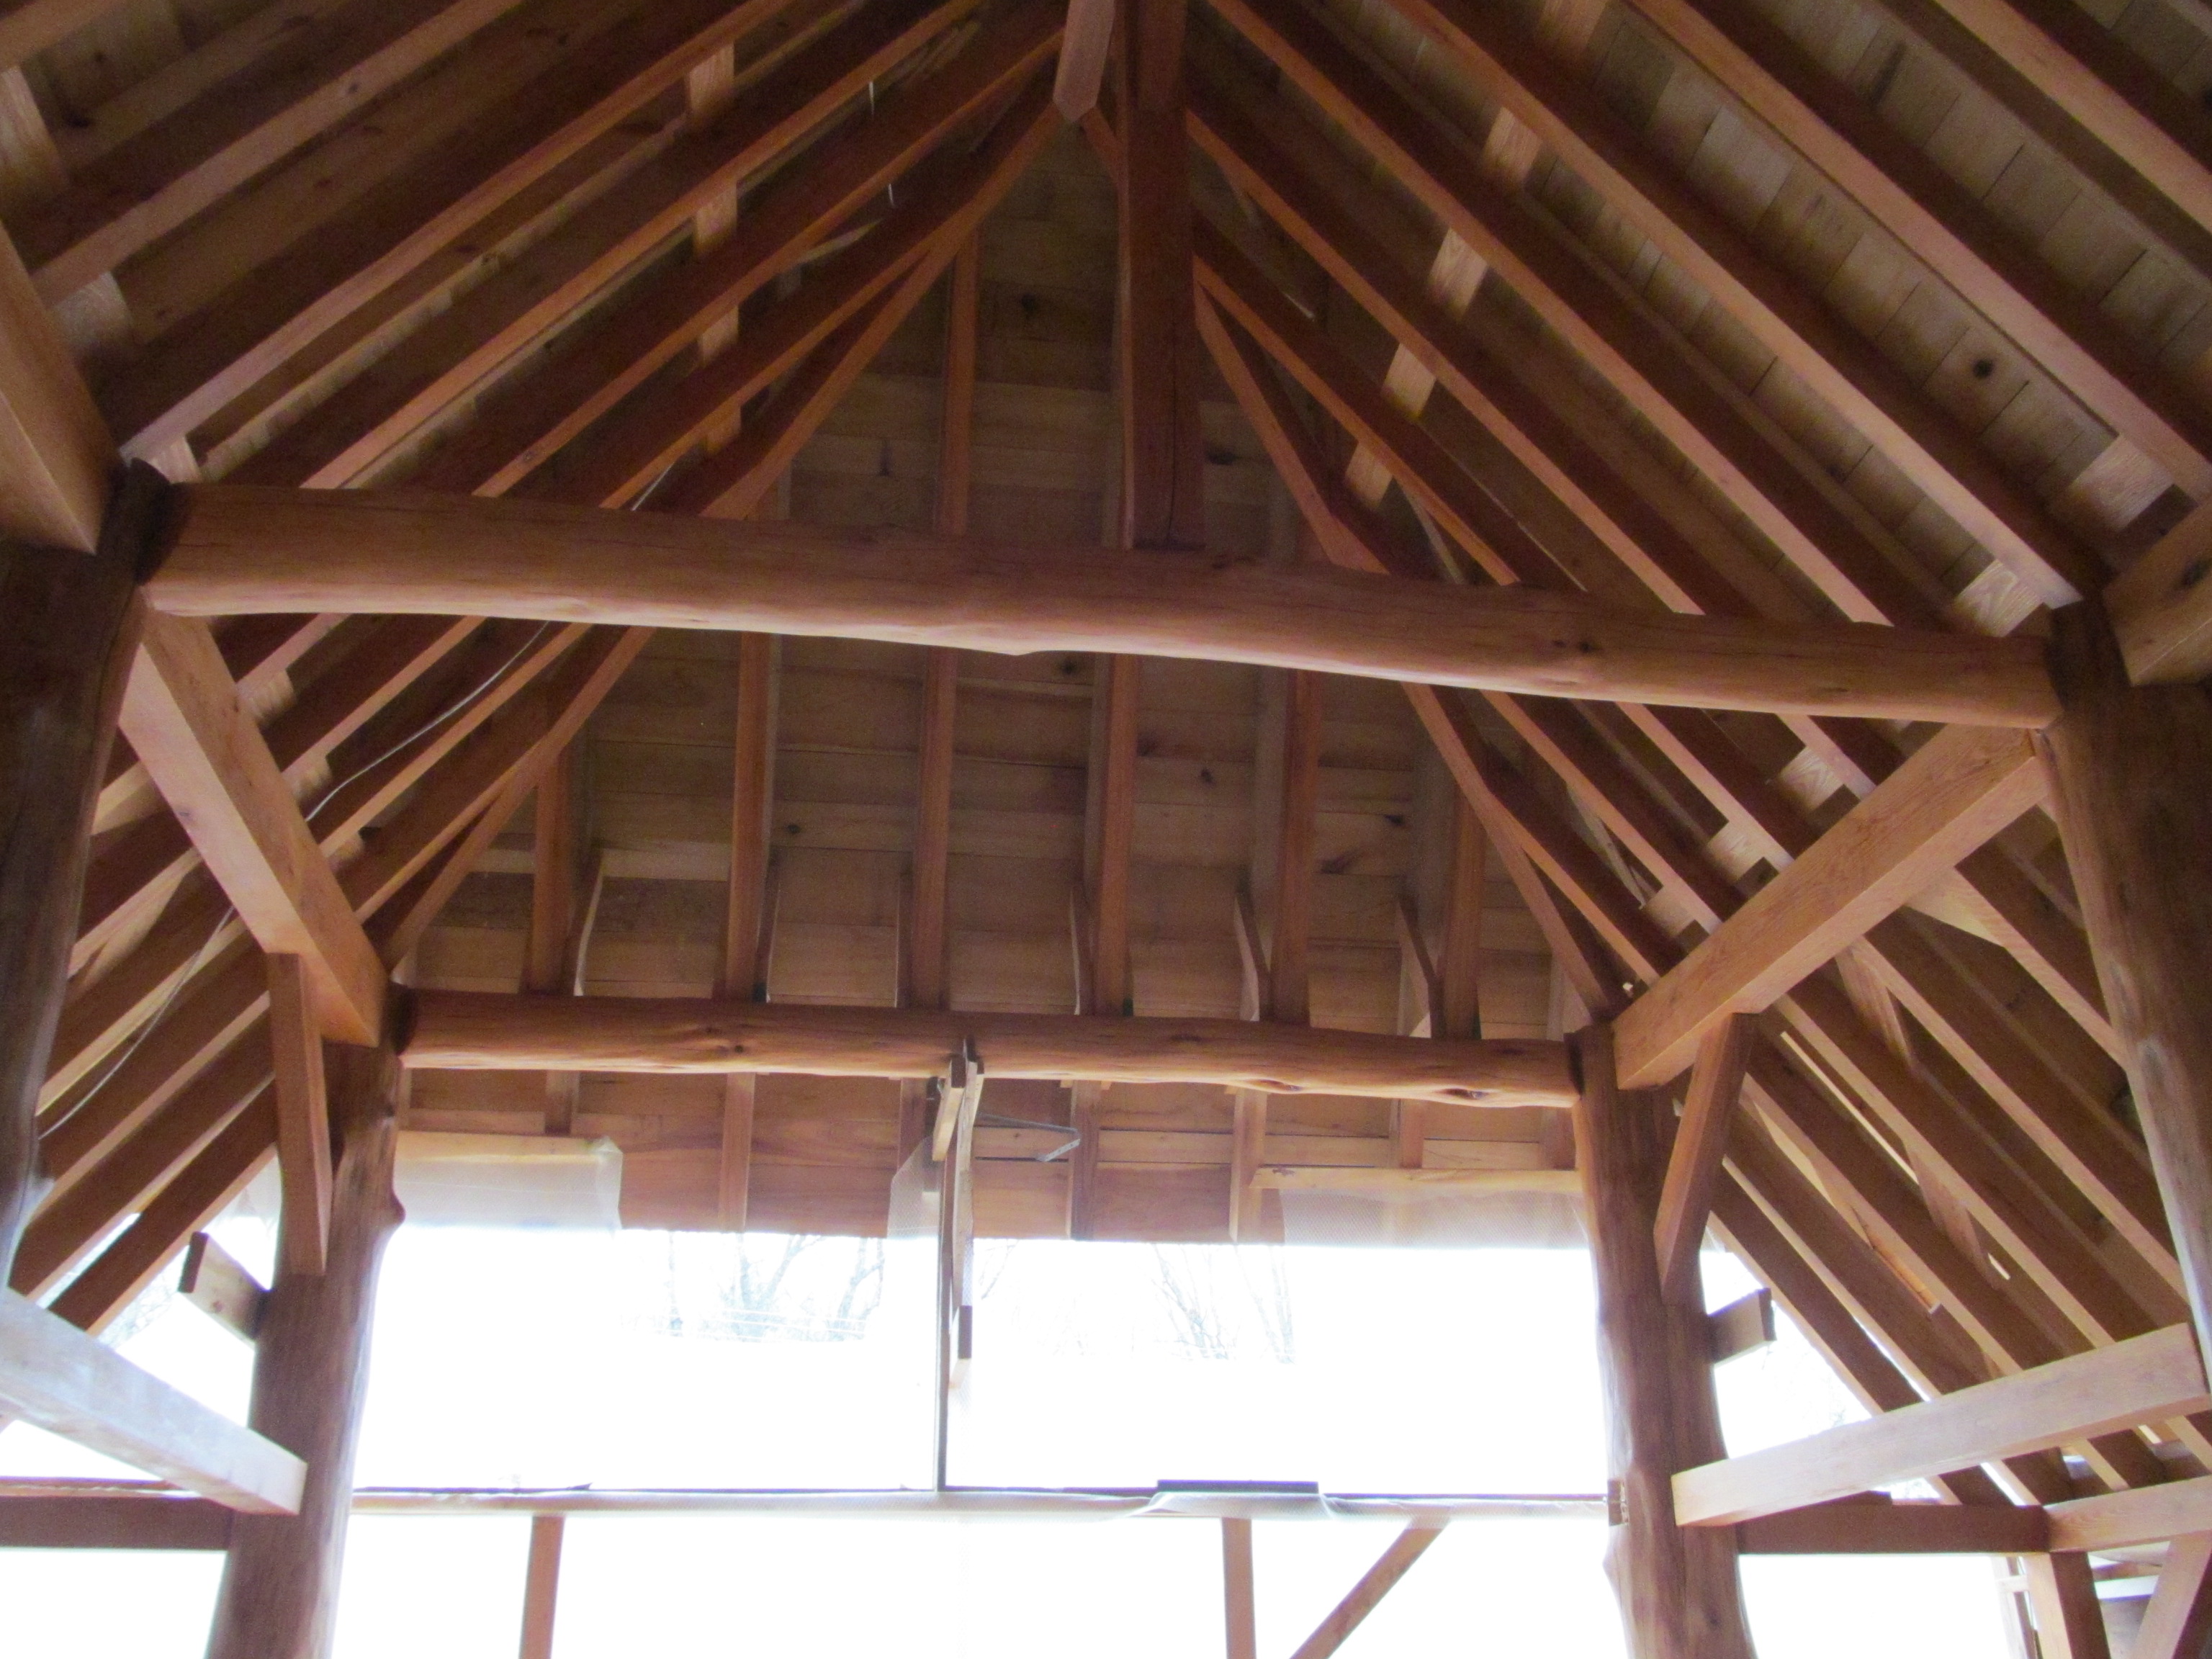
Cathedral ceiling:

Ash plank flooring:

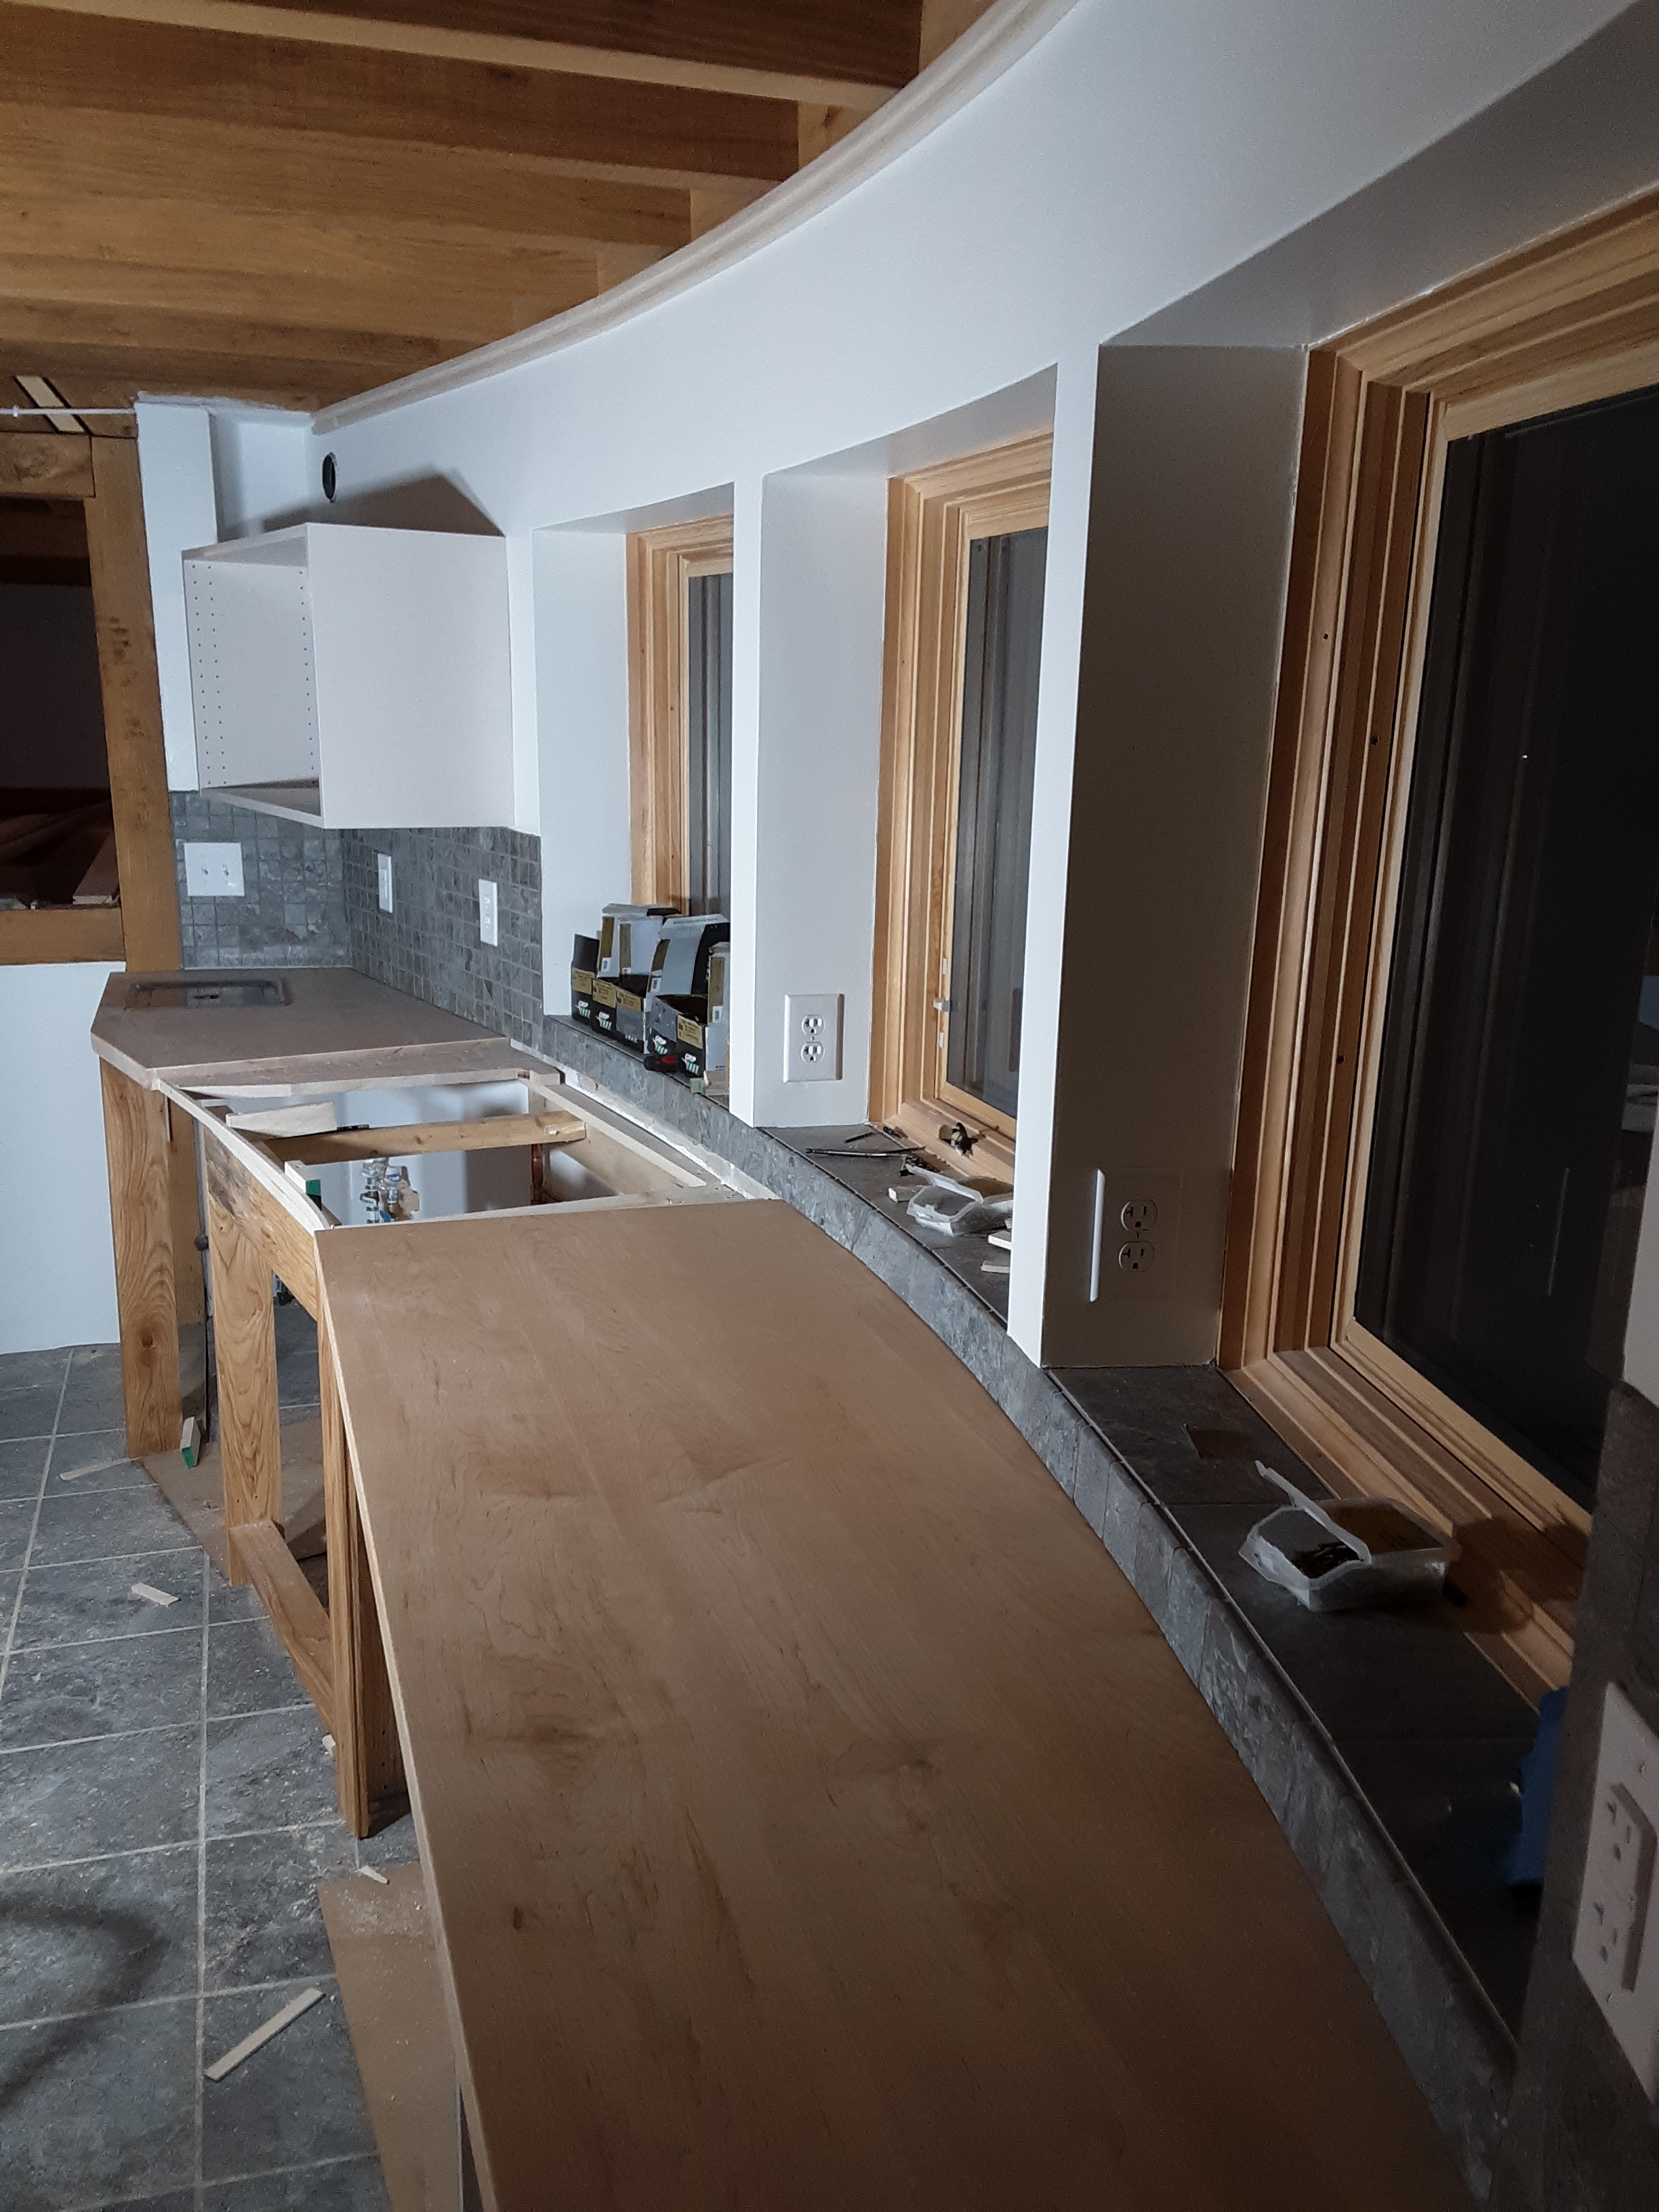
Kitchen counters are maple with tile around the sink.

Upstairs Bathroom:

The garage doors will be outswing carriage style doors. They are built from 13/16″ poplar planks and have polyiso insulation in the middle. The inner face is 1/2″ veneer plywood. This panel will have a small walk door through it.


Black aluminum flashing on the south wall which is the base layer of a solar thermal collector to be completed later.

Lime plaster. The front porch will have granite steps which will have to wait until spring.
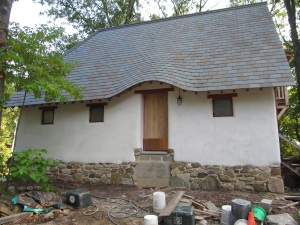
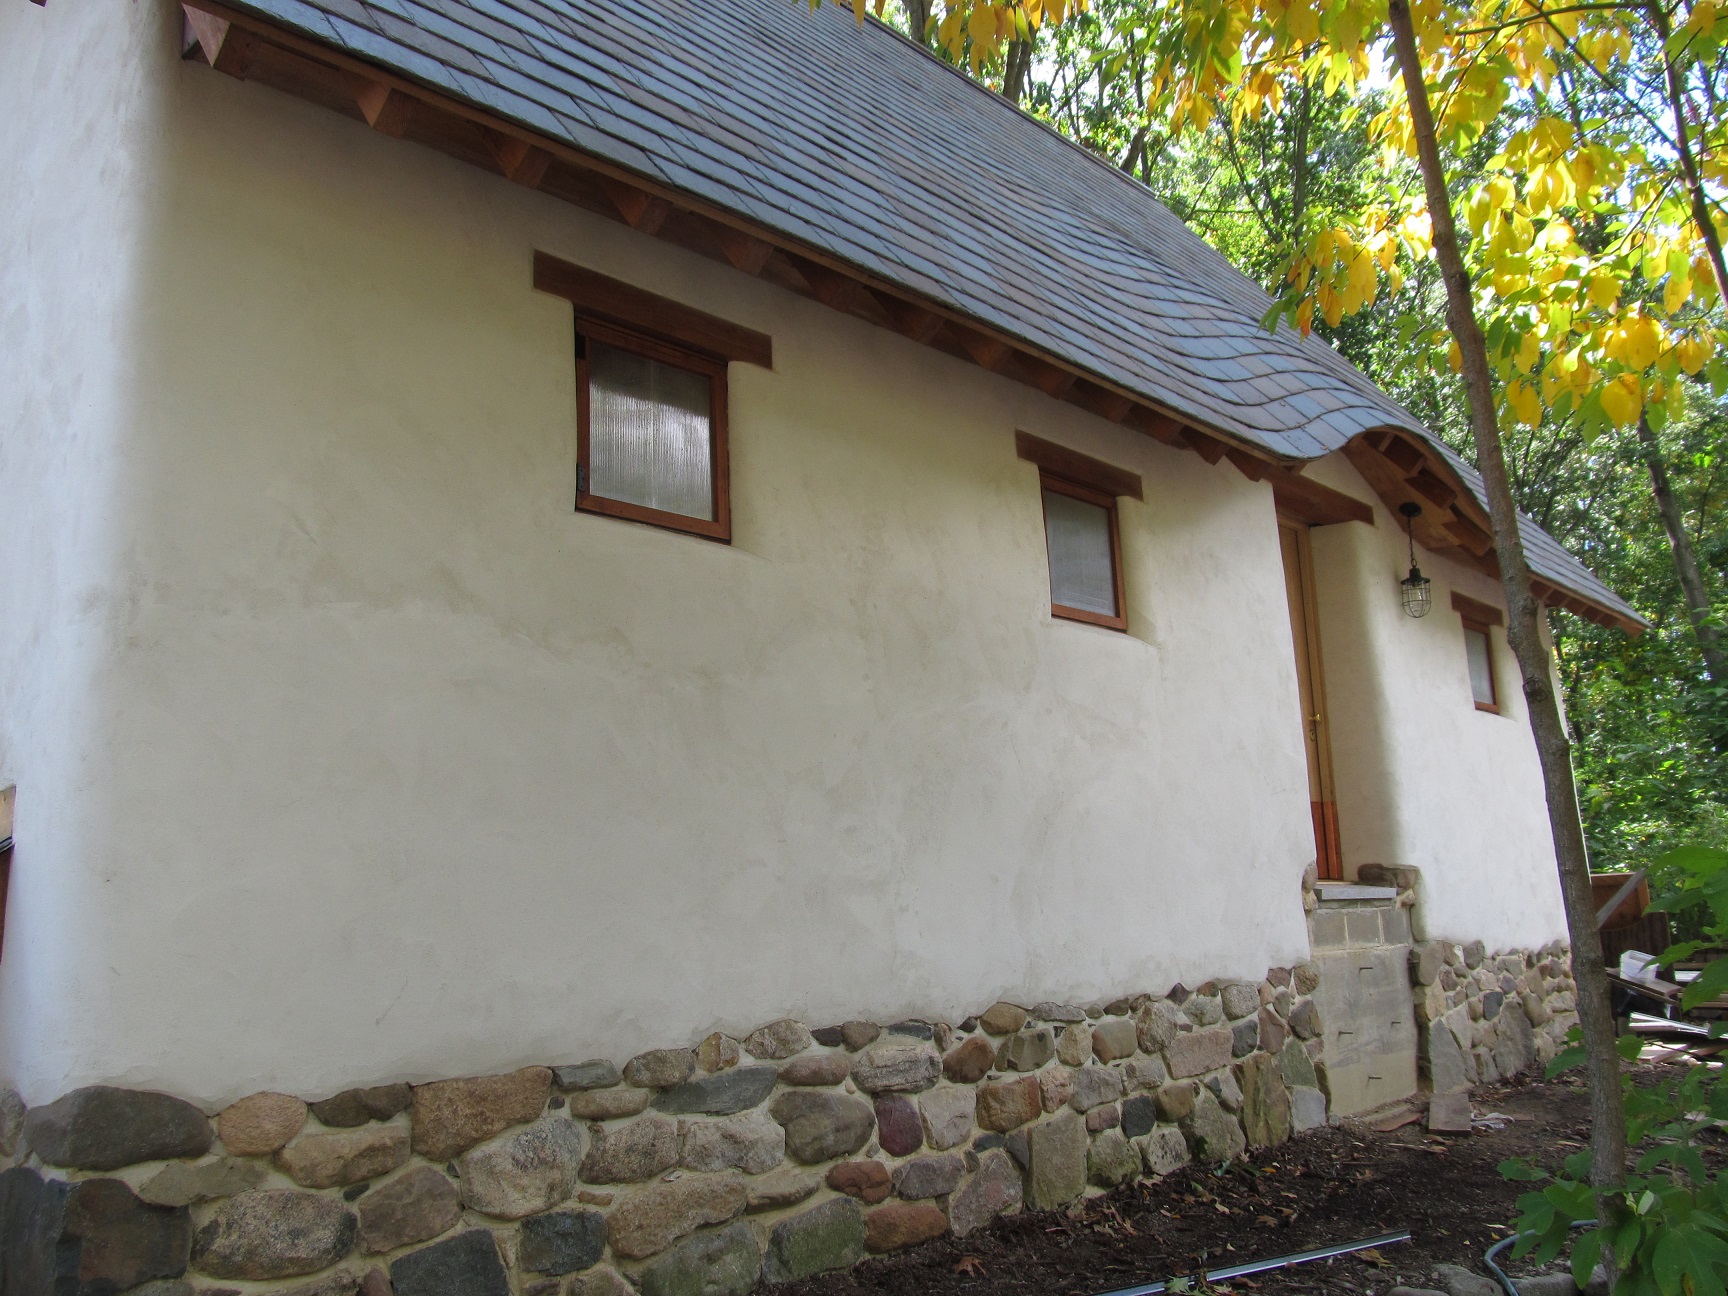

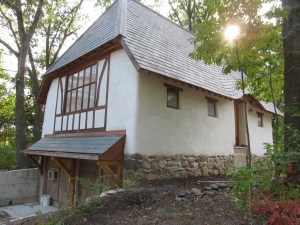
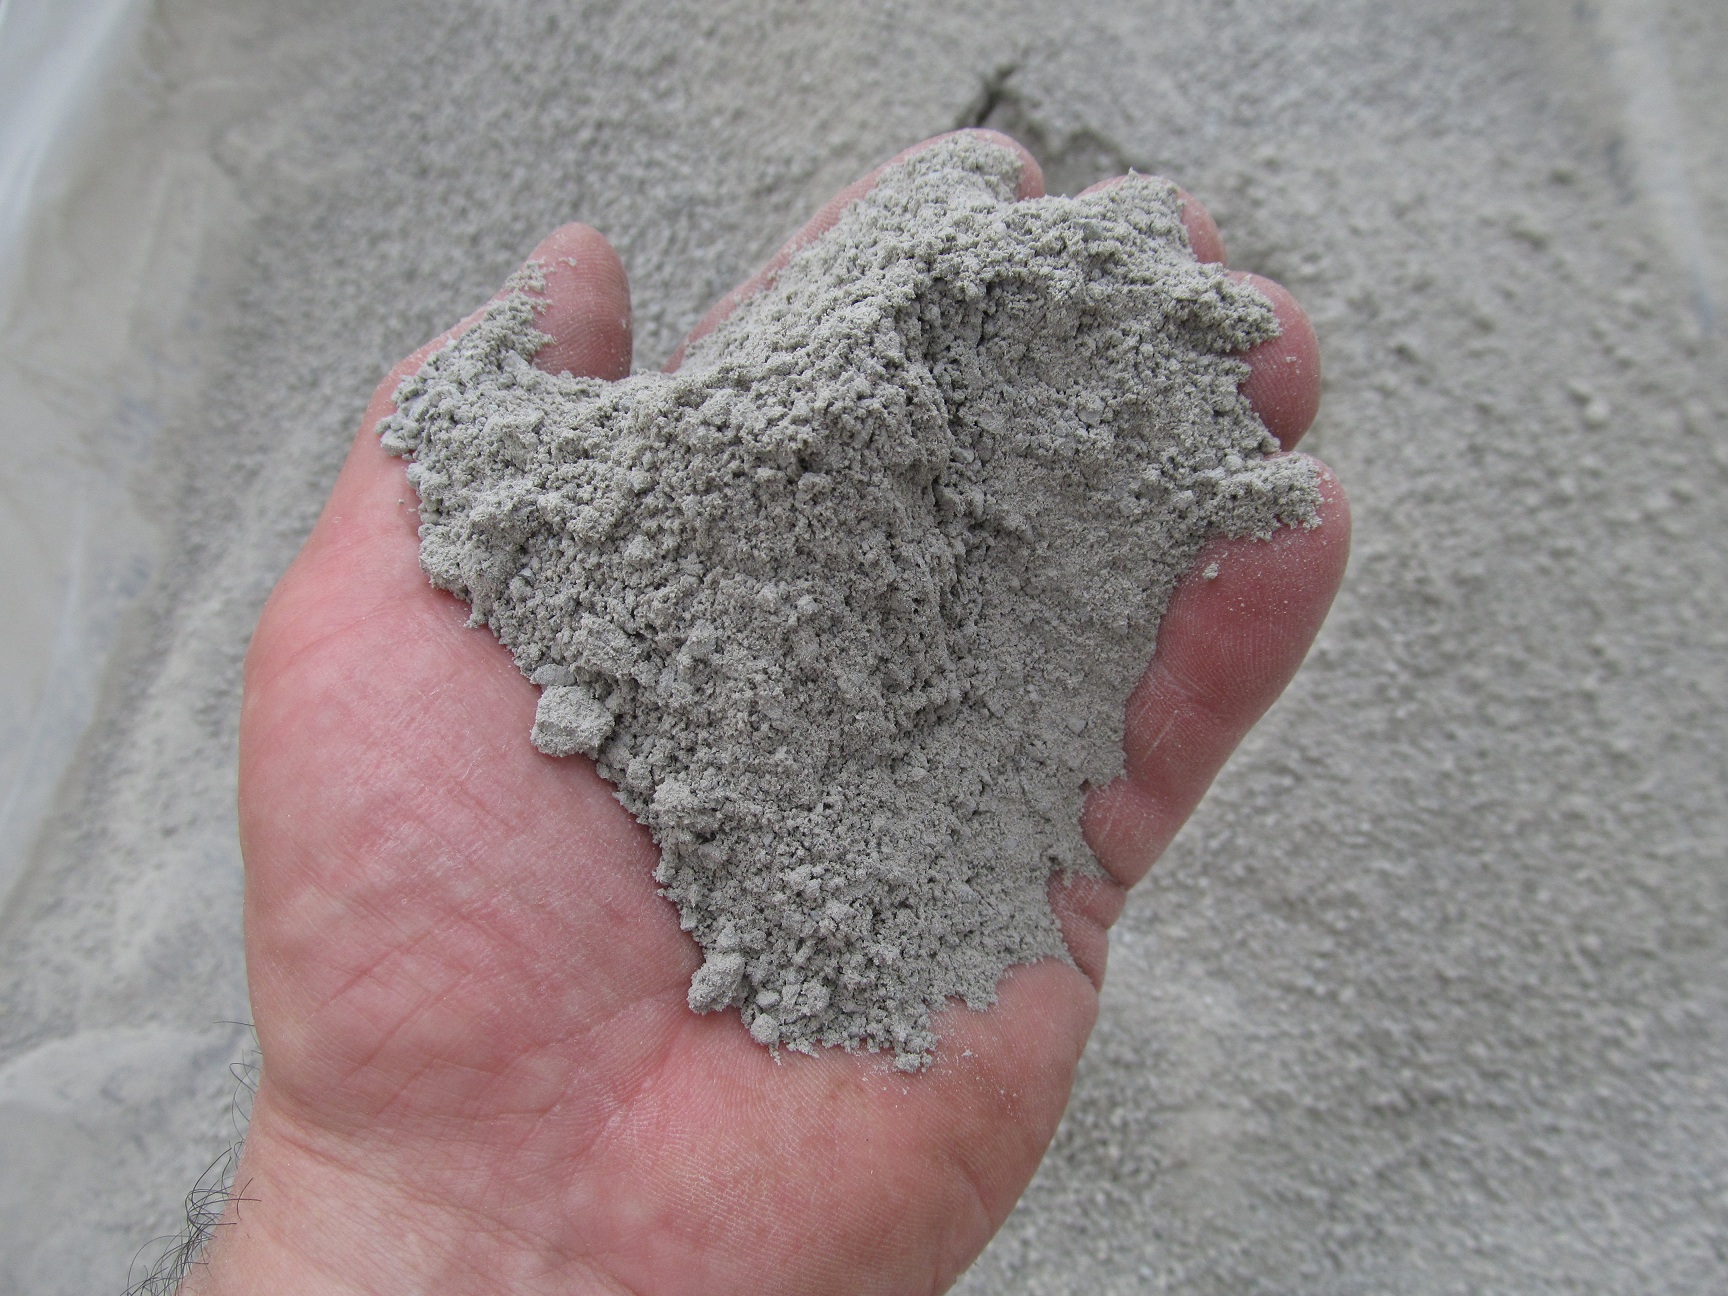
Sept 2, 2020. Lime plastering. The first coat is 1 part lime, 2 part concrete (coarse) sand, and 1 part screened crushed limestone. The screened limestone has fines in it which is what is making the plaster grey and look like it is regular concrete stucco. It does not contain any portland cement. 2nd coat is 1 part lime, 3 parts sand.
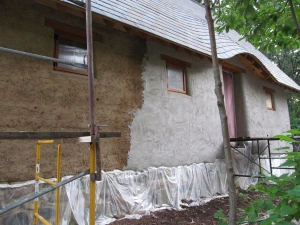

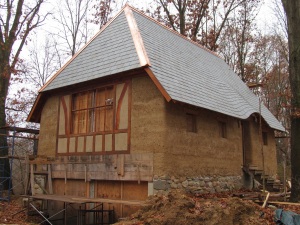
Photo of house early spring 2020 from up in a lift while I was trimming trees. I stopped work on the house in March and didn’t recommence again until August. In the spring, landscaping and planting of rain gardens, etc, then starting in May I began work on a Japanese gazebo–see that page on my site for that project.
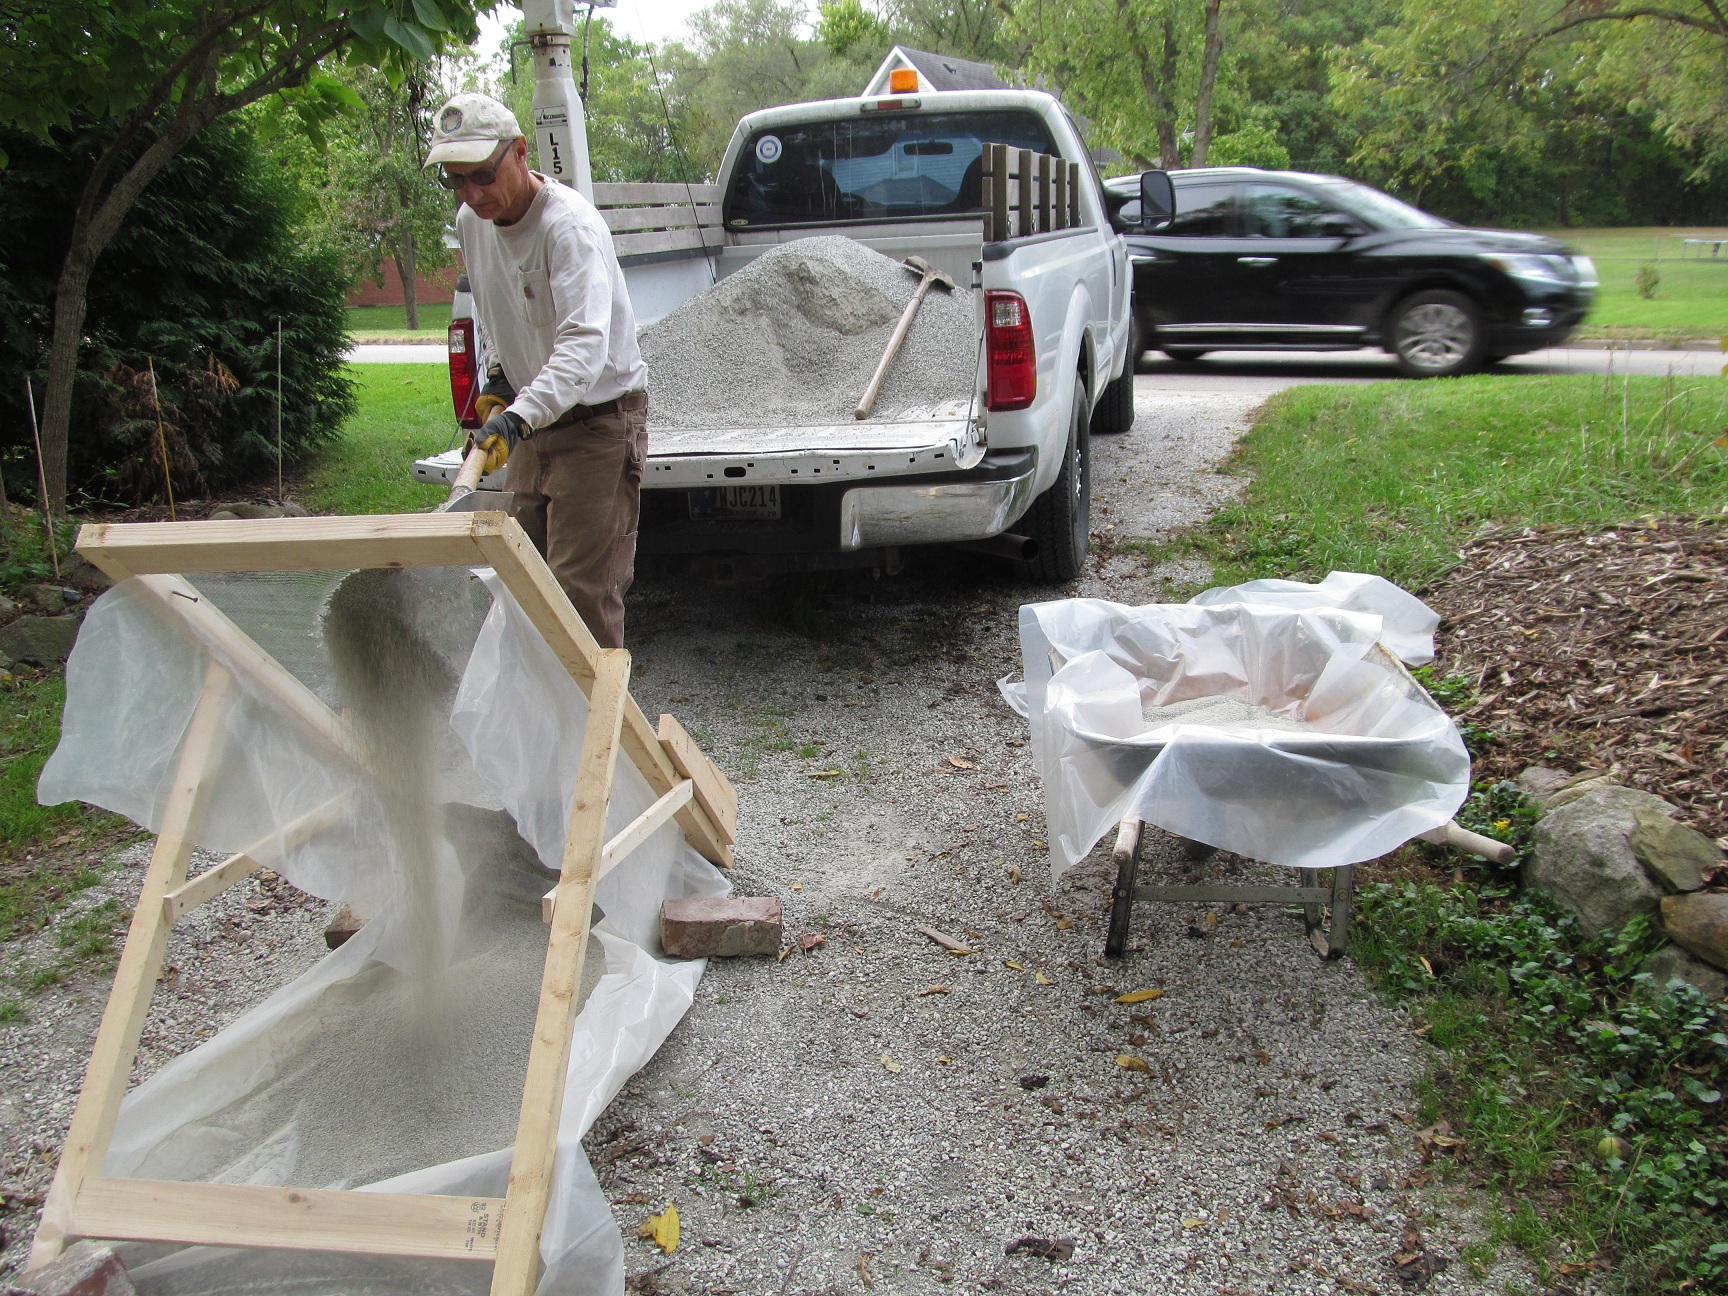
Oct 10th, 2019. Screening limestone for lime-sand plaster. We found limestone 1/4″ down to fines available for just over $20/ton. Started with 1.5 tons, shoveled through a 1/8″ screen and ended up with about 700#’s or just over 6 cu ft. There are about 400 square feet of cob to plaster. If 2 coats of plaster total 1/2″ thick, then I will need 16.7 cu ft of plaster which will be around 1:3 lime to aggregate. So I will need 12.5 cu ft of aggregate total.


Picture below is of shrinkage cracks on my lime-sand plaster on my first straw bale house. This is what I’m trying to avoid. The cracks occurred at the initial set time. This has not required any maintenance for 17 years so hasn’t been a huge issue. I used too fine and too soft of sand (masonry sand) and no fiber. Traditionally horse hair or some other type of hair was used. I will be using a small amount of very fine polypropylene fiber which is sold for concrete. Sand should be sharp and well graded (different grain sizes).
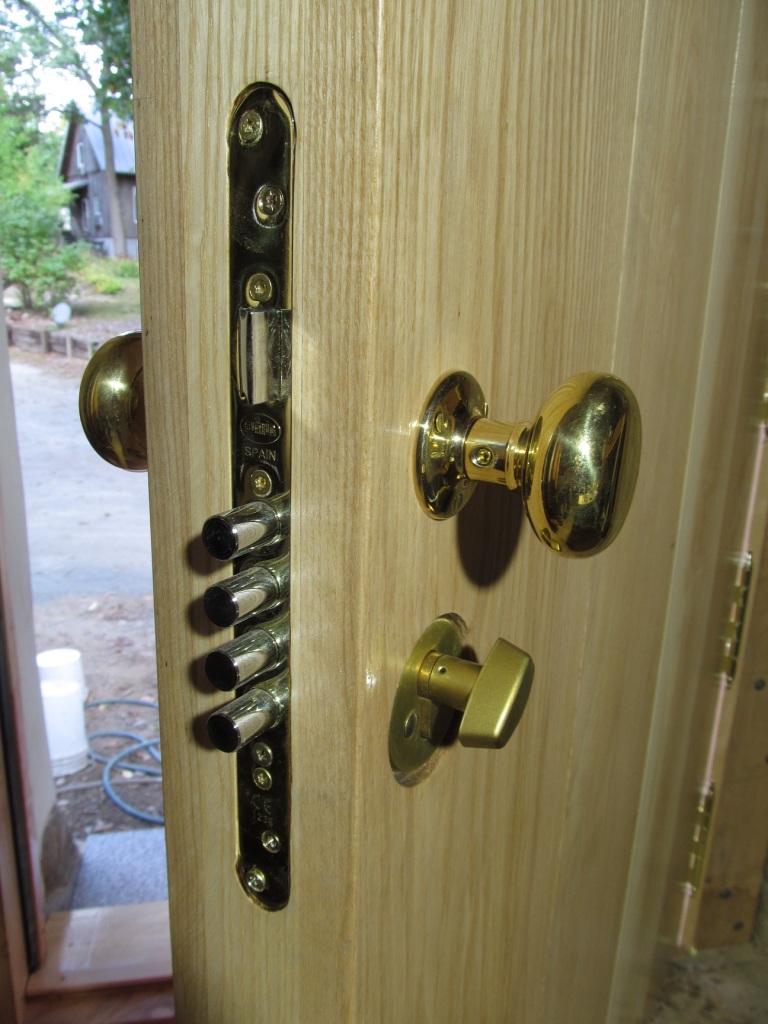
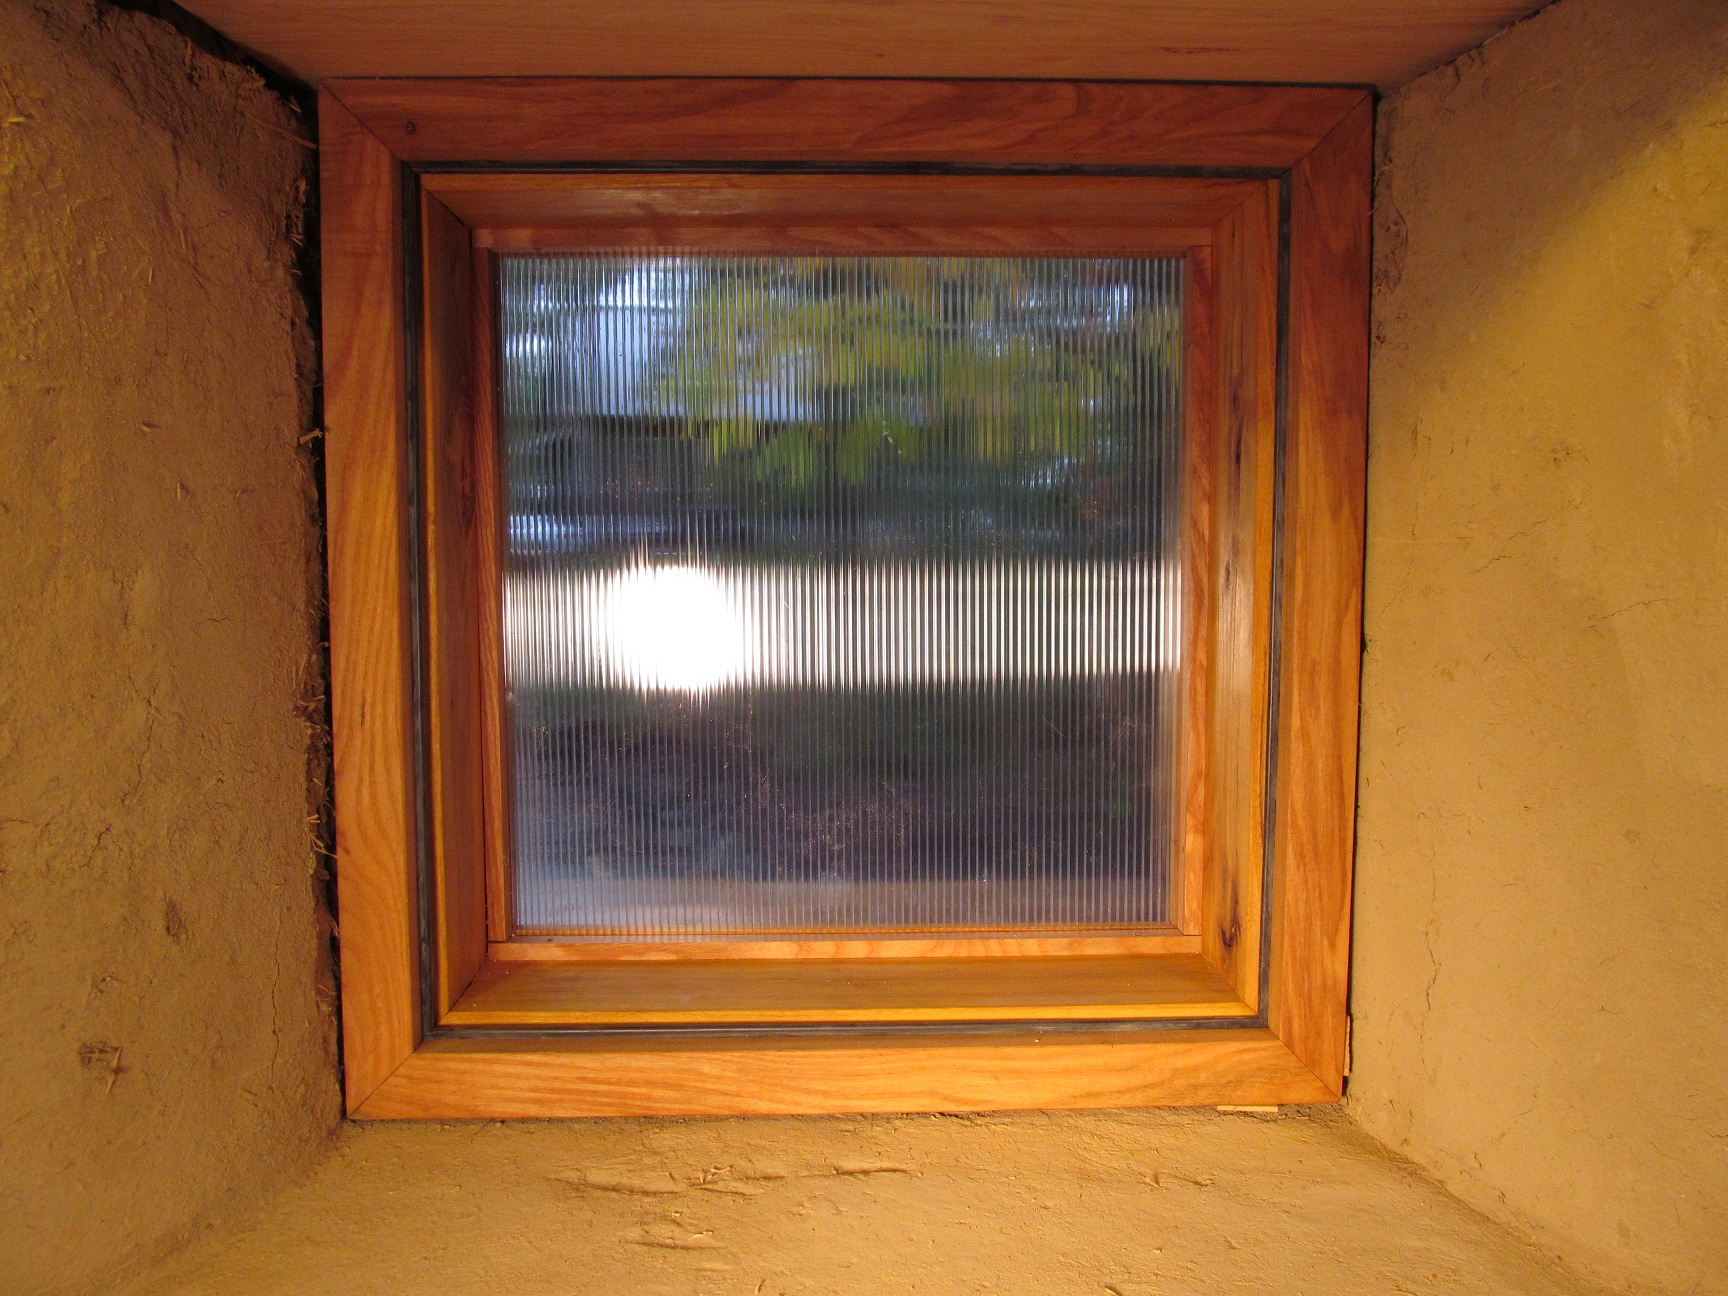
Outswing casement windows made from black locust with ash inner trim. They have triple weatherstripping. The polycarbonate is just a place holder until I get the insulated glass units made which will consist of several layers of mylar and glass on each outer pane, making around a 7 pane window.


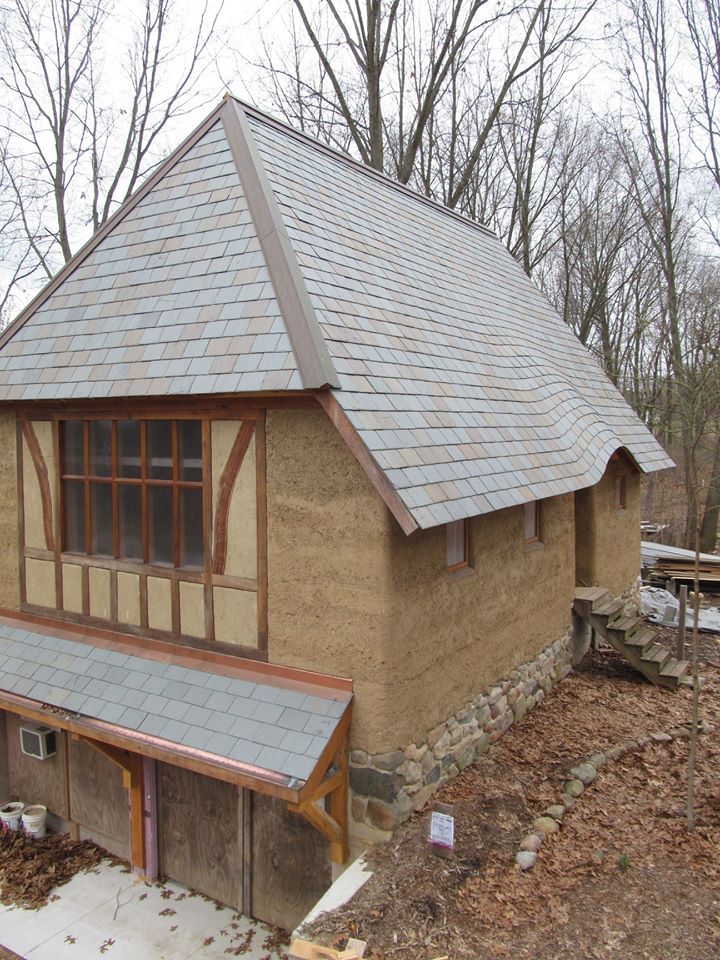
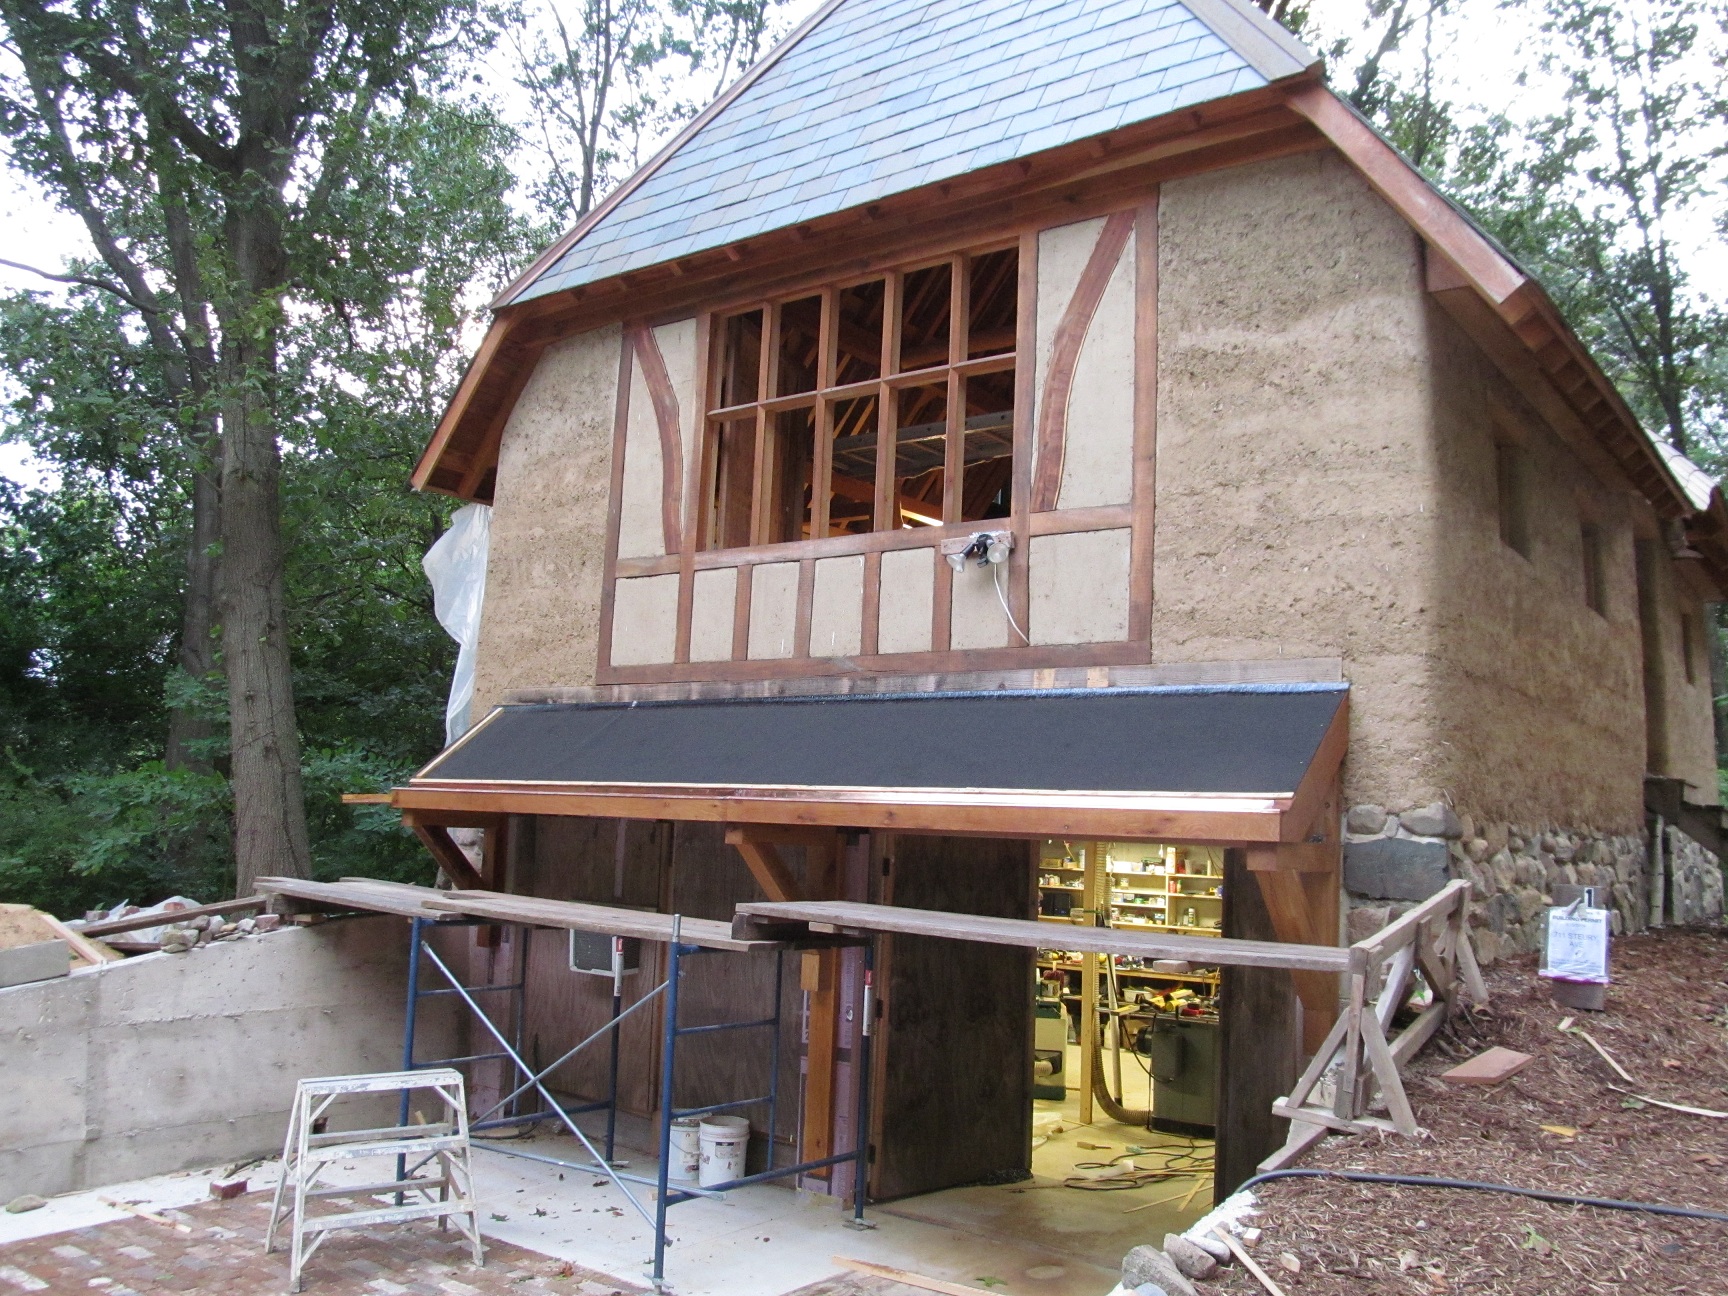
Awning over garage doors. White oak brackets and gutter box. Copper gutter liner. Ready for slate.

Copper fabricated on site.

Gutter box has an inner board that slopes downhill:

Oak brackets: mortised and tenoned and bolted.


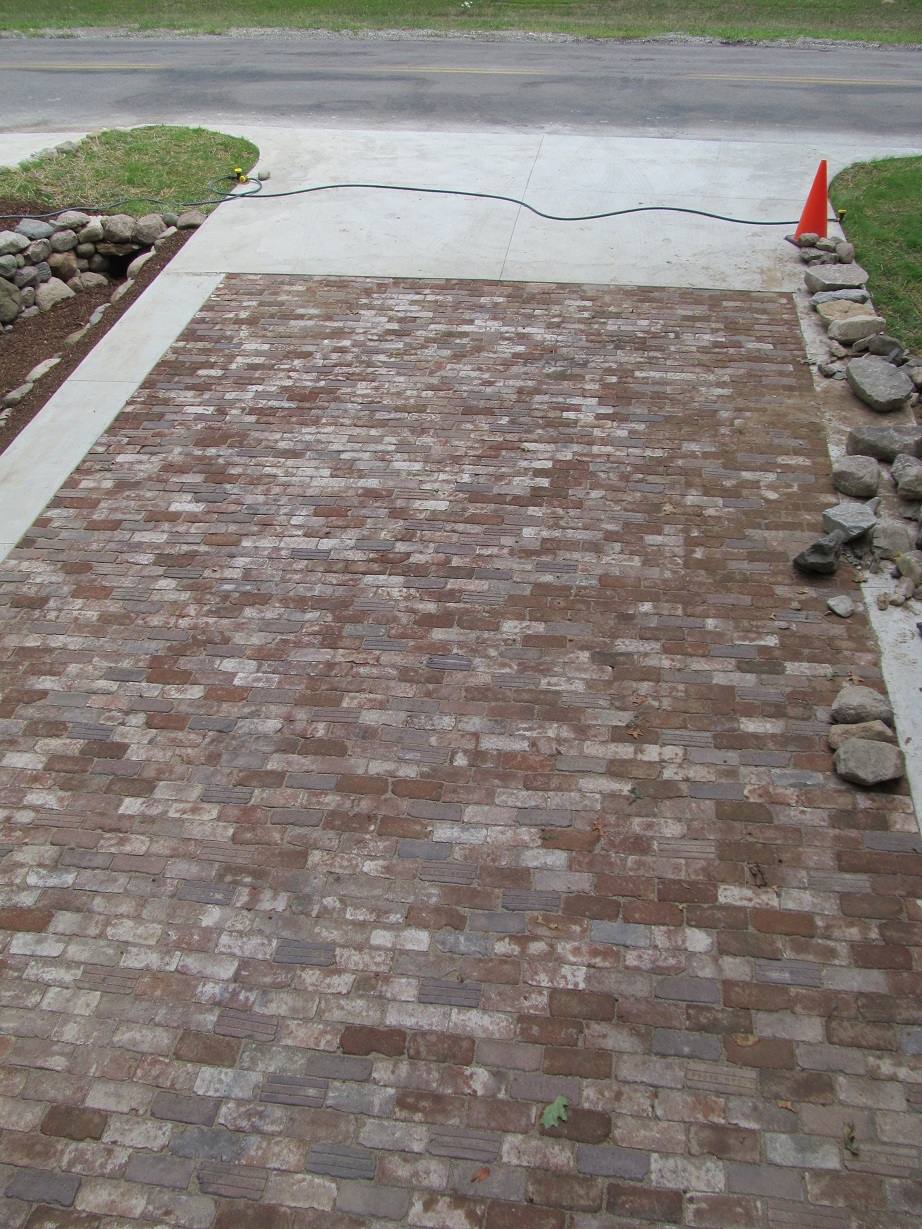
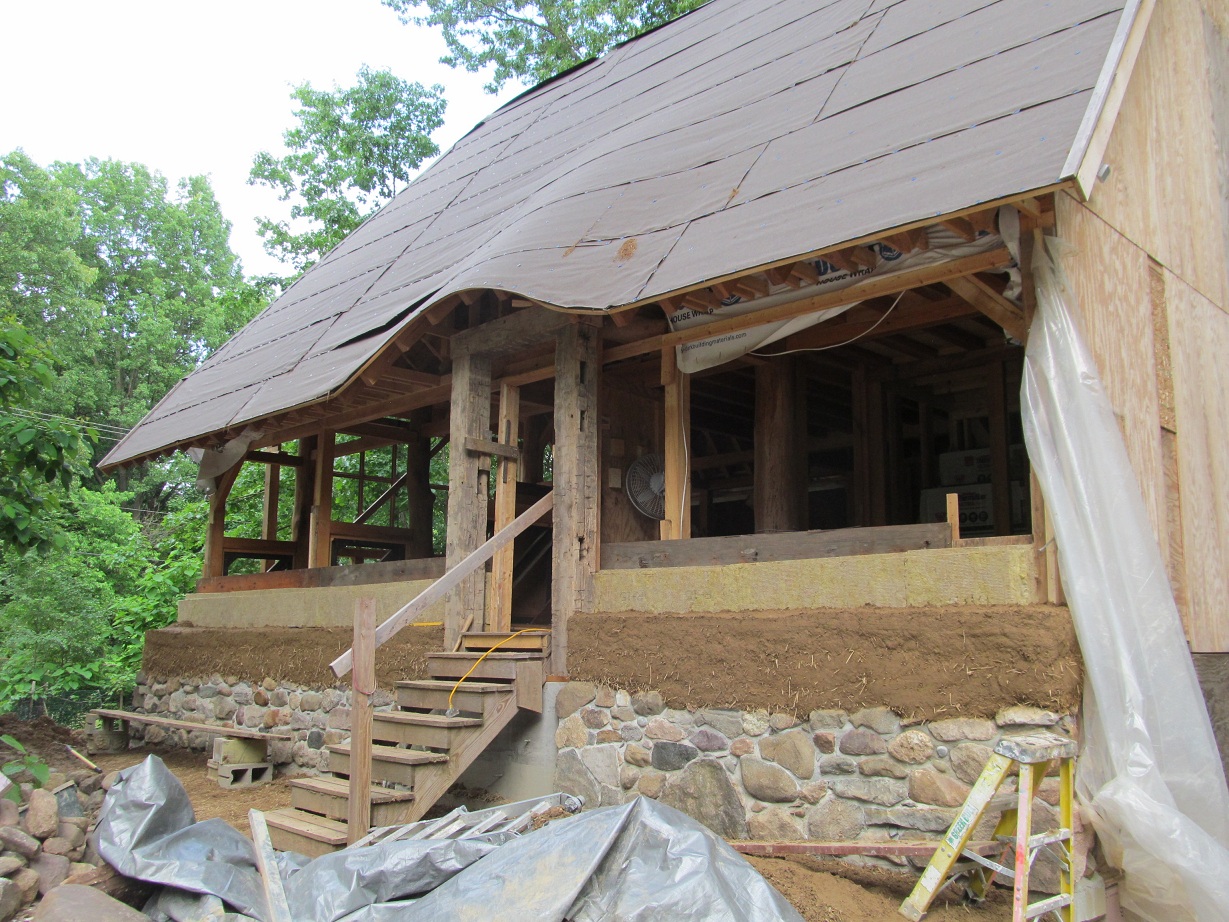
August 12th. Fieldstone retaining walls. There will be rain gardens in the areas off the sides of the driveway.
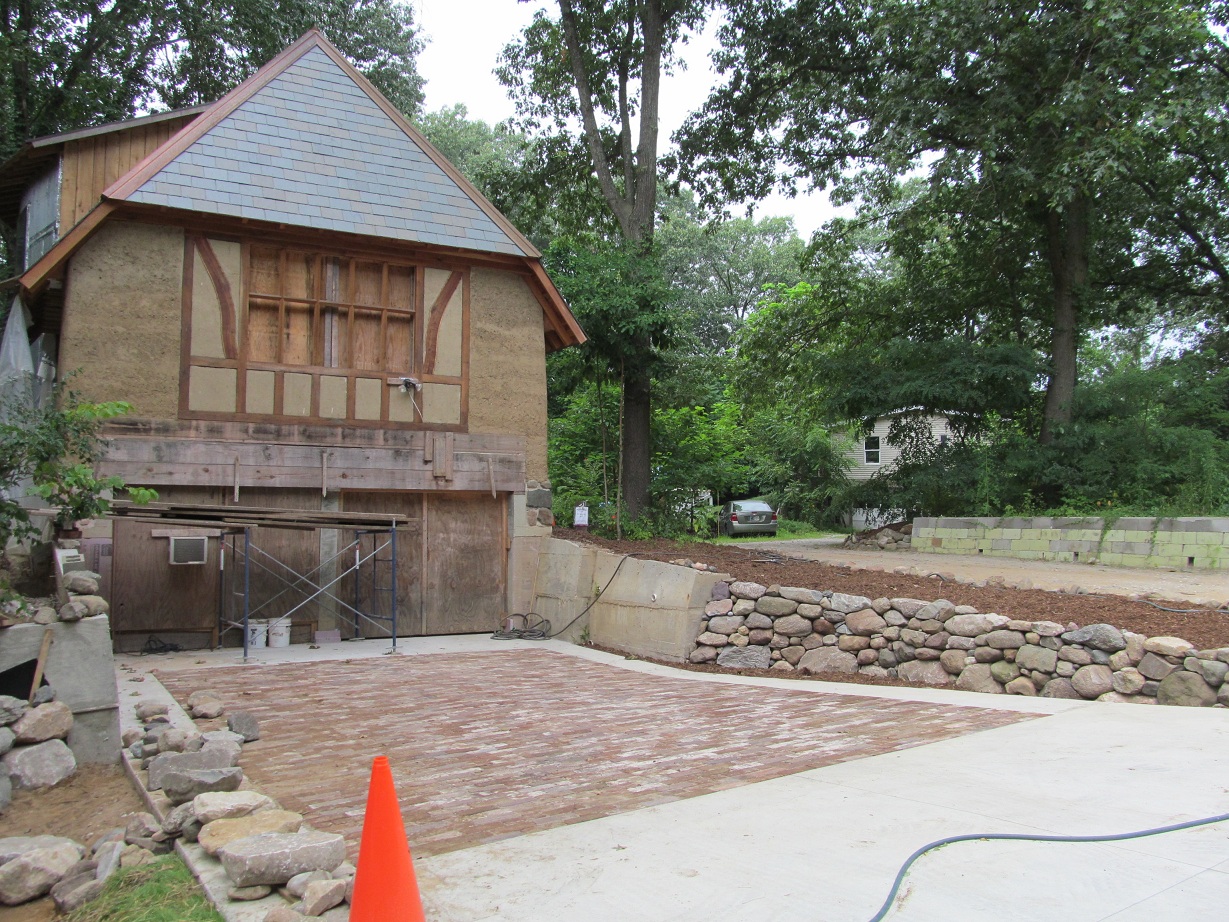

July 24th. Making progress on the brick driveway.

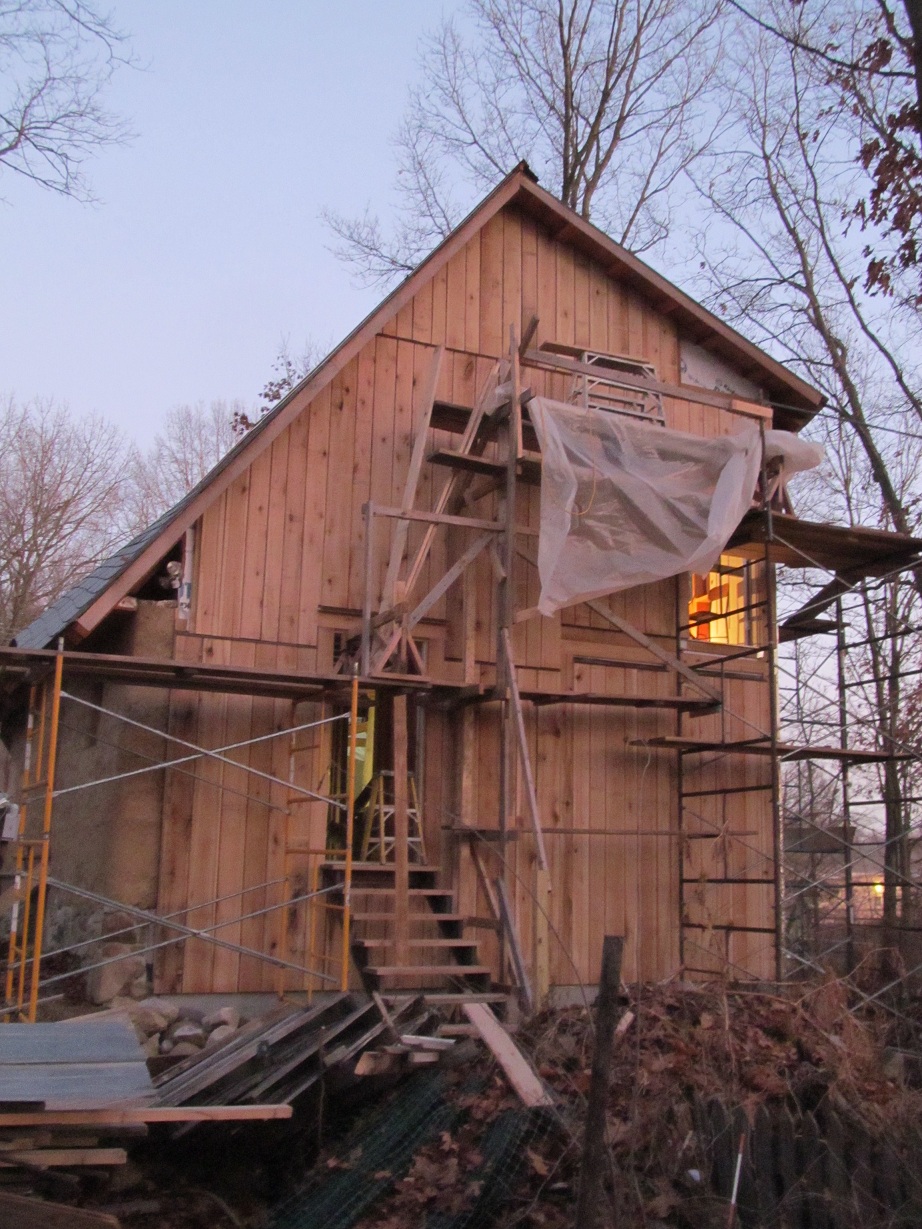
Jan 8th: Finishing up wood siding on west gable end. The lower door will connect to a future addition which could be either a covered porch, storage, or a first floor bedroom. White oak balcony done in May.


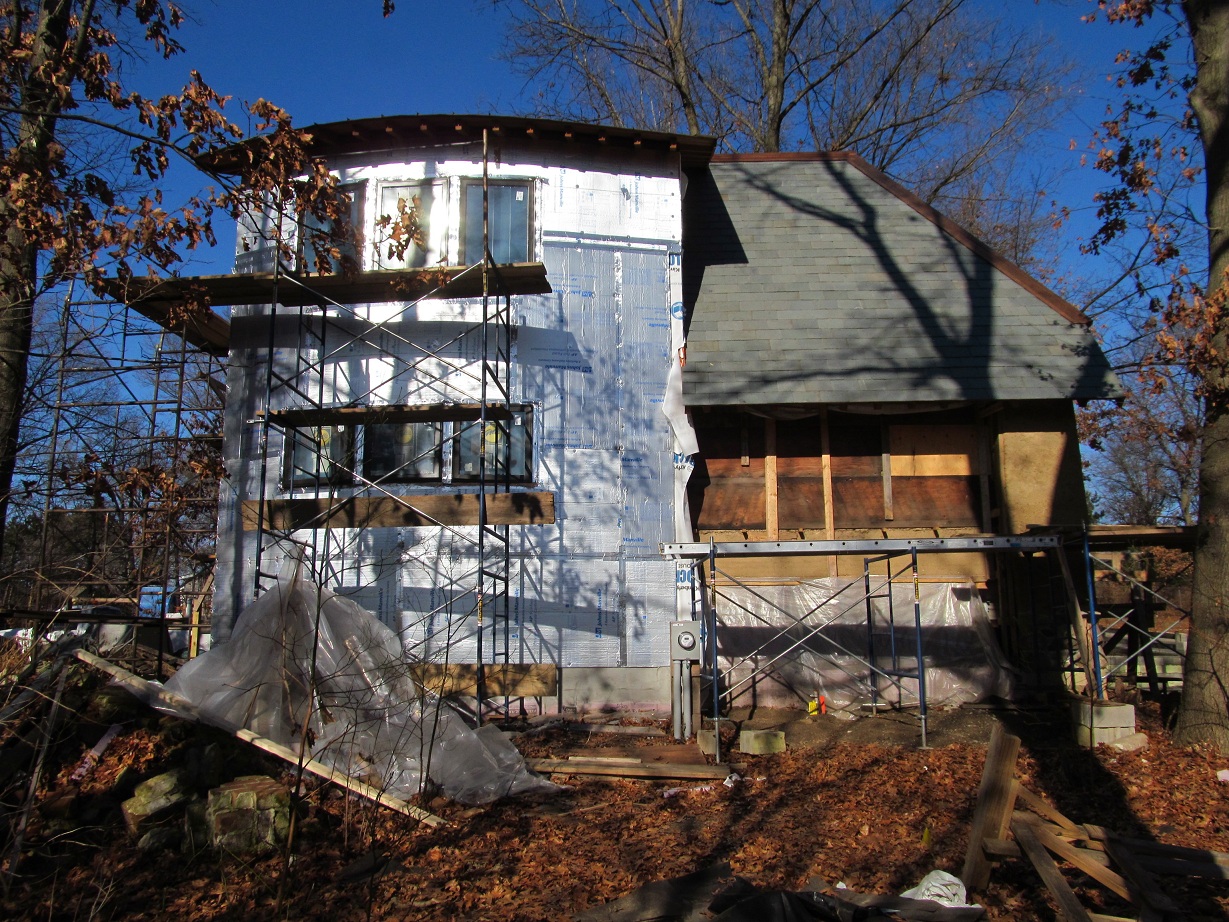
Mid-December: South facing windows. Aluminum clad wood Pella triple pane windows with special order high solar heat gain low-e coating. The entire south wall will be made into a solar collector for water and space heat. The polyiso insulation board can take high temps and will be the back of the panels which will be built right onto the wall. In addition to windows there will be approximately 120 sq ft of hot air panels and 250 sq ft of panels with water tubes.

Making progress on the copper ridges:

Oct 23rd: brought back 7600#’s of granite from Swenson Granite in CT for the front steps and some patio parts.

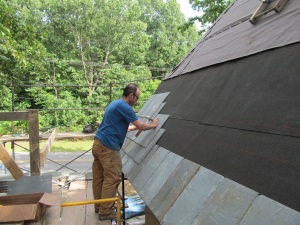
Oct 3rd. Slate is done on north side of roof and one more day on the south roof. Copper is at the shop being fabricated into ridge pieces.

Tom slating the south roof:

Sept 13th. Started on the slate today:

Sept 5th. Set up scaffolds today for roof work:
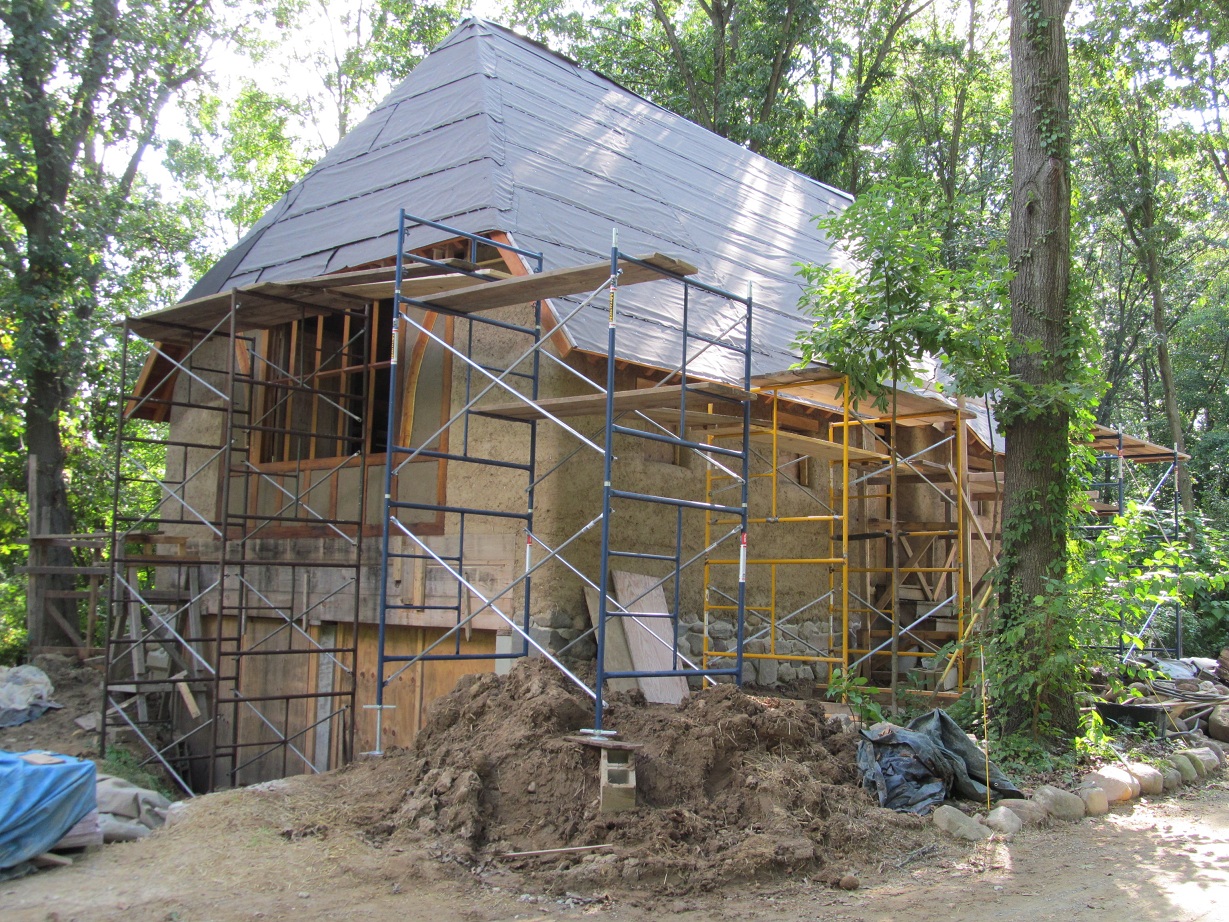
Wattle and daub areas complete:

Aug 31st. I put black locust wattle work in the white oak wall sections to help hold in the cob as these sections are only 5″ thick. Dad is using the same cob mix we used for the rest of the house to fill the sections. The 2 curved braces are mulberry which was from the back yard.


Aug 31st. Slate tools arrived. Ladder hooks, slate ripper, slate cutter, 2 slate hammers (note assymetrical claw–the point is used for punching holes in slate), and 3rd Ed. Slate Roof Bible.


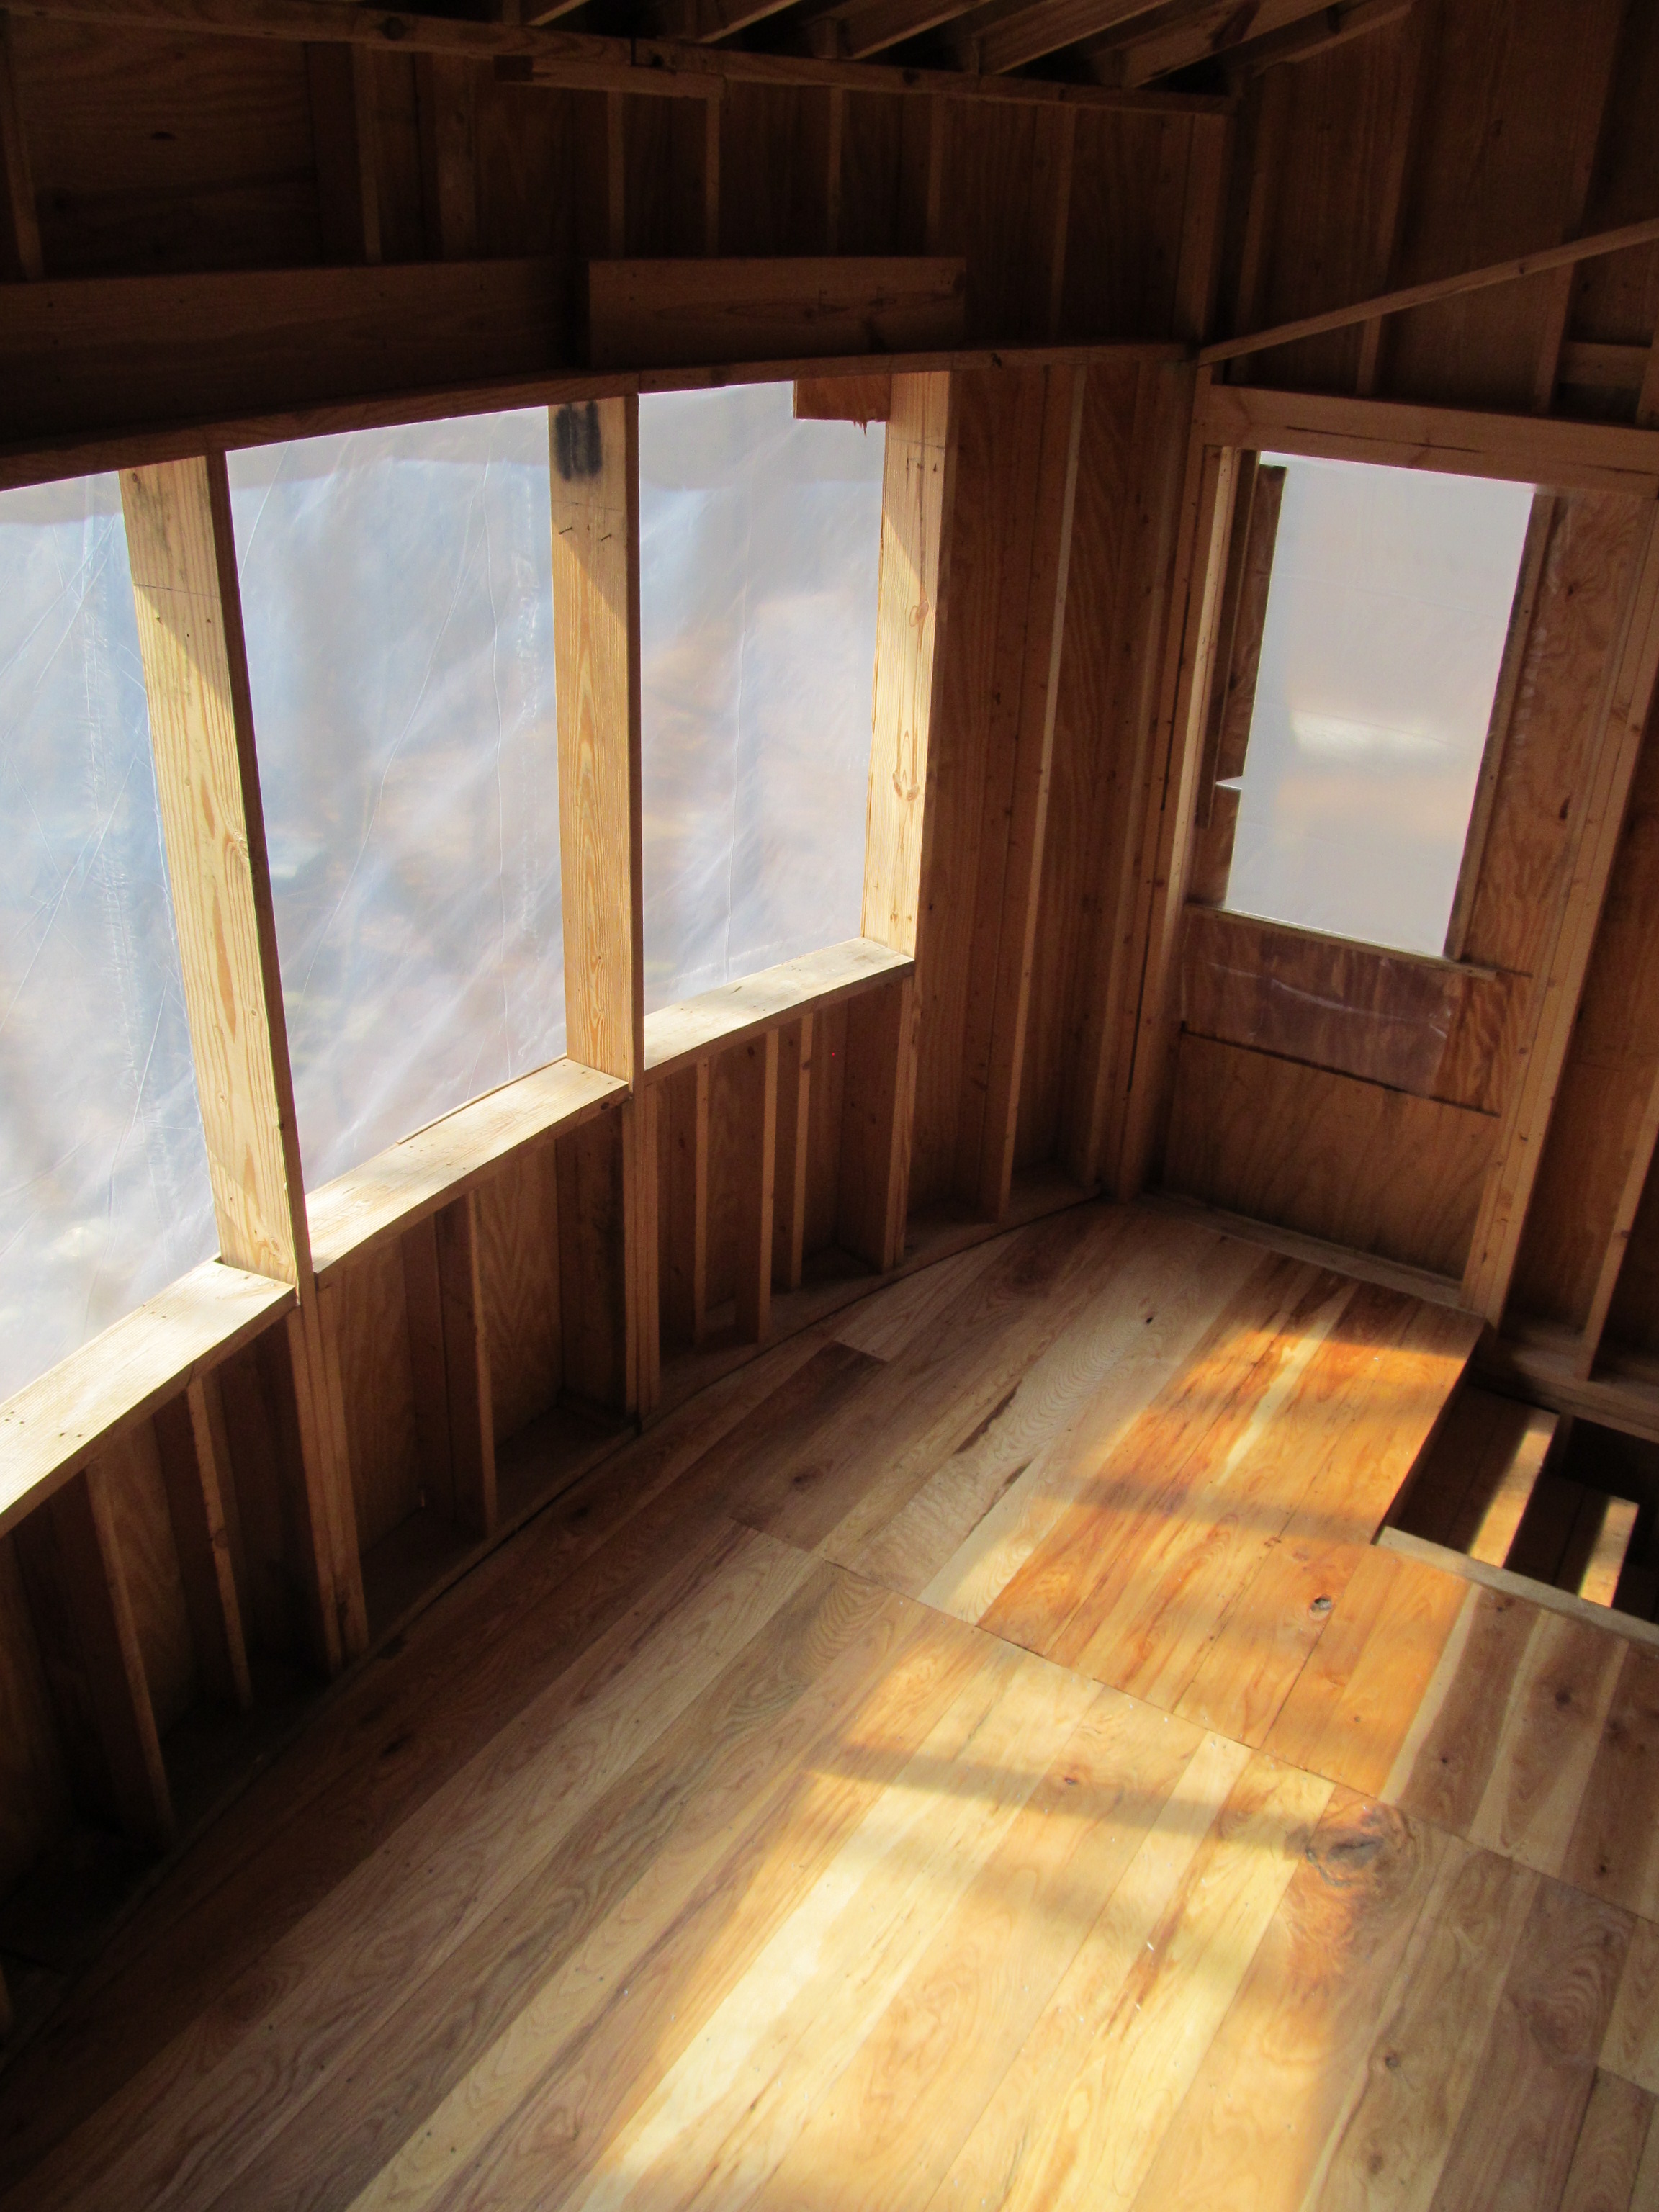
Interior cob window reveals and niches.
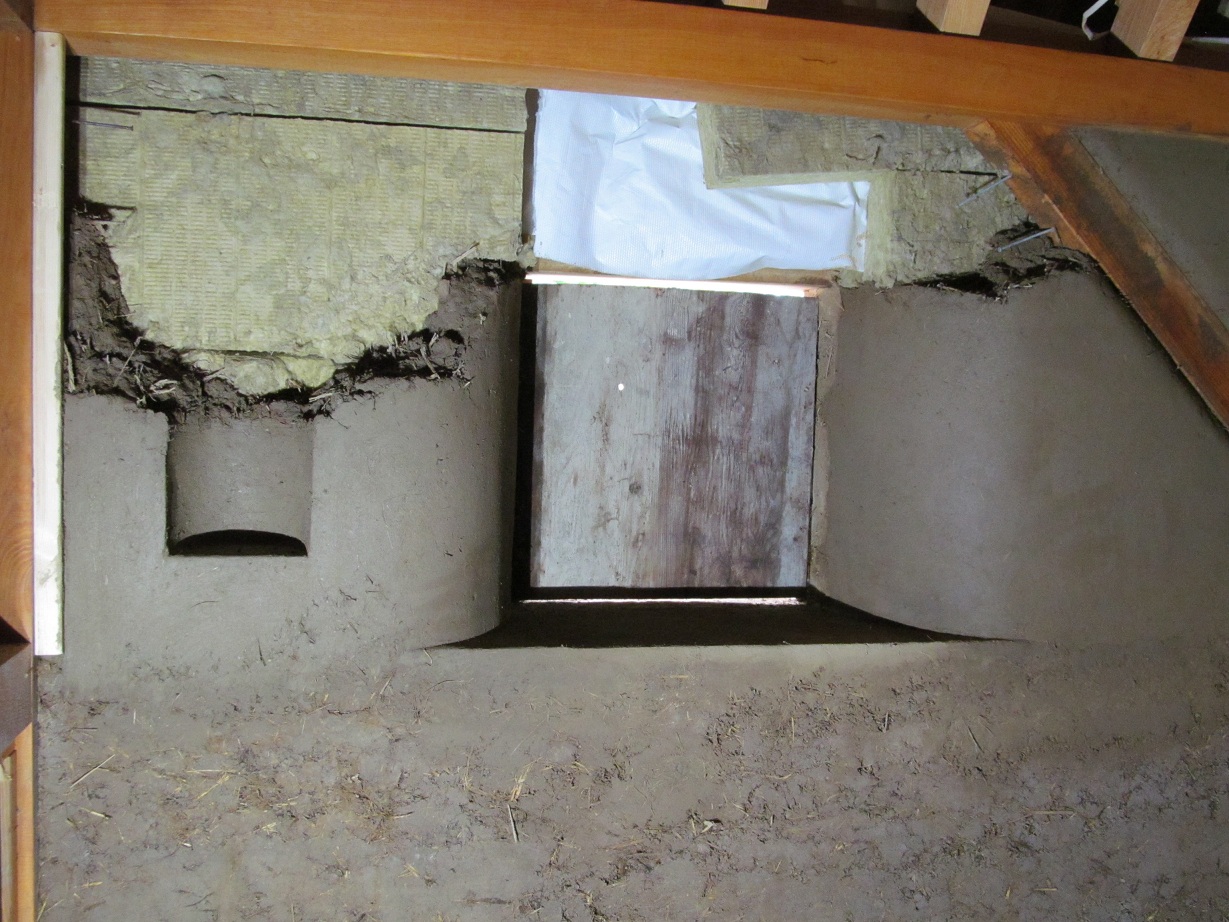
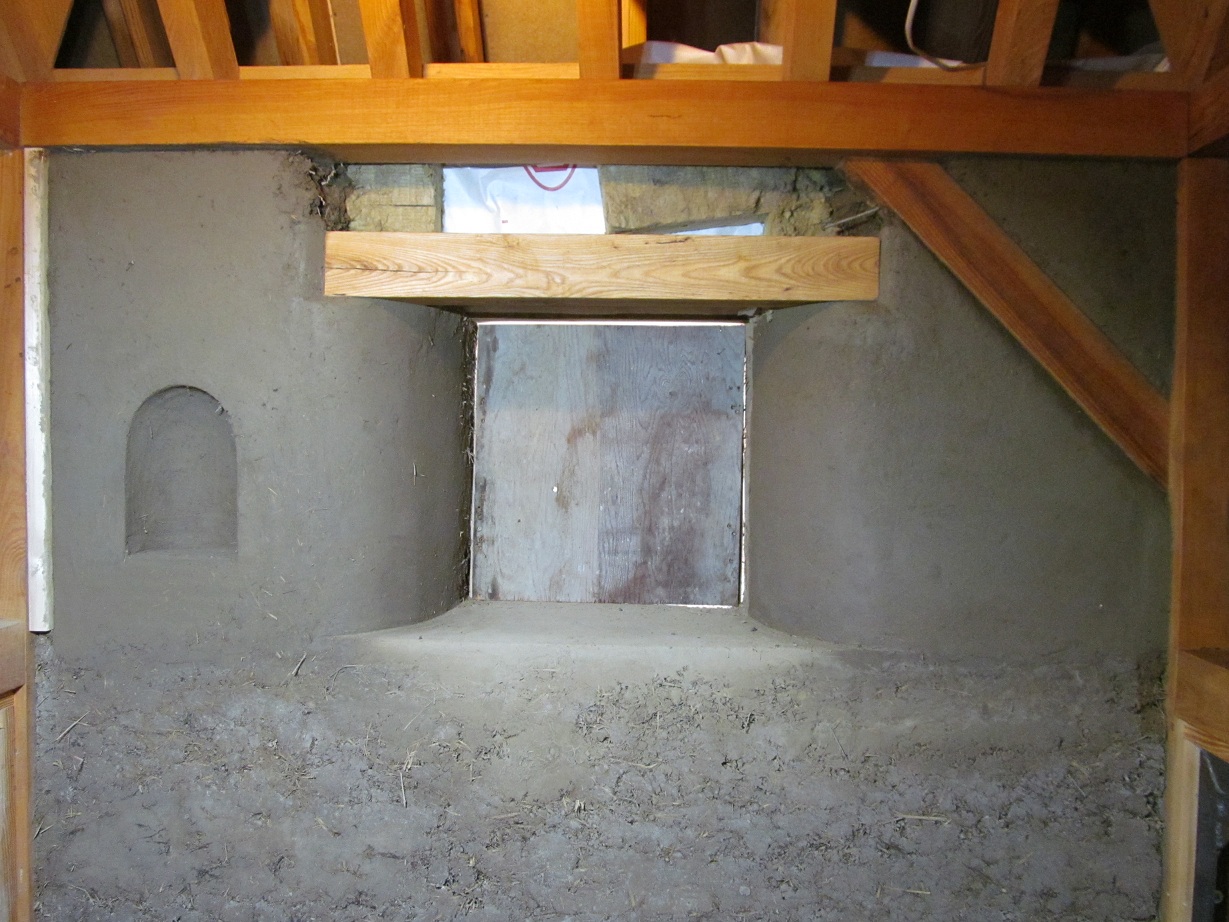

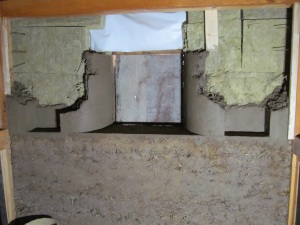

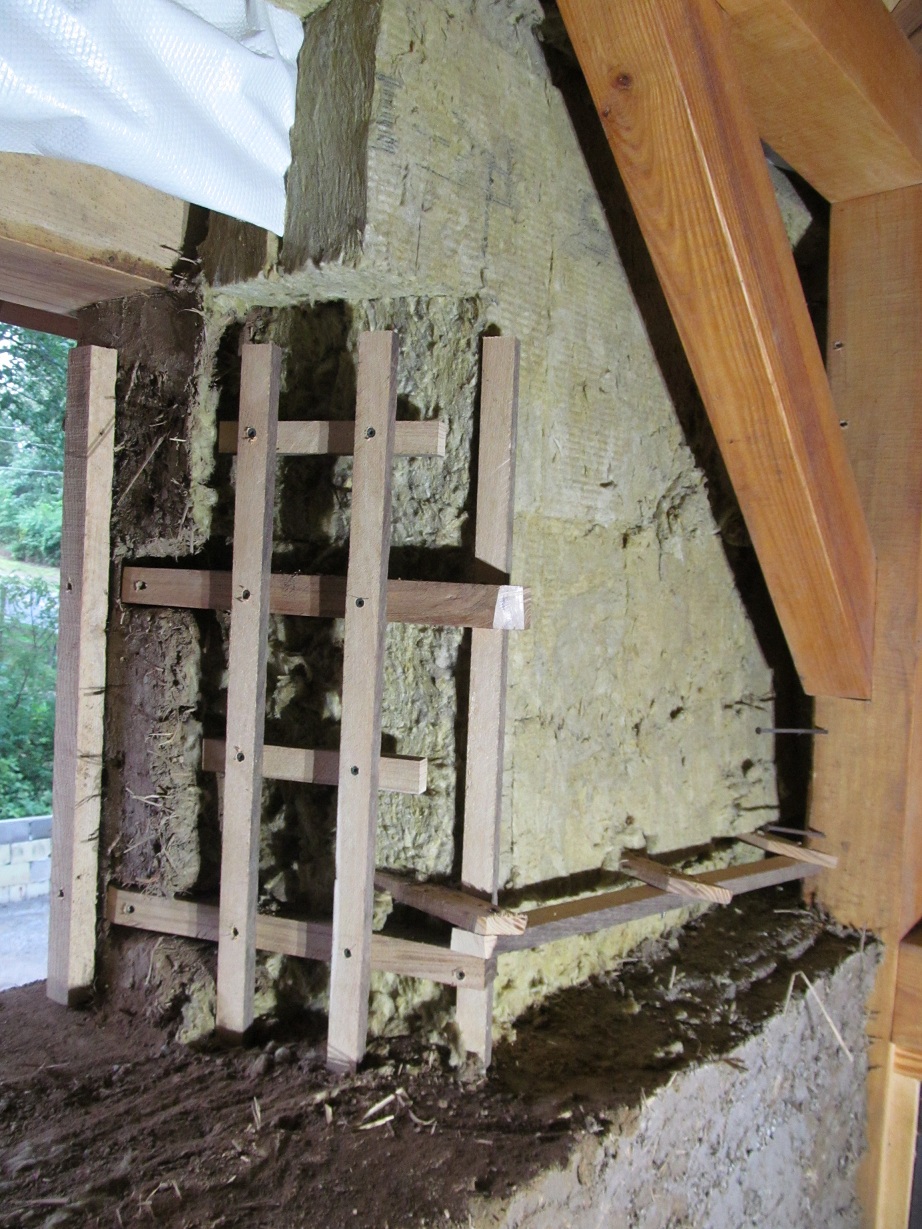
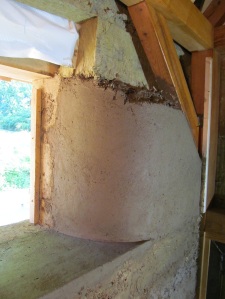
Interior cob work on the windows. The wood lathe work helps the cob bridge the 7″ of mineral wool insulation and tie the walls together.
The slate for the roof arrived today. It is VT/NY semi-weathering gray-green.

Interior cob work. Uncle Harvey cobbing. Dad bringing material into the house:

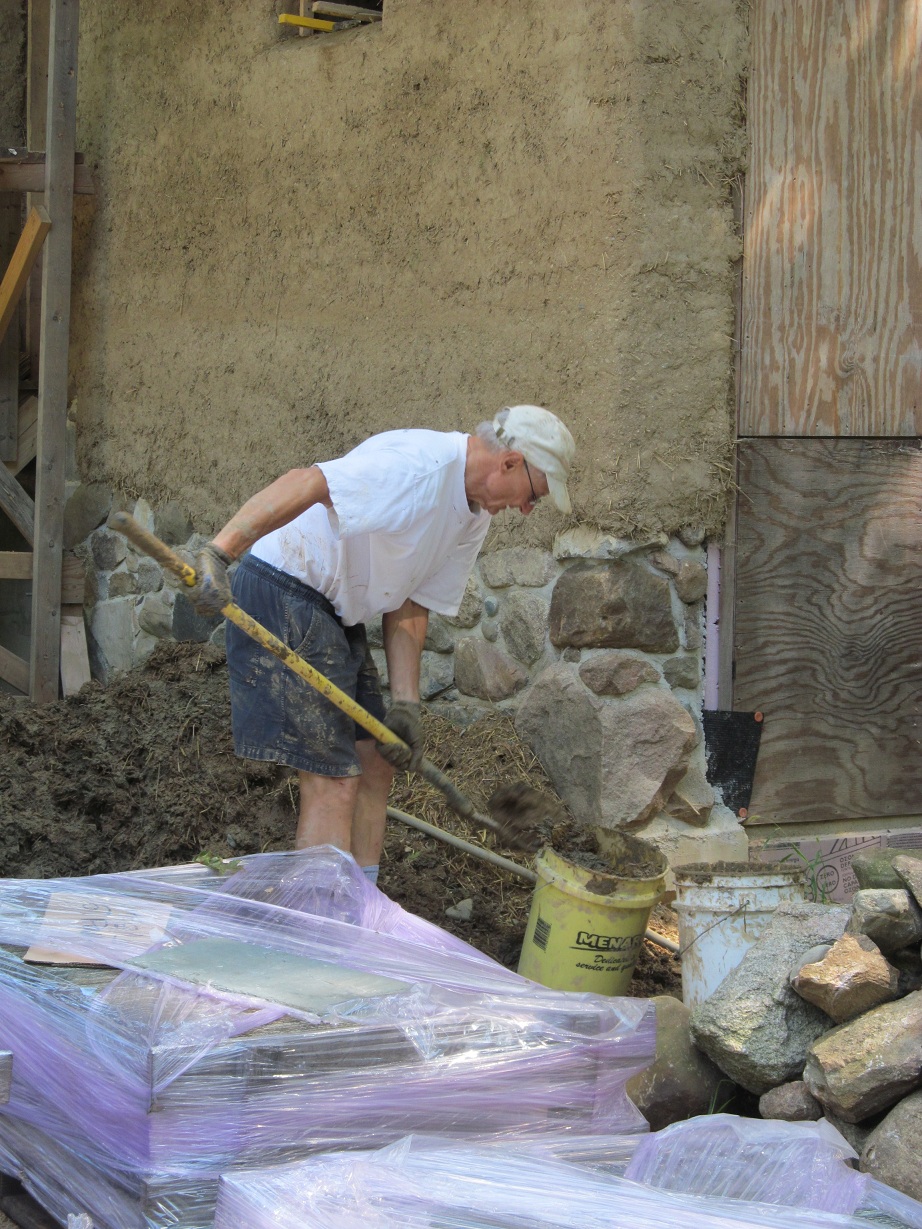
Almost done with the cob walls:


July 8th. Over 2′ of cob built since Sunday. Now its time to let the walls dry before I add more height.
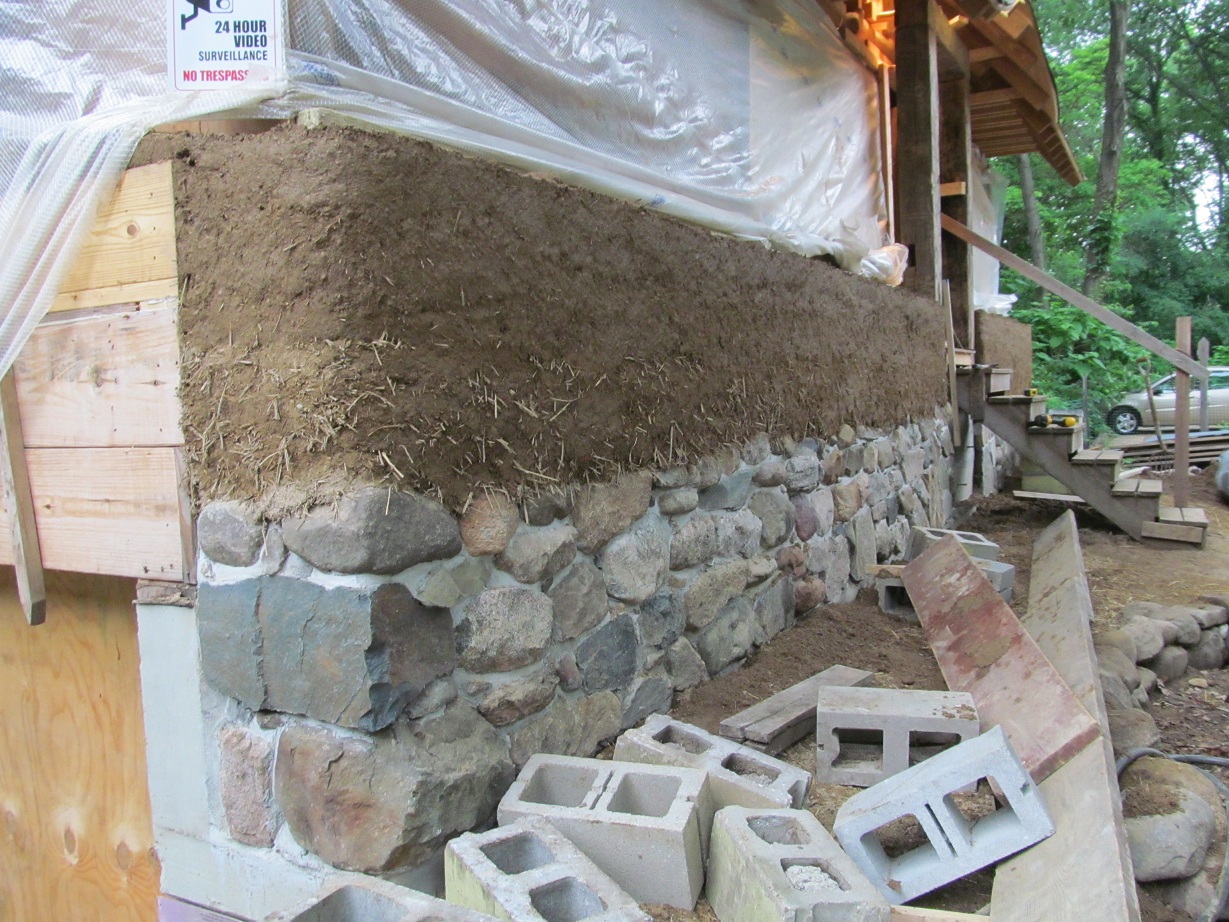
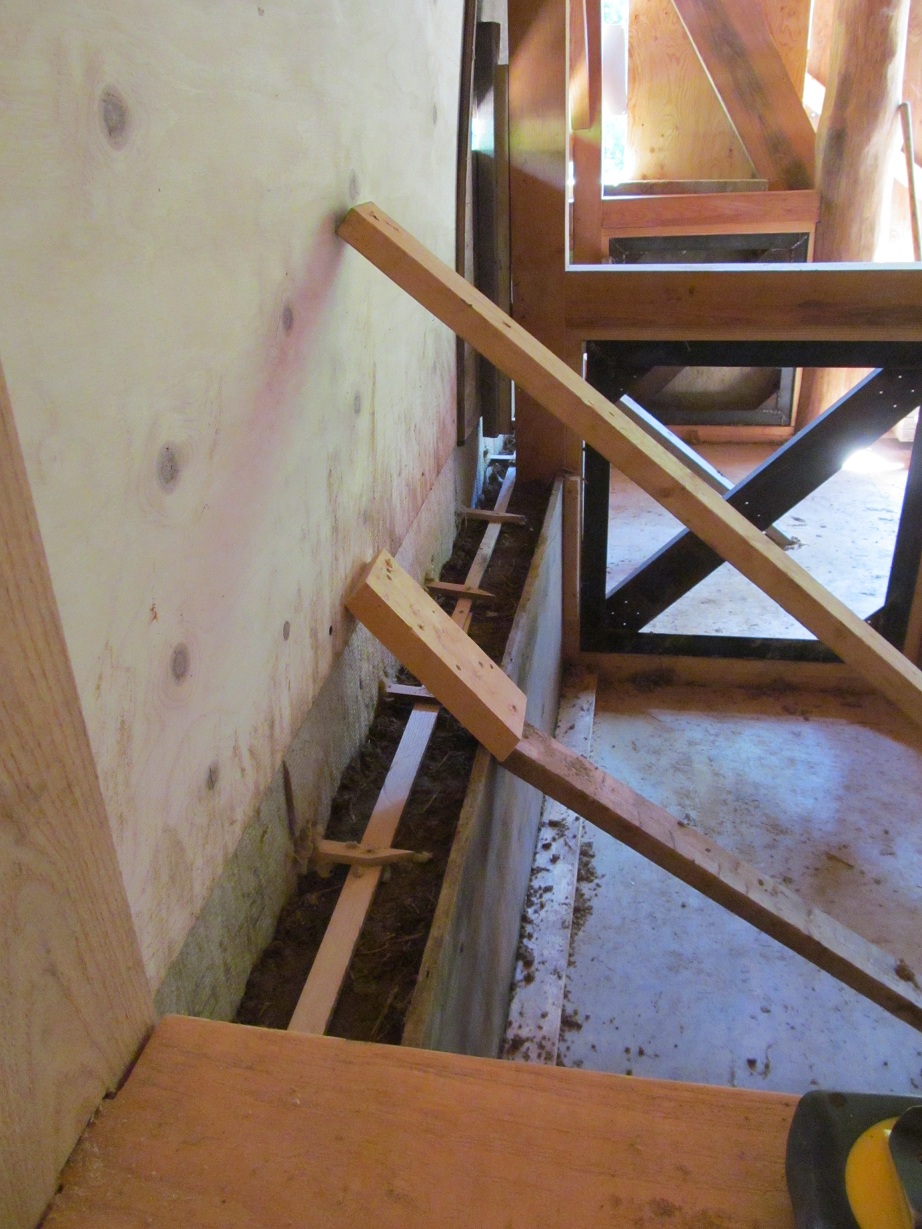
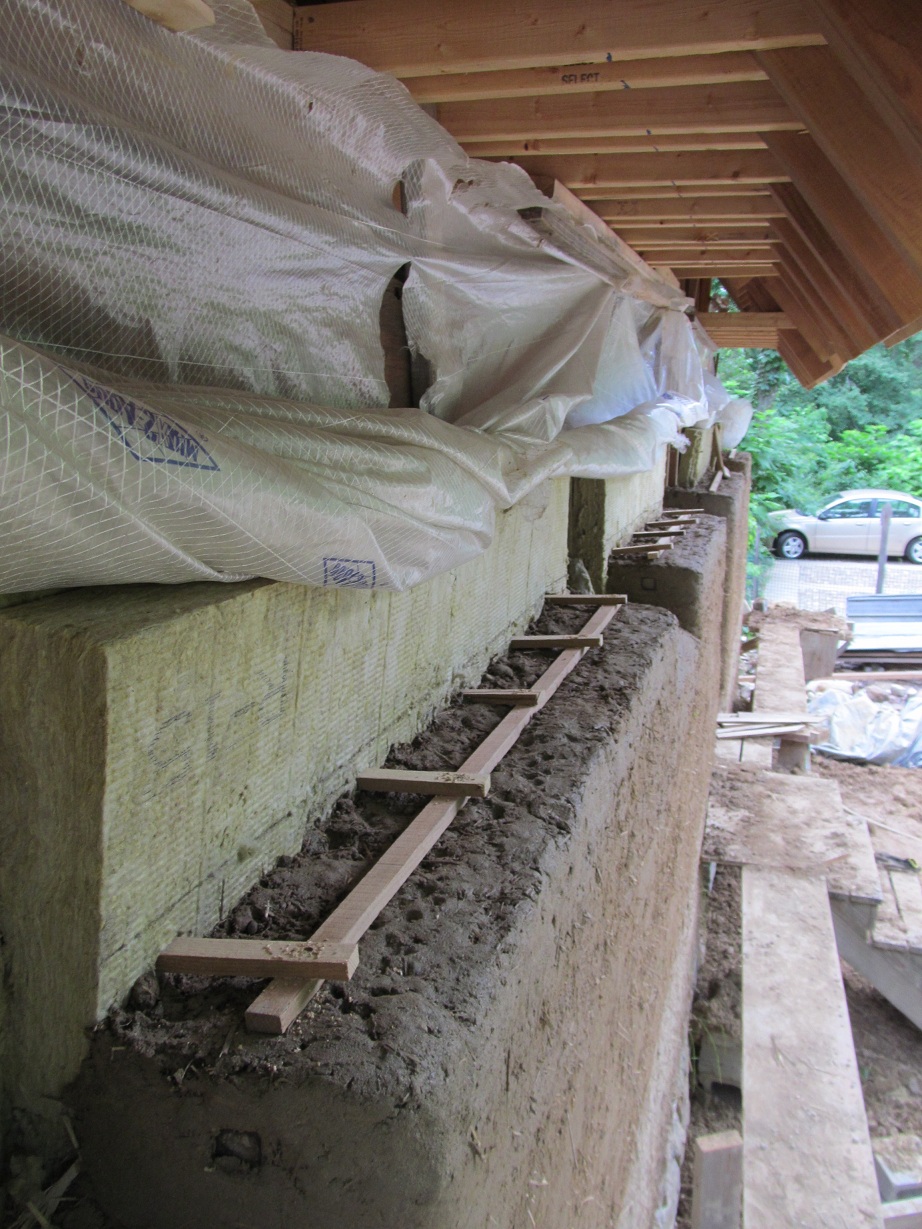
The wall is around 2′ thick, but since cob has a very low insulation value, I am building it as a cavity wall with two layers of 3.5″ Thermafiber UltraBatt mineral wool in the middle for an R30 of insulation plus around 16″ of cob encasing it for a total of around R36 with almost no thermal bridging. Mineral wool is much more substantial than fiberglass, so does not compress much at all as the cob is built next to it. 70% of its content is from recycled slag from iron production. Thermafiber is based in Warsaw, IN, only an hour and a half from here. The wall ties are strips of 1/2″x1″ white oak and black locust fastened with deck screws. Has anyone seen a cob cavity wall (other than bale-cob) before or wood ties? If so please let me know. Another option would have been a cob mix of 50% perlite…does anyone know if this kind of a mix can be mixed with a machine without crushing the perlite?

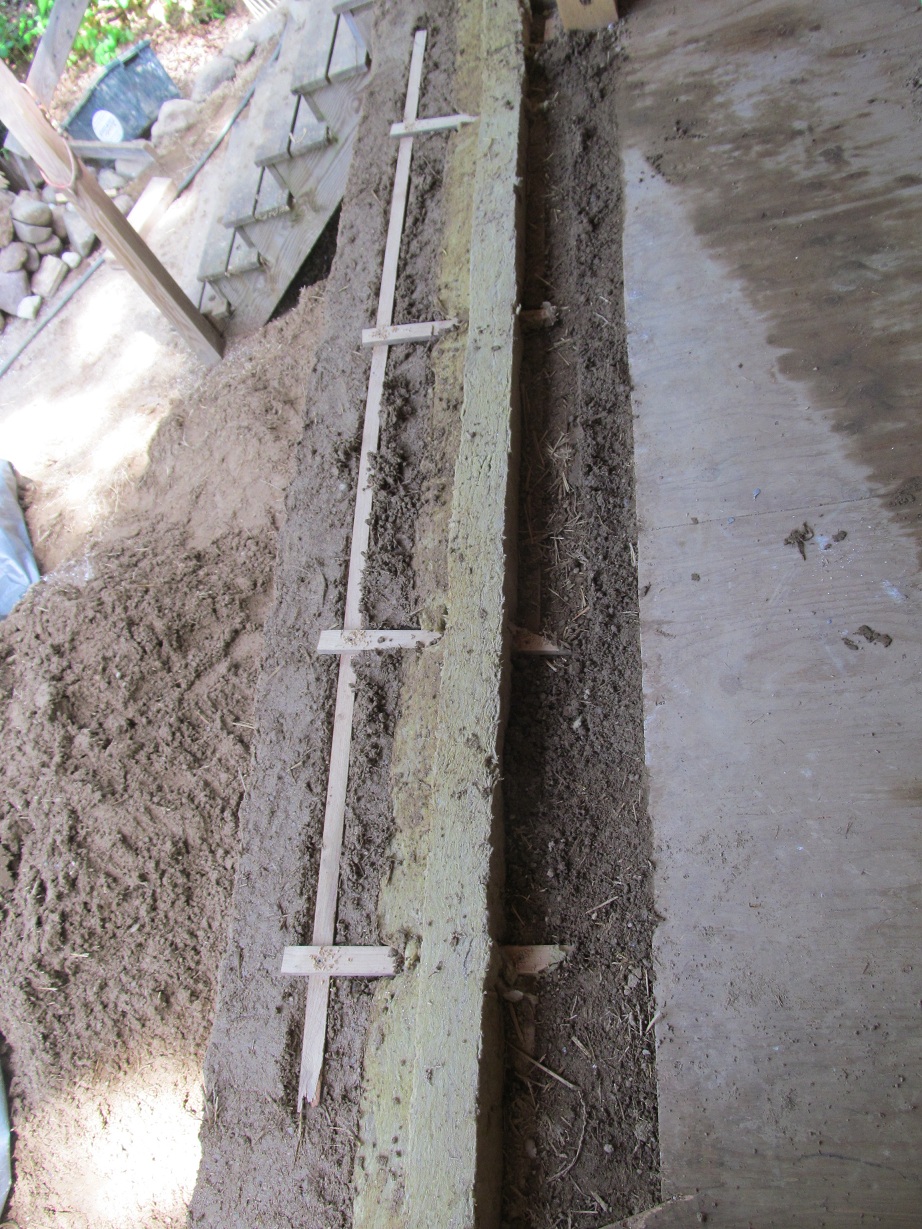
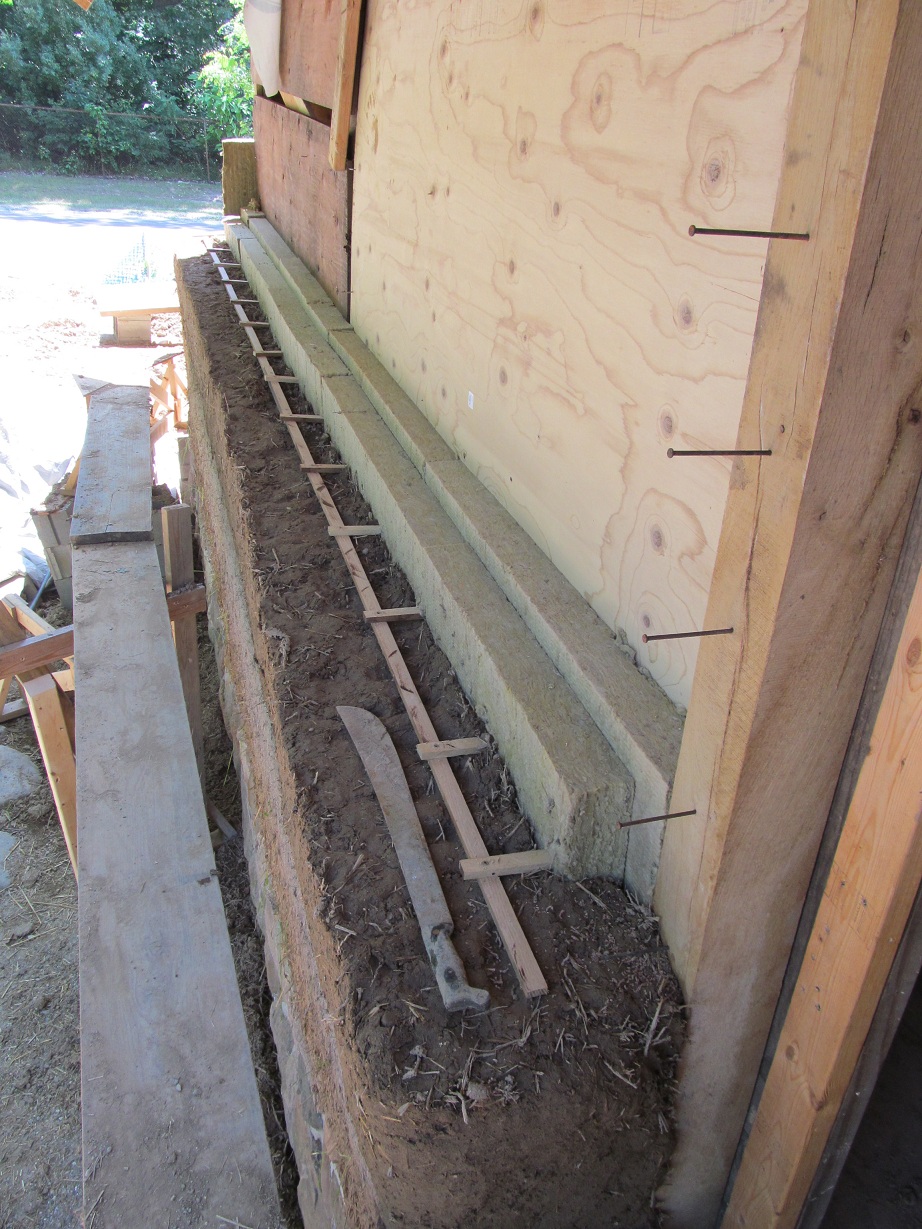


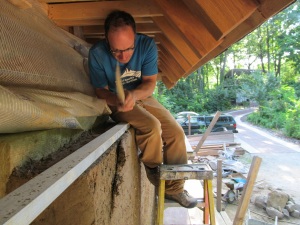
Each day starts with using a machete to trim the cob from the day before along a string line or the long bar of aluminum pictured.
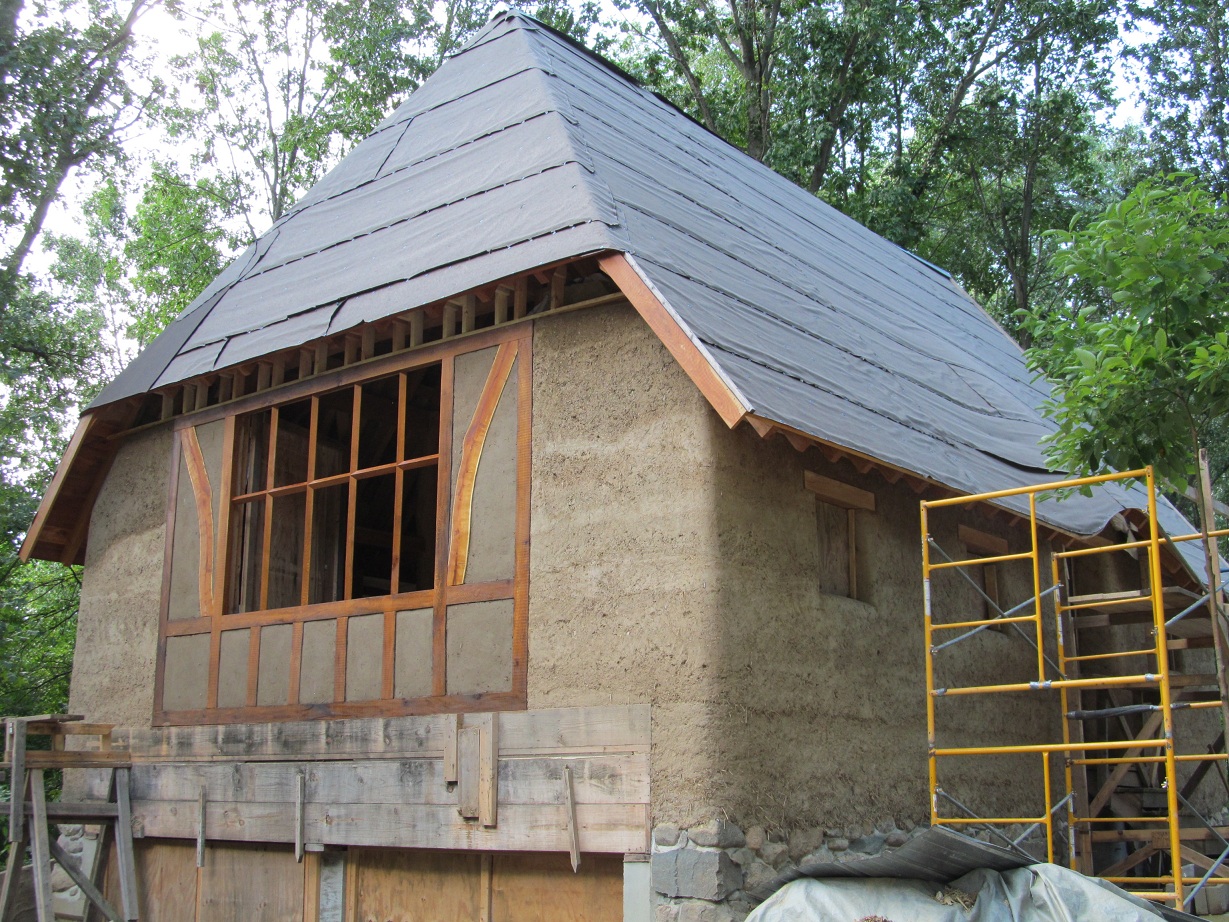
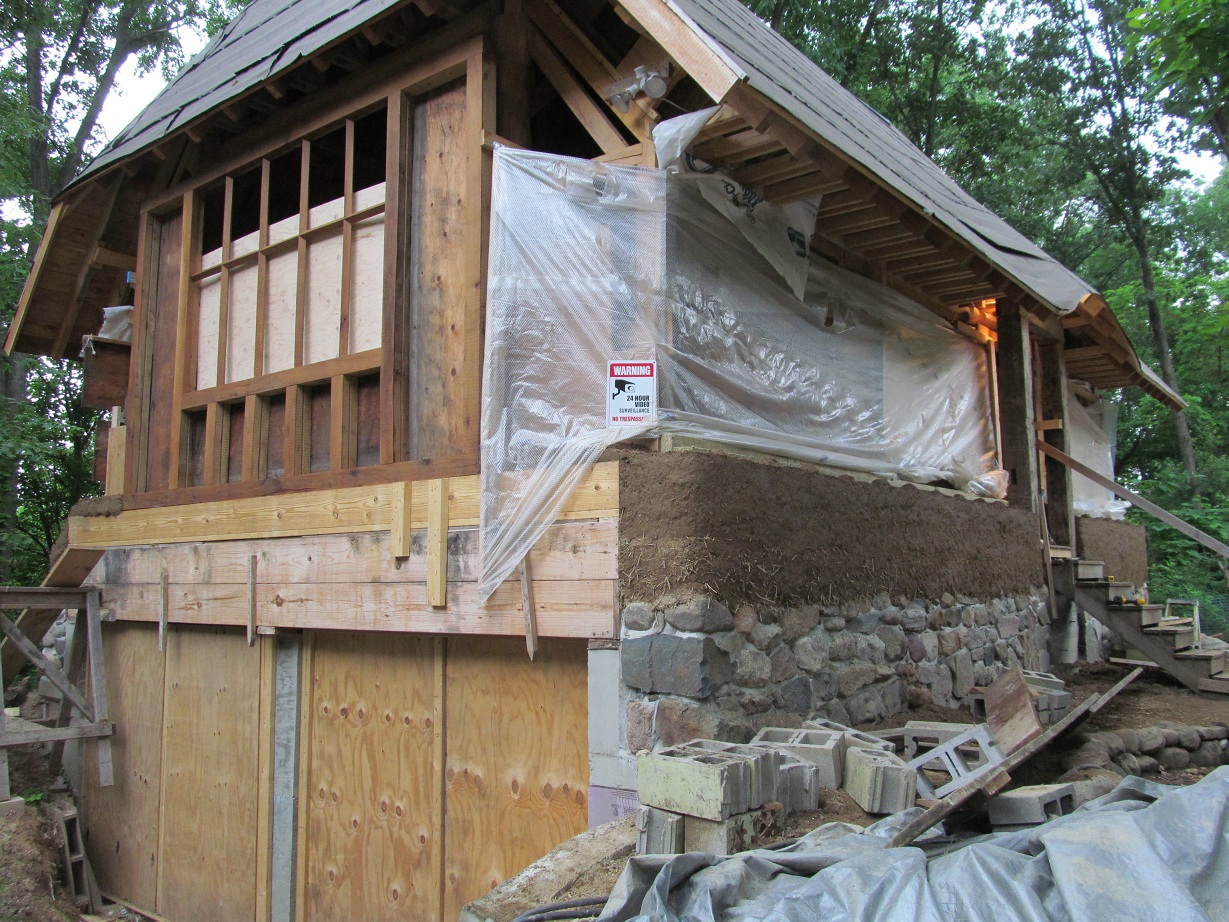
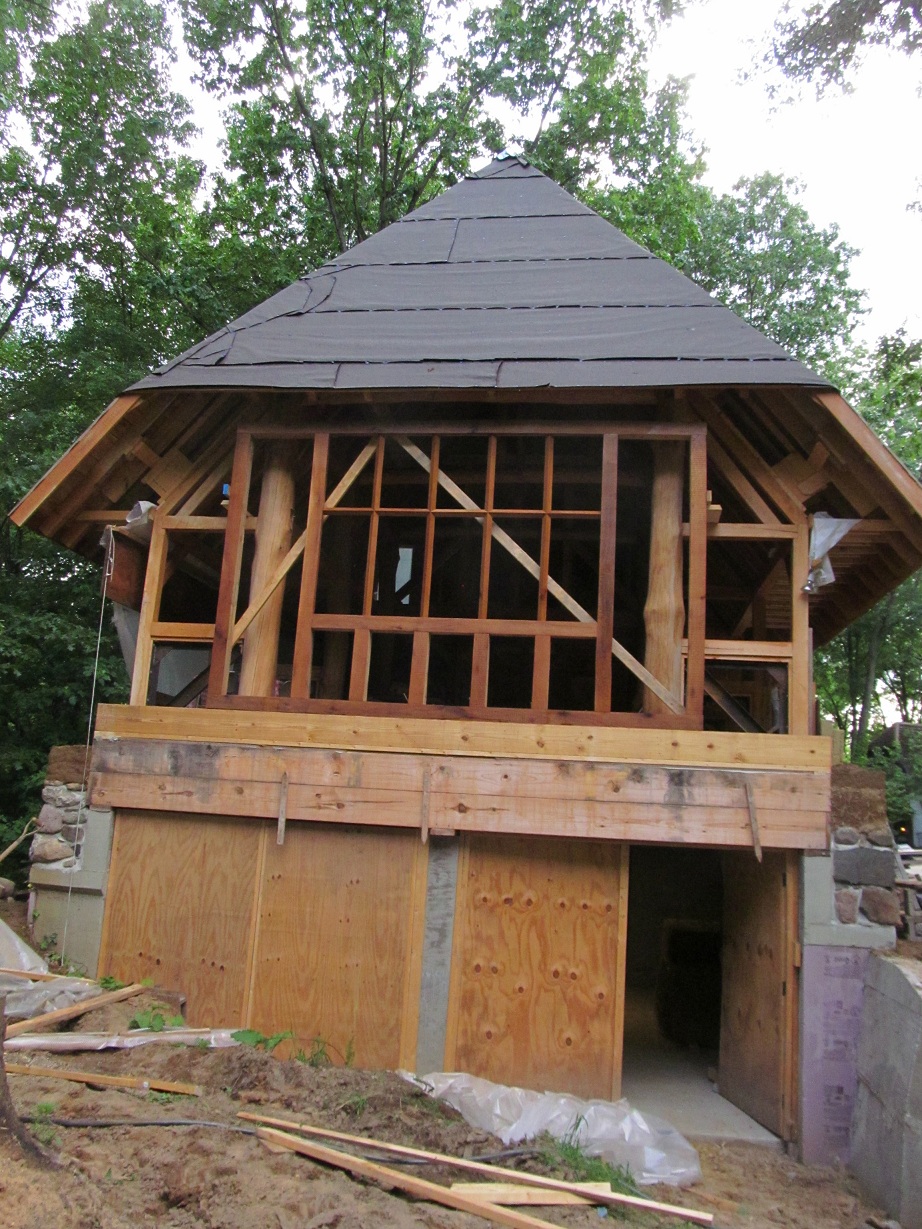
White oak gable end wall built from 5×5″ rough sawn and 2×2″ for the mullions and transom. will have wattle and daub or light straw clay infill. The window is a tudor style 10 lite window, which wouldn’t be historically accurate for a cob house. The 2 car garage in the lower level will have an awning roof which is not framed yet.

Some more progress today with a new mix of cob with less straw.
June 4th. First day of cobbing. The high straw content of this first batch is challenging. Tony came by at the end of the day and helped fork some cob onto the wall.


Pile of cob. And a toad who I discovered when I pulled back the tarp.
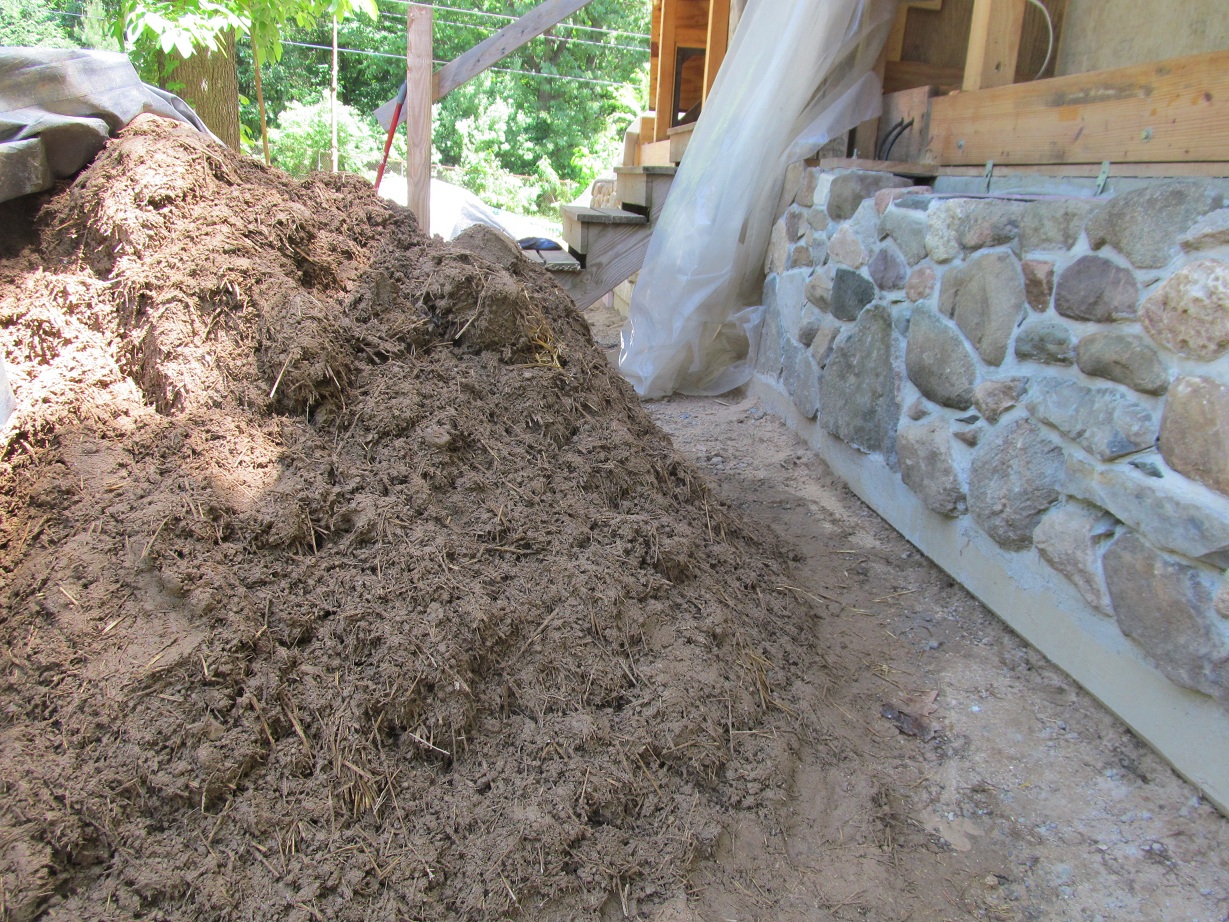

June 3rd. Mixing the cob. Solomon is flaking straw into the mix. We went with at least 1 two string bale of straw per cubic yard of material. As we split the intial pile to reserve some of it for the next batch, it was an estimate, so we ended up with a straw heavy mix which will boost the insulation value, but make the workability a bit more challenging.

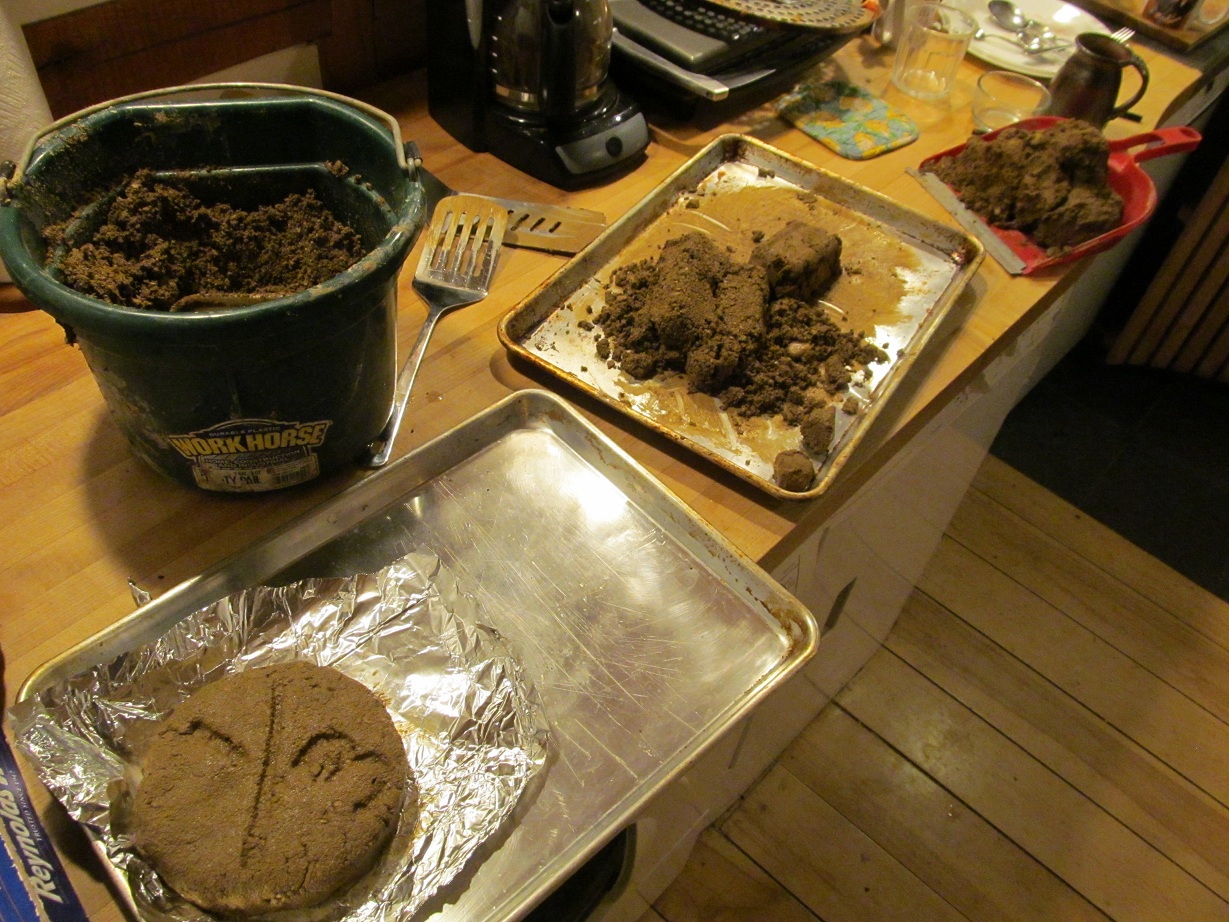
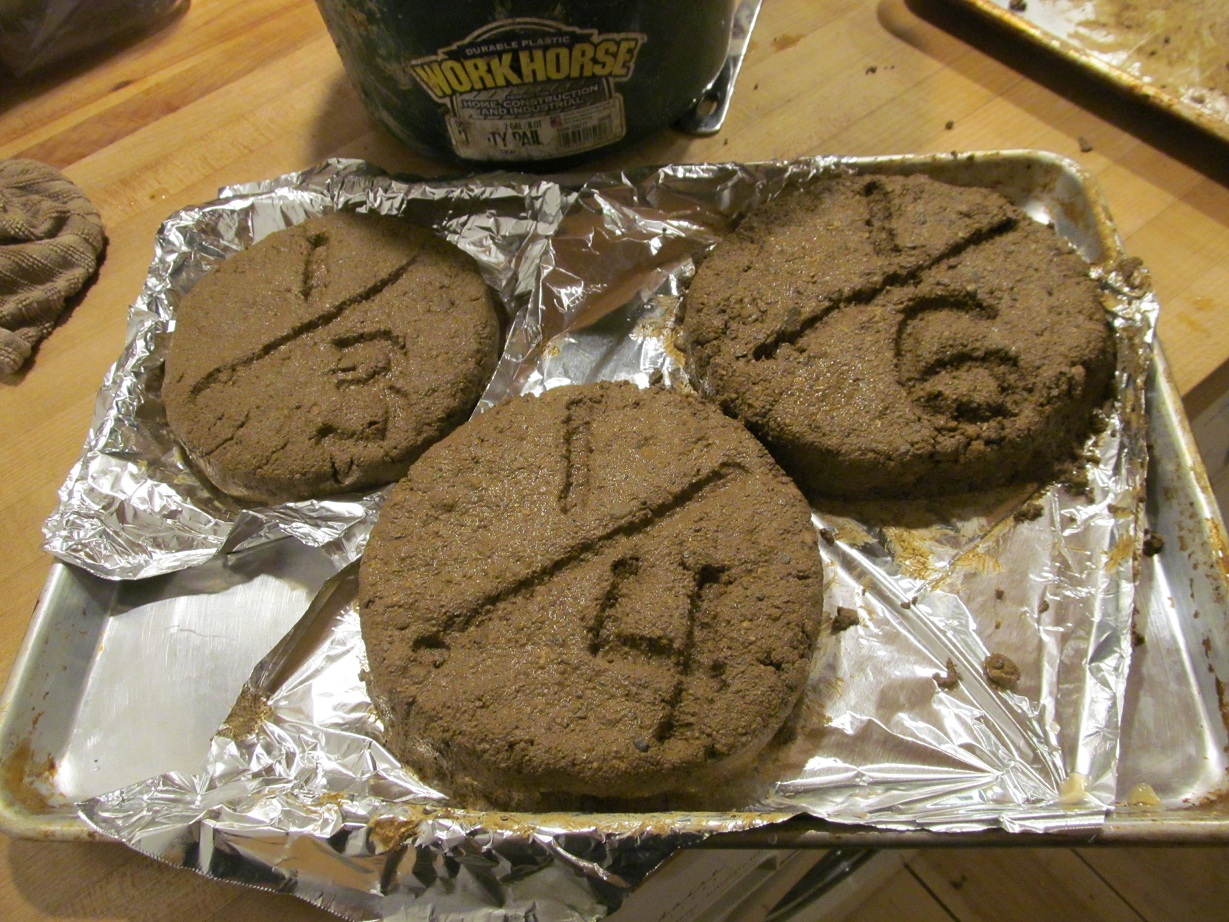
Cob test cookies. Got a 22 ton load of material from Yellow Creek Gravel. 1/3 of the load is clay and 2/3 is a sand gravel mix. Cost $8.75/ton. All three test cookies came out nice and hard.

Fieldstone. And Dad standing in the reclaimed 8″x8″ hand hewn barn beam door frame which we later removed as it didn’t fit the style.


Fieldstone stem wall.

Gable end wall section made from white oak with large 10 lite window:

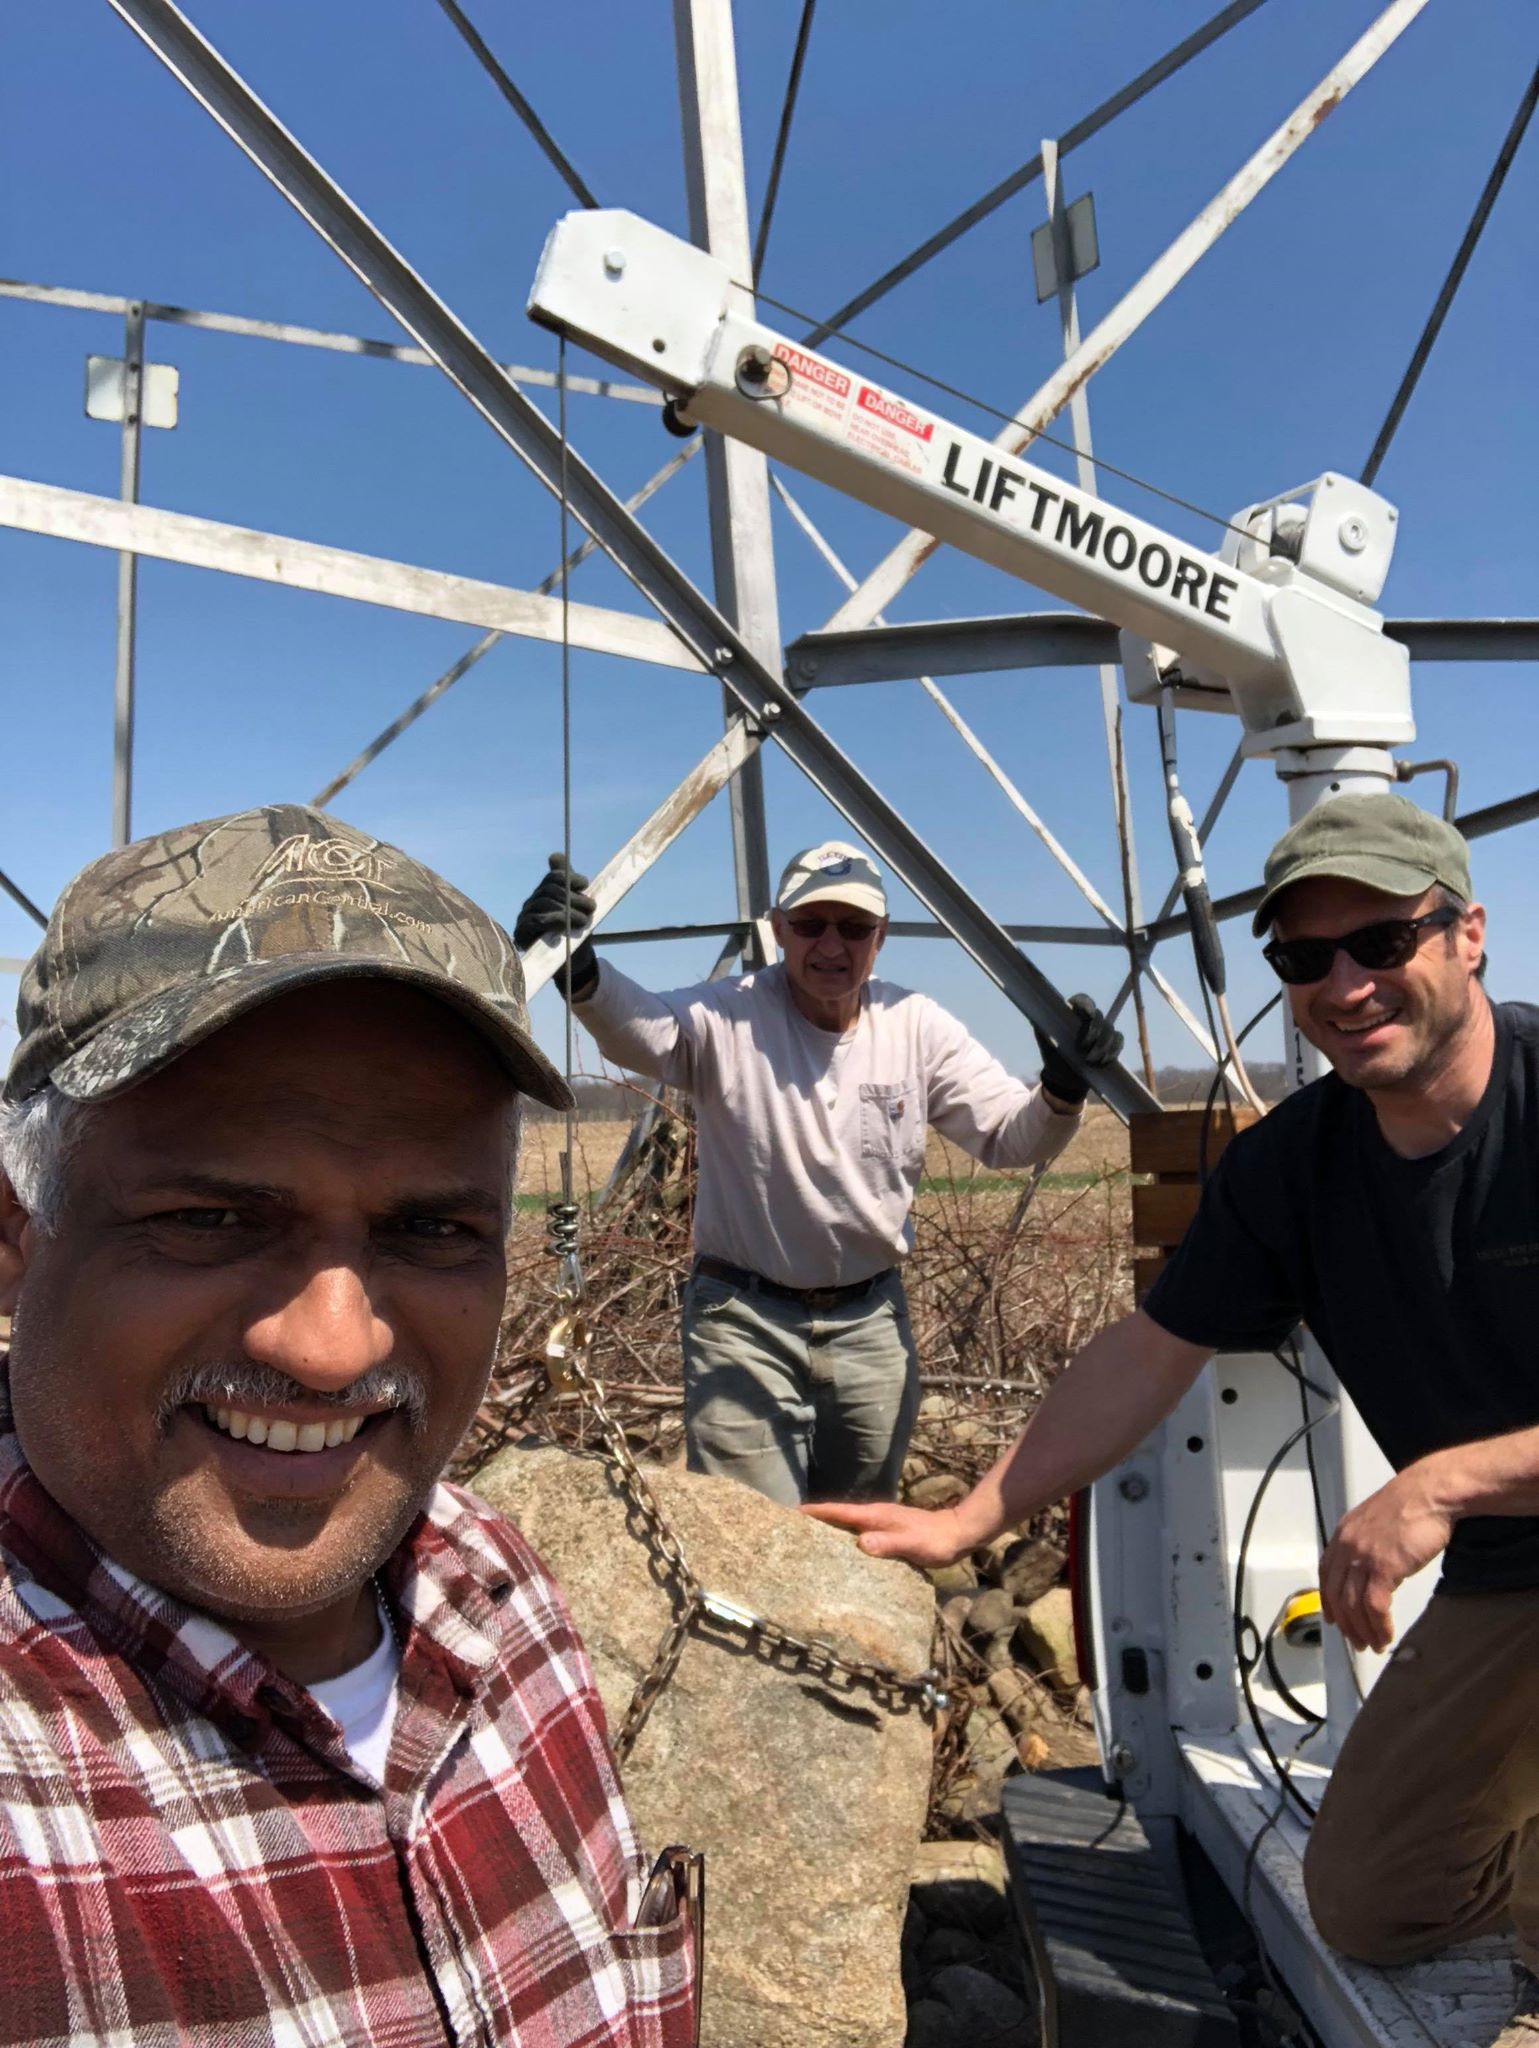
April 26th: Dad, Wade, and me gathering field stone from the Gall farm south of Goshen:

April 5th: Curved mulberry logs cut in half. They will be incorporated as braces in the gable end wall which will be mostly built of 5×5″ white oak.

Just finished up with some framing details, and putting another coat of beeswax and mineral oil on the frame:

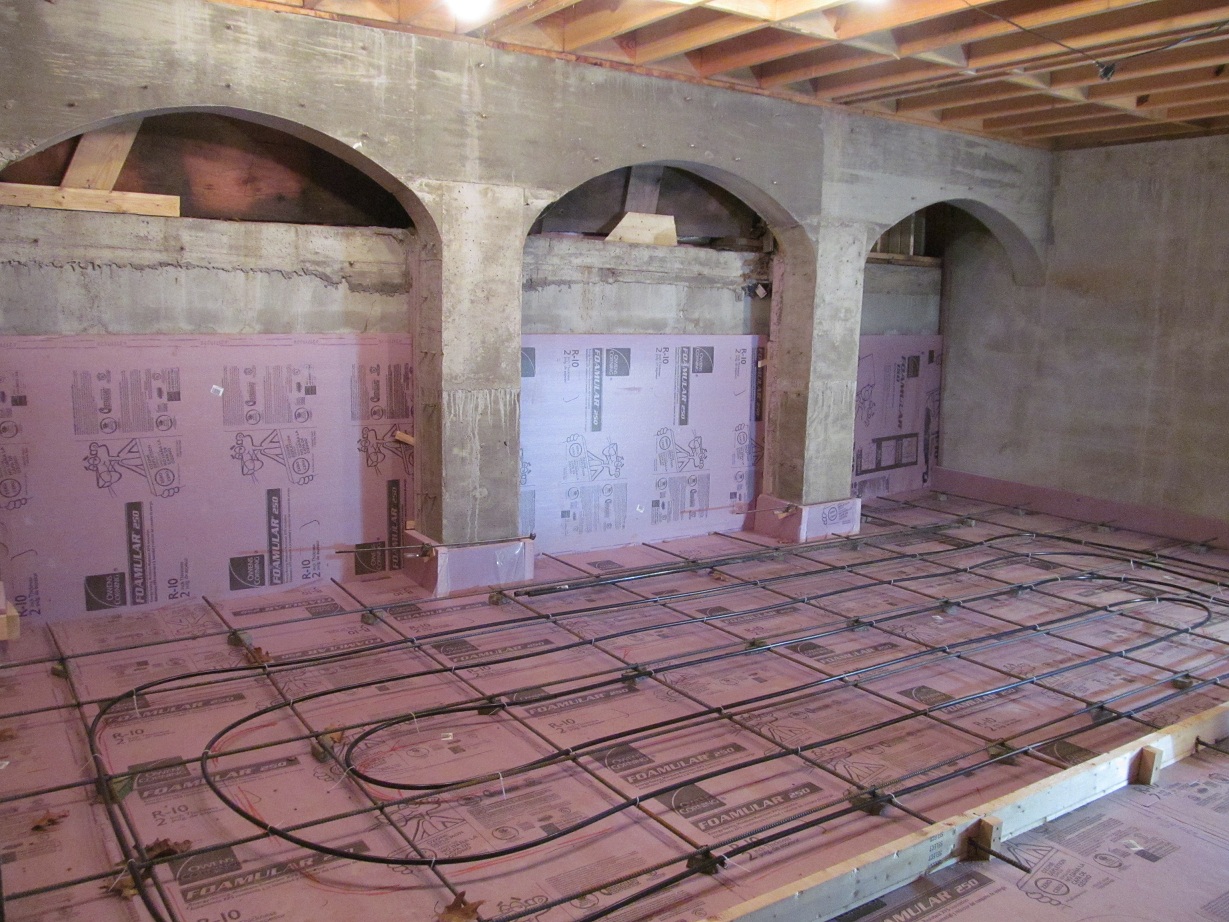
Dec 3. Radiant heat in the basement:
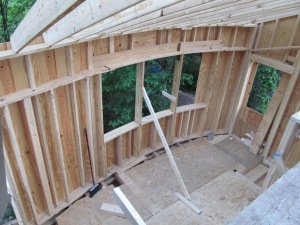
Framing the half hip:


August 24th: Working on eyebrow arch over front door area.


Framing for the front door eyebrow arch.
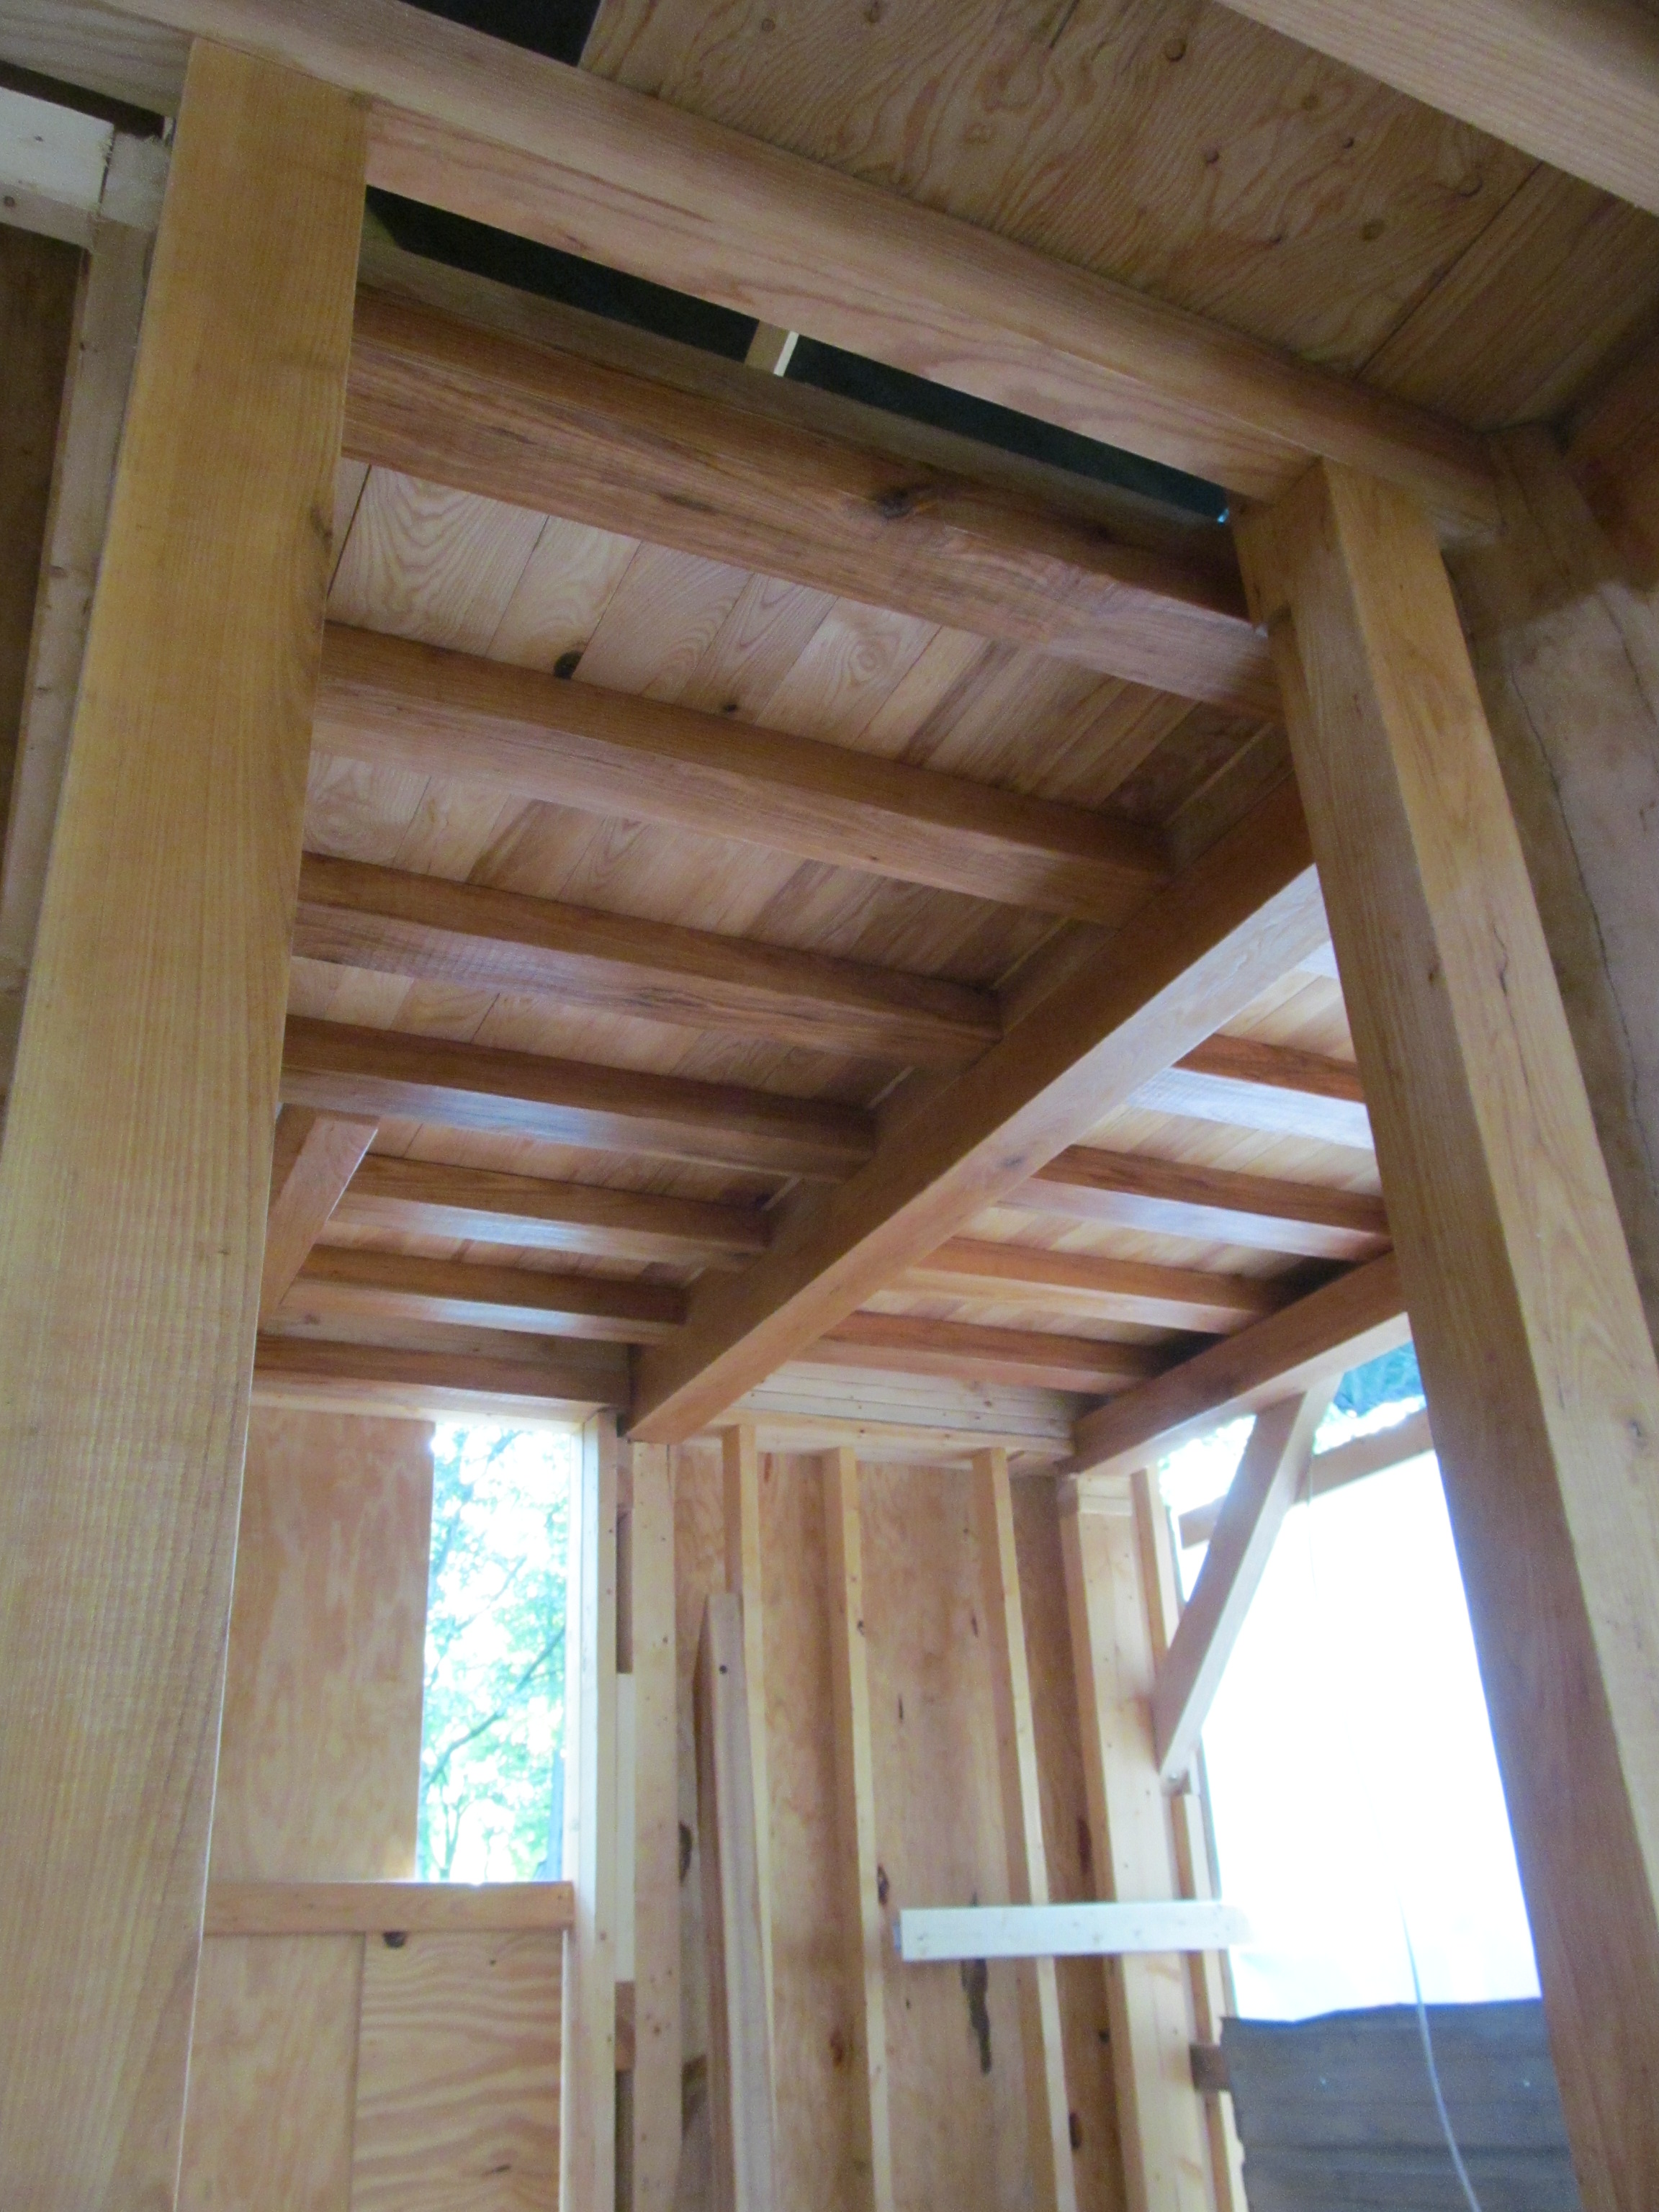
Shiplapped ash ceiling which also acts as a subfloor for the loft areas.
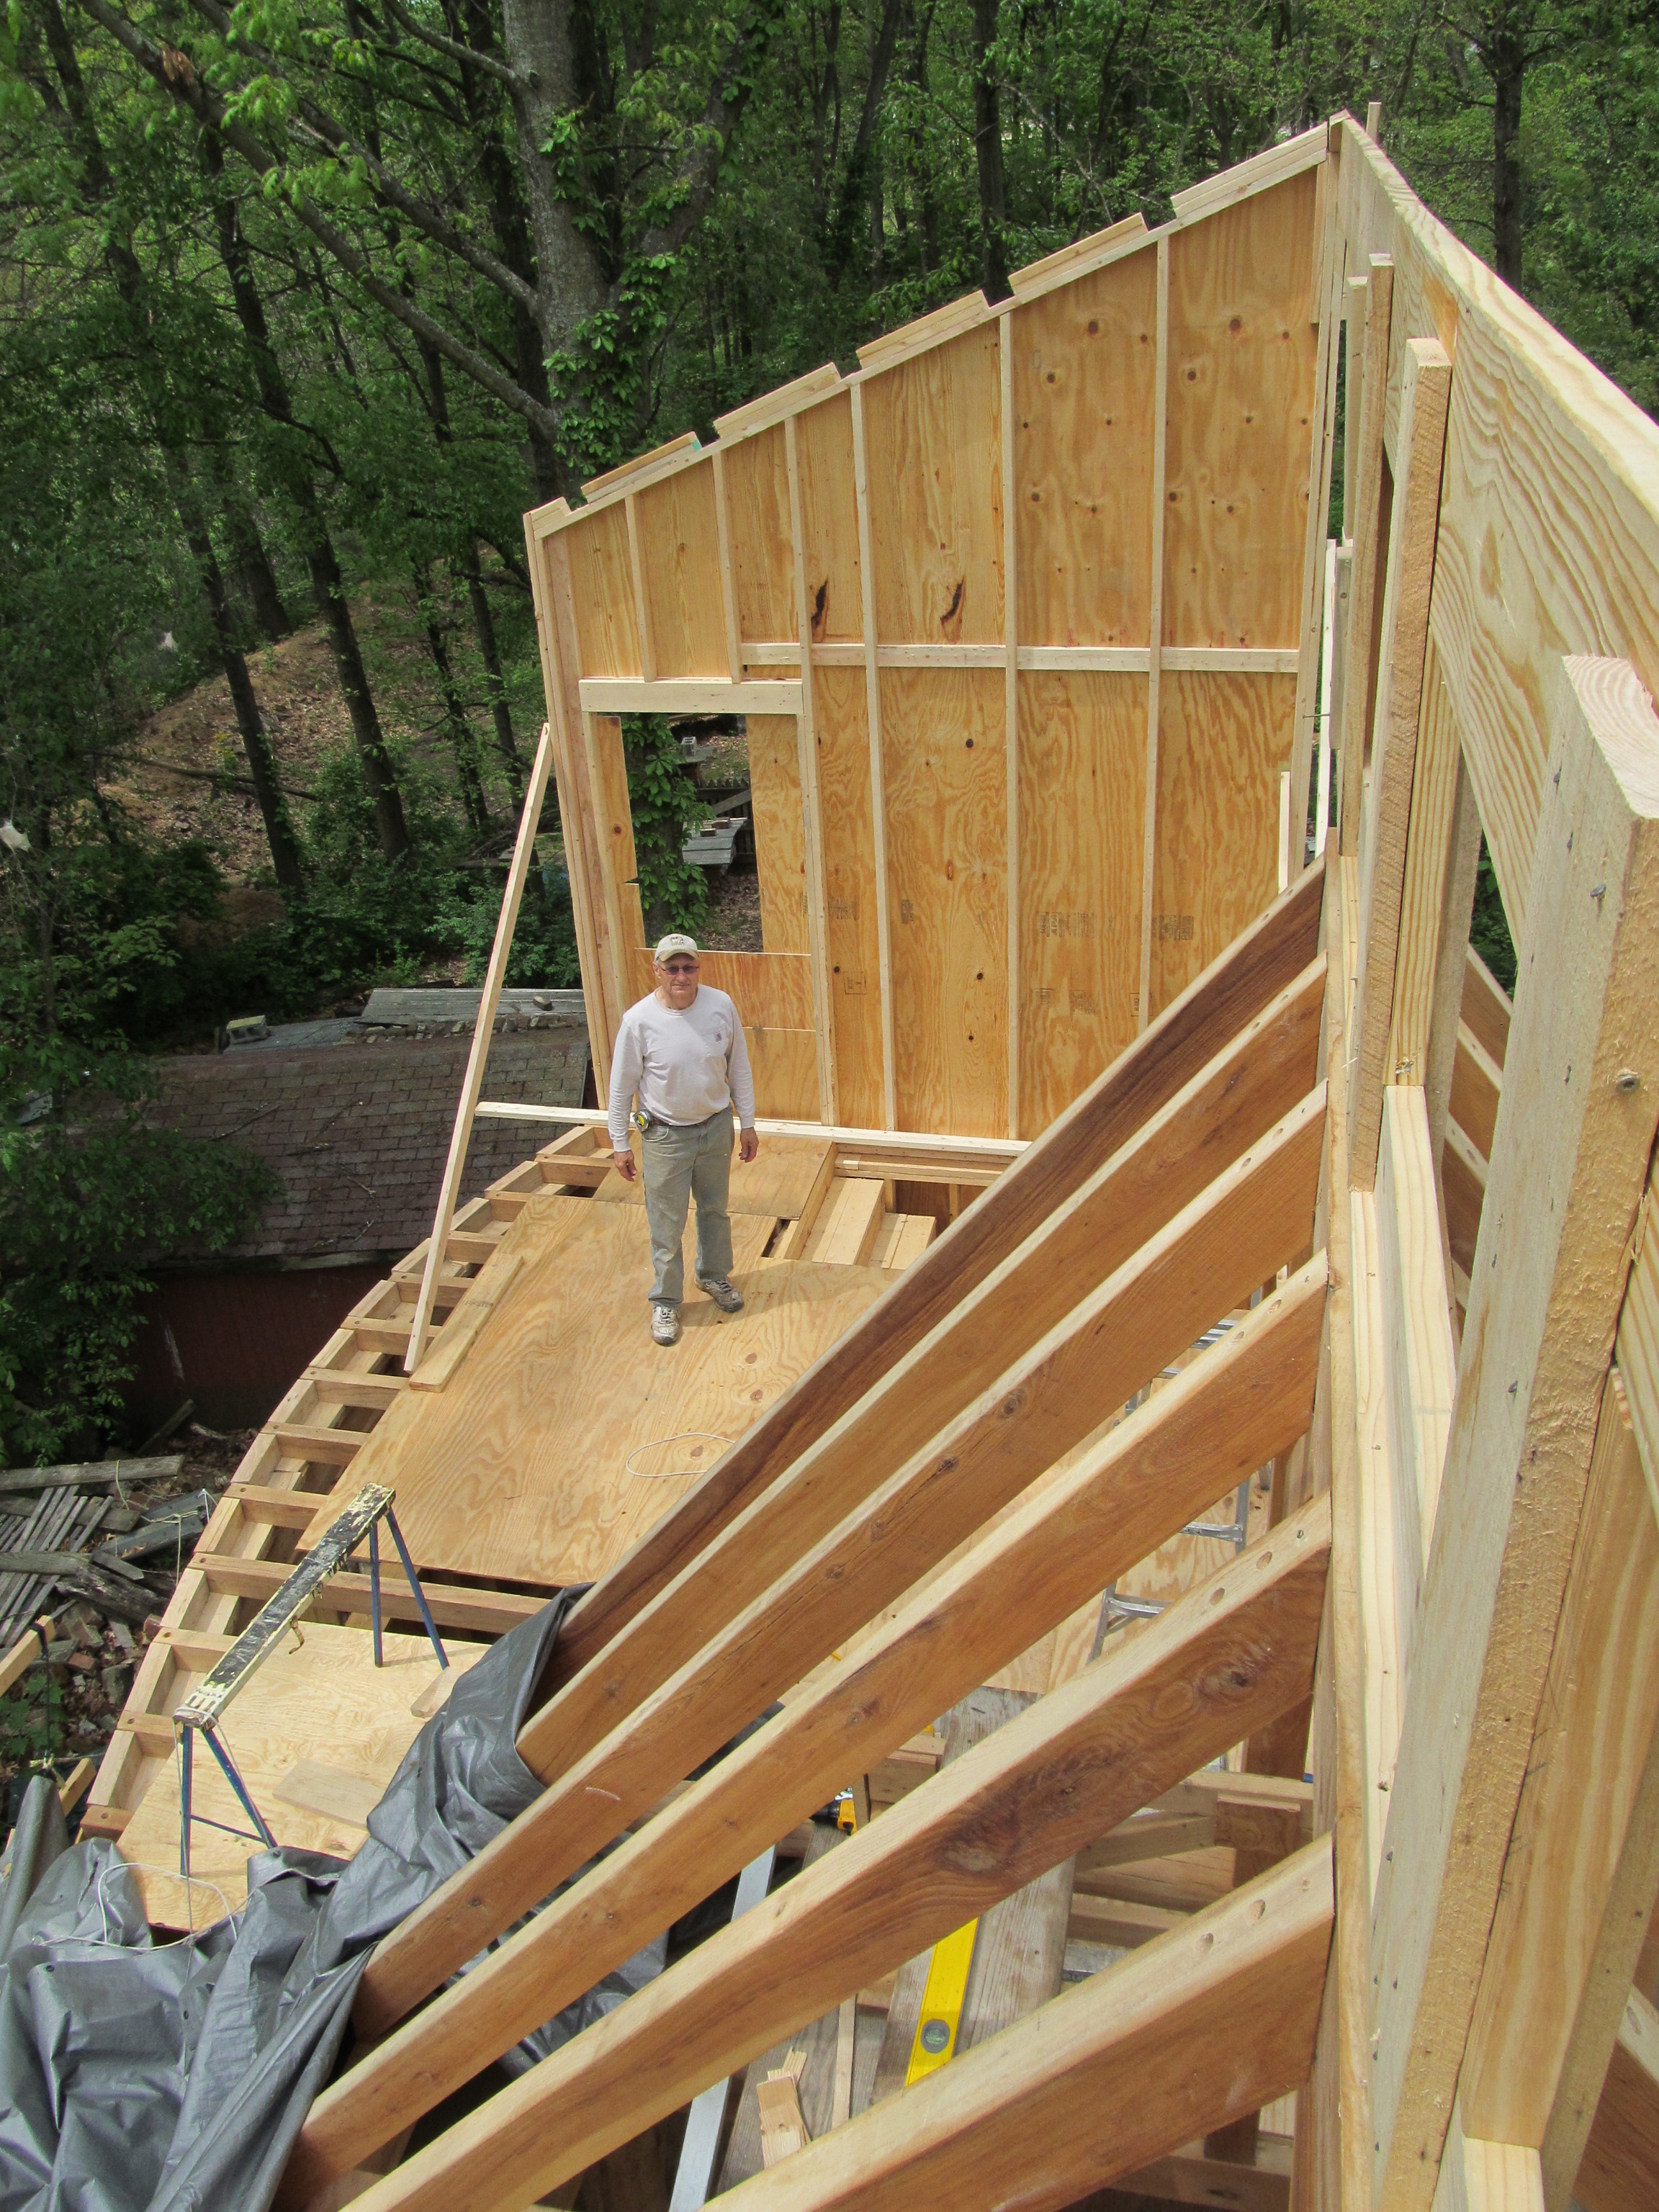
July: standing seam metal is now installed on the roof over the upper level bedroom. The rest of the roof will be slate.
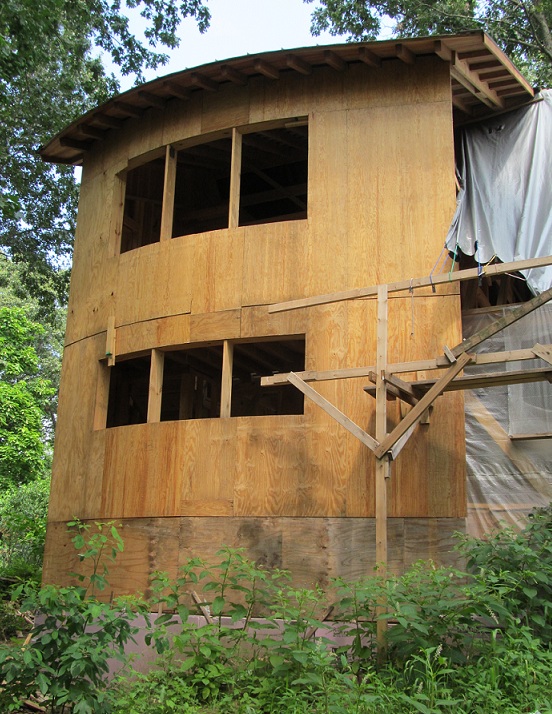

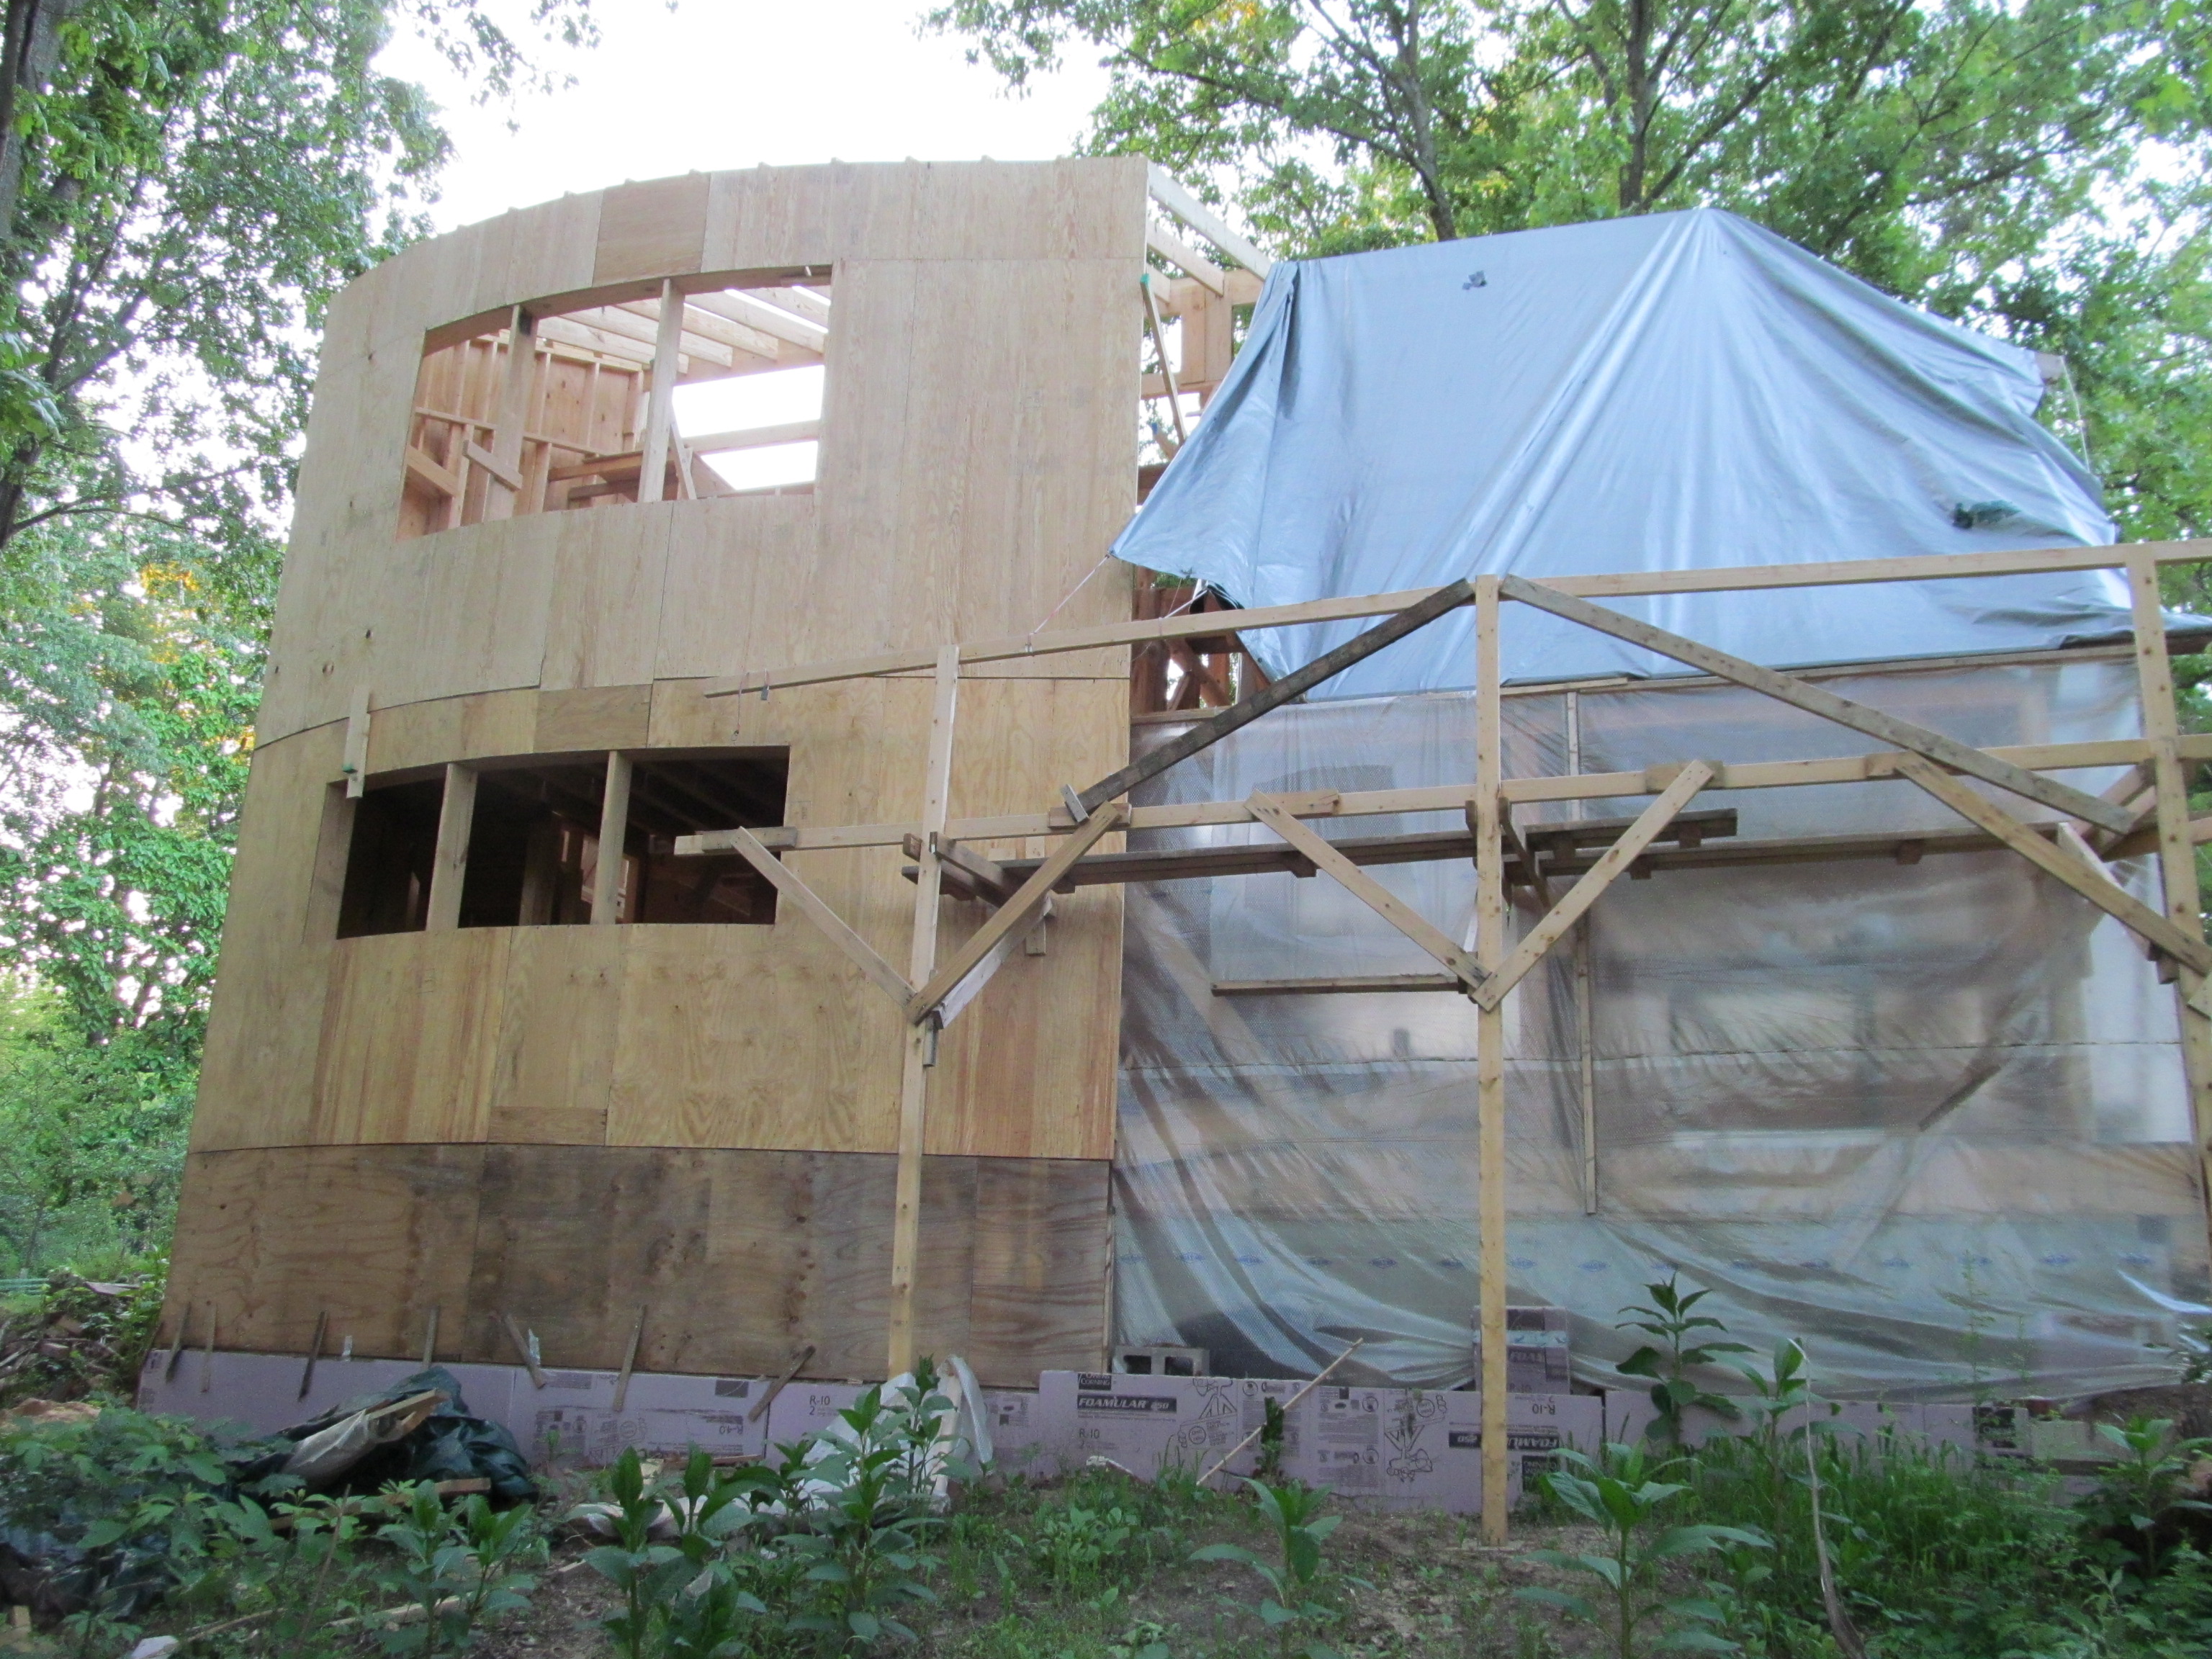
May 31st. We got some rafters on today. The curved wall which faces south is conventionally framed and will be covered completely by a flat plate solar collector which will heat water for for hot water and space heating. The part of the house to the right in the picture above will be field stone and cob.

View from the peak towards the first straw bale and cob house.


January 10th. I worked on the house for the first time in a month as we had unseasonably warm weather. The first framing section went up in December.
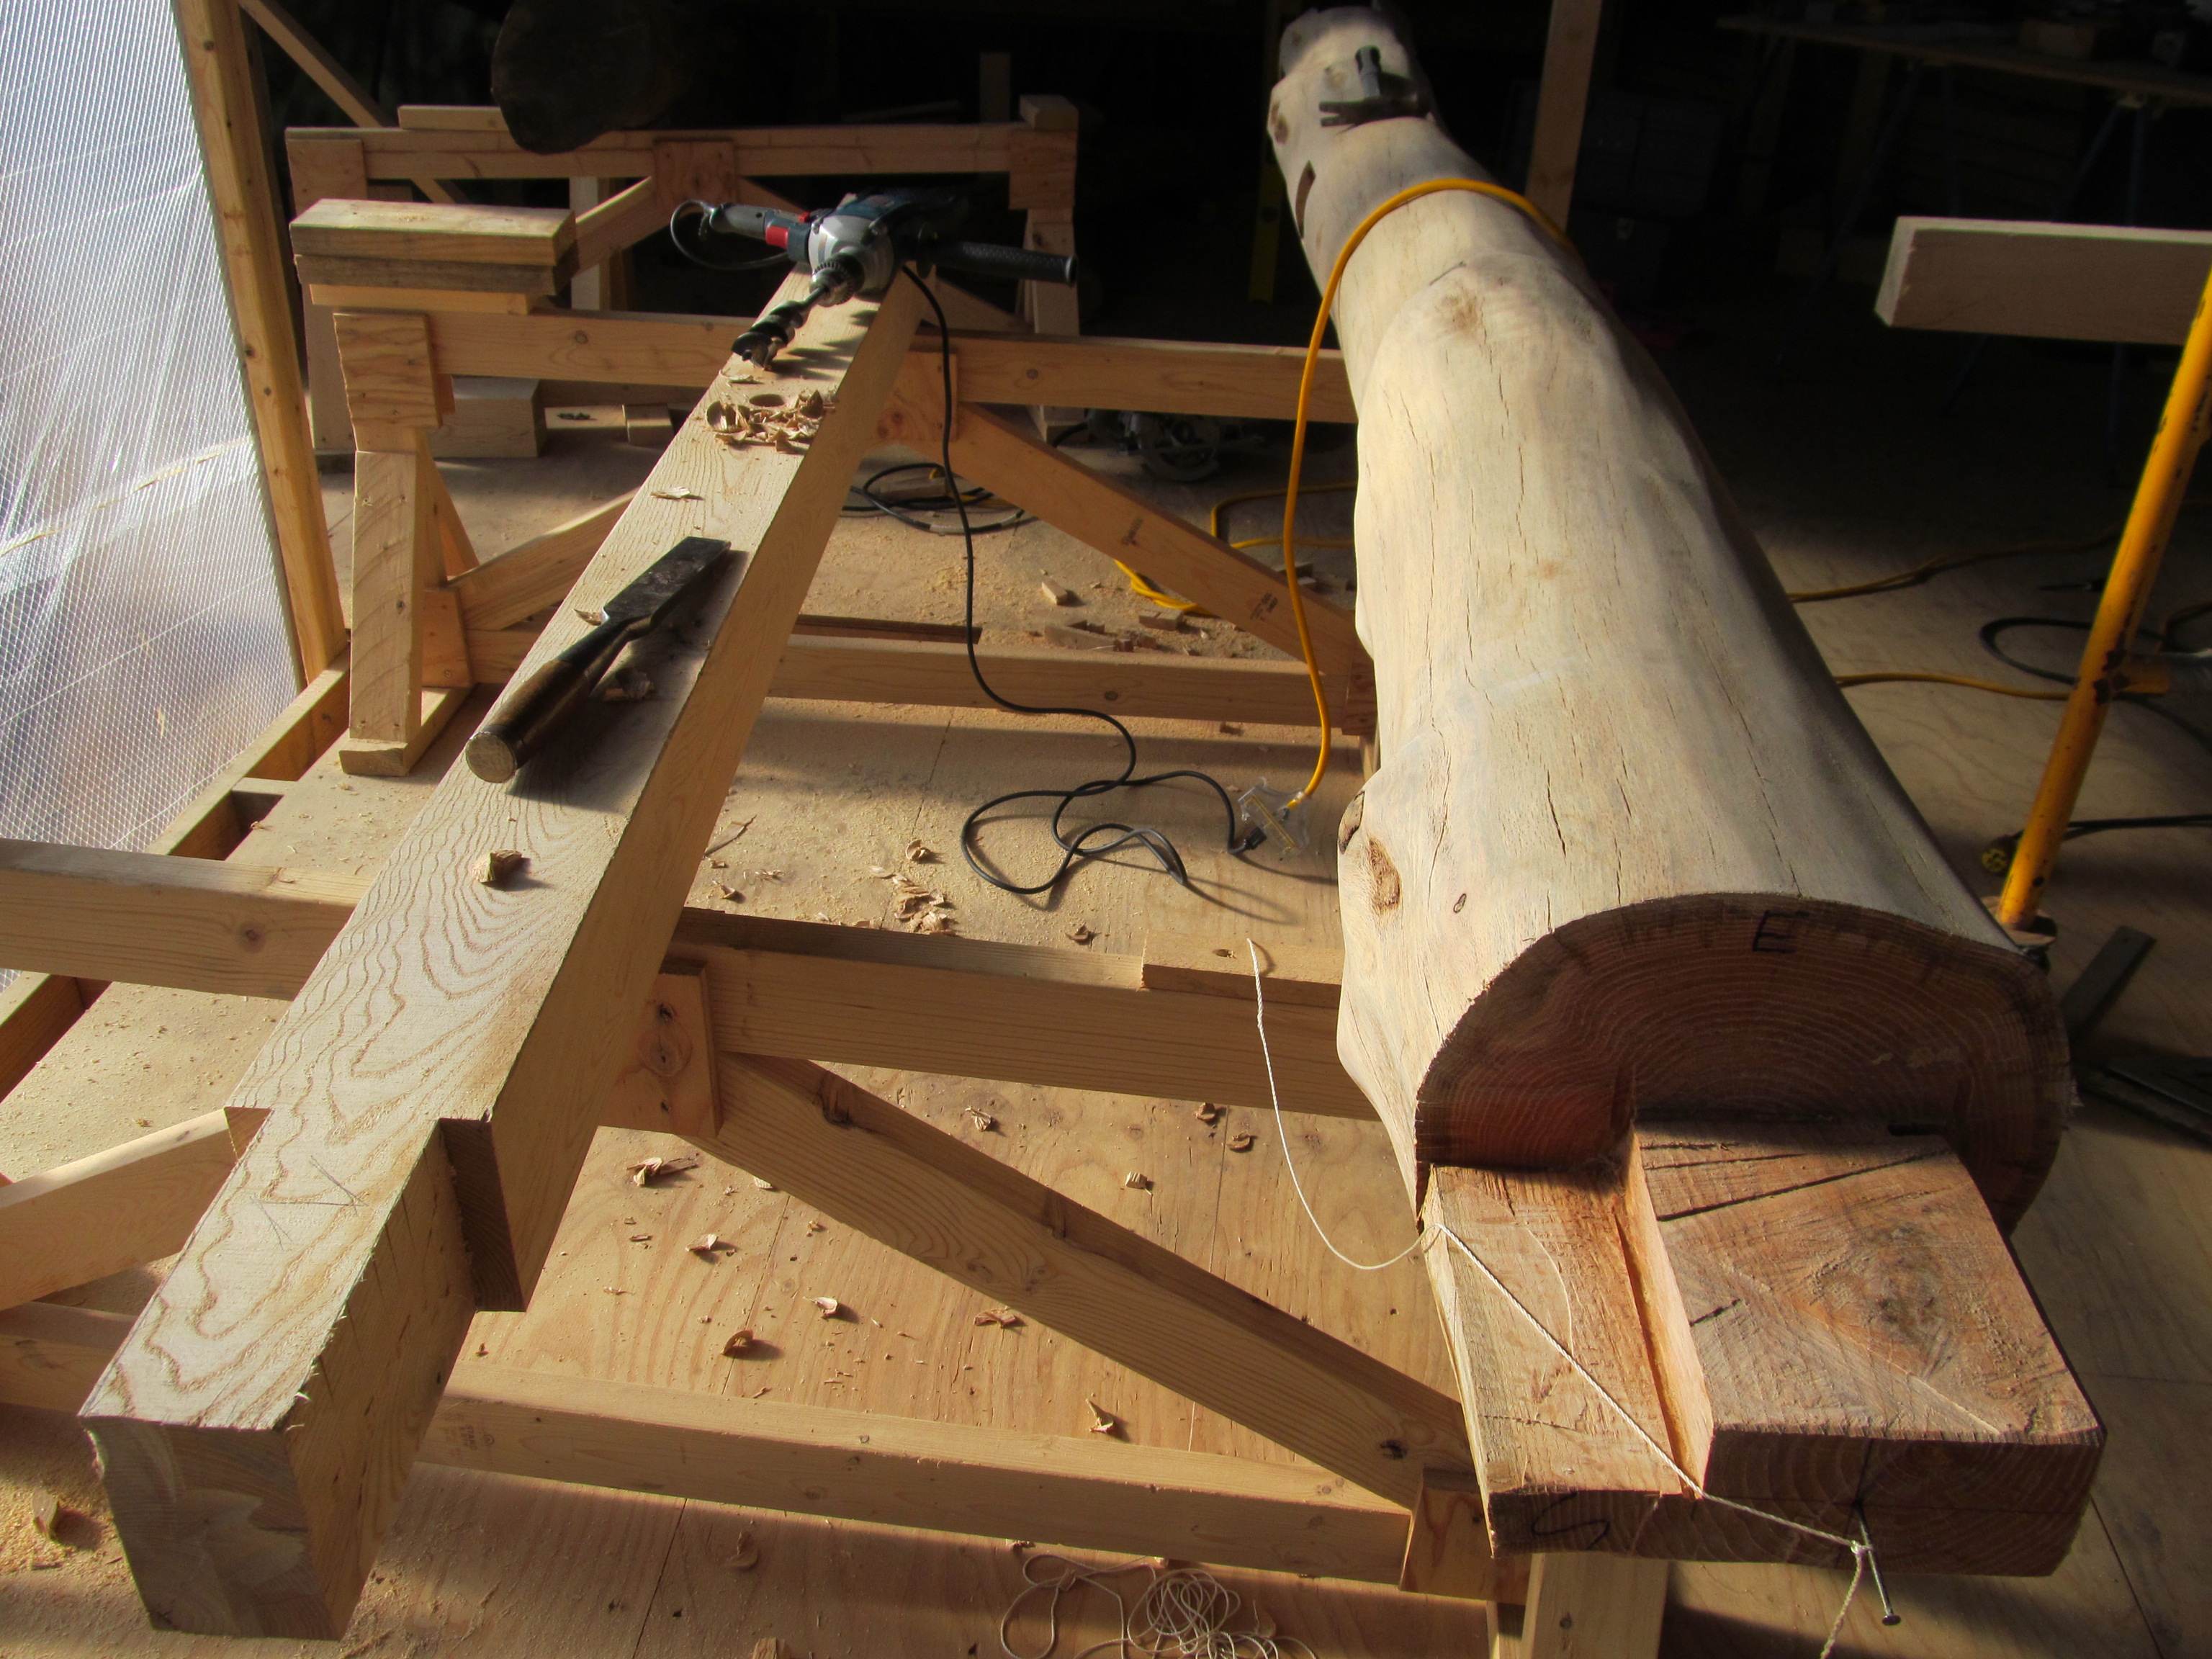
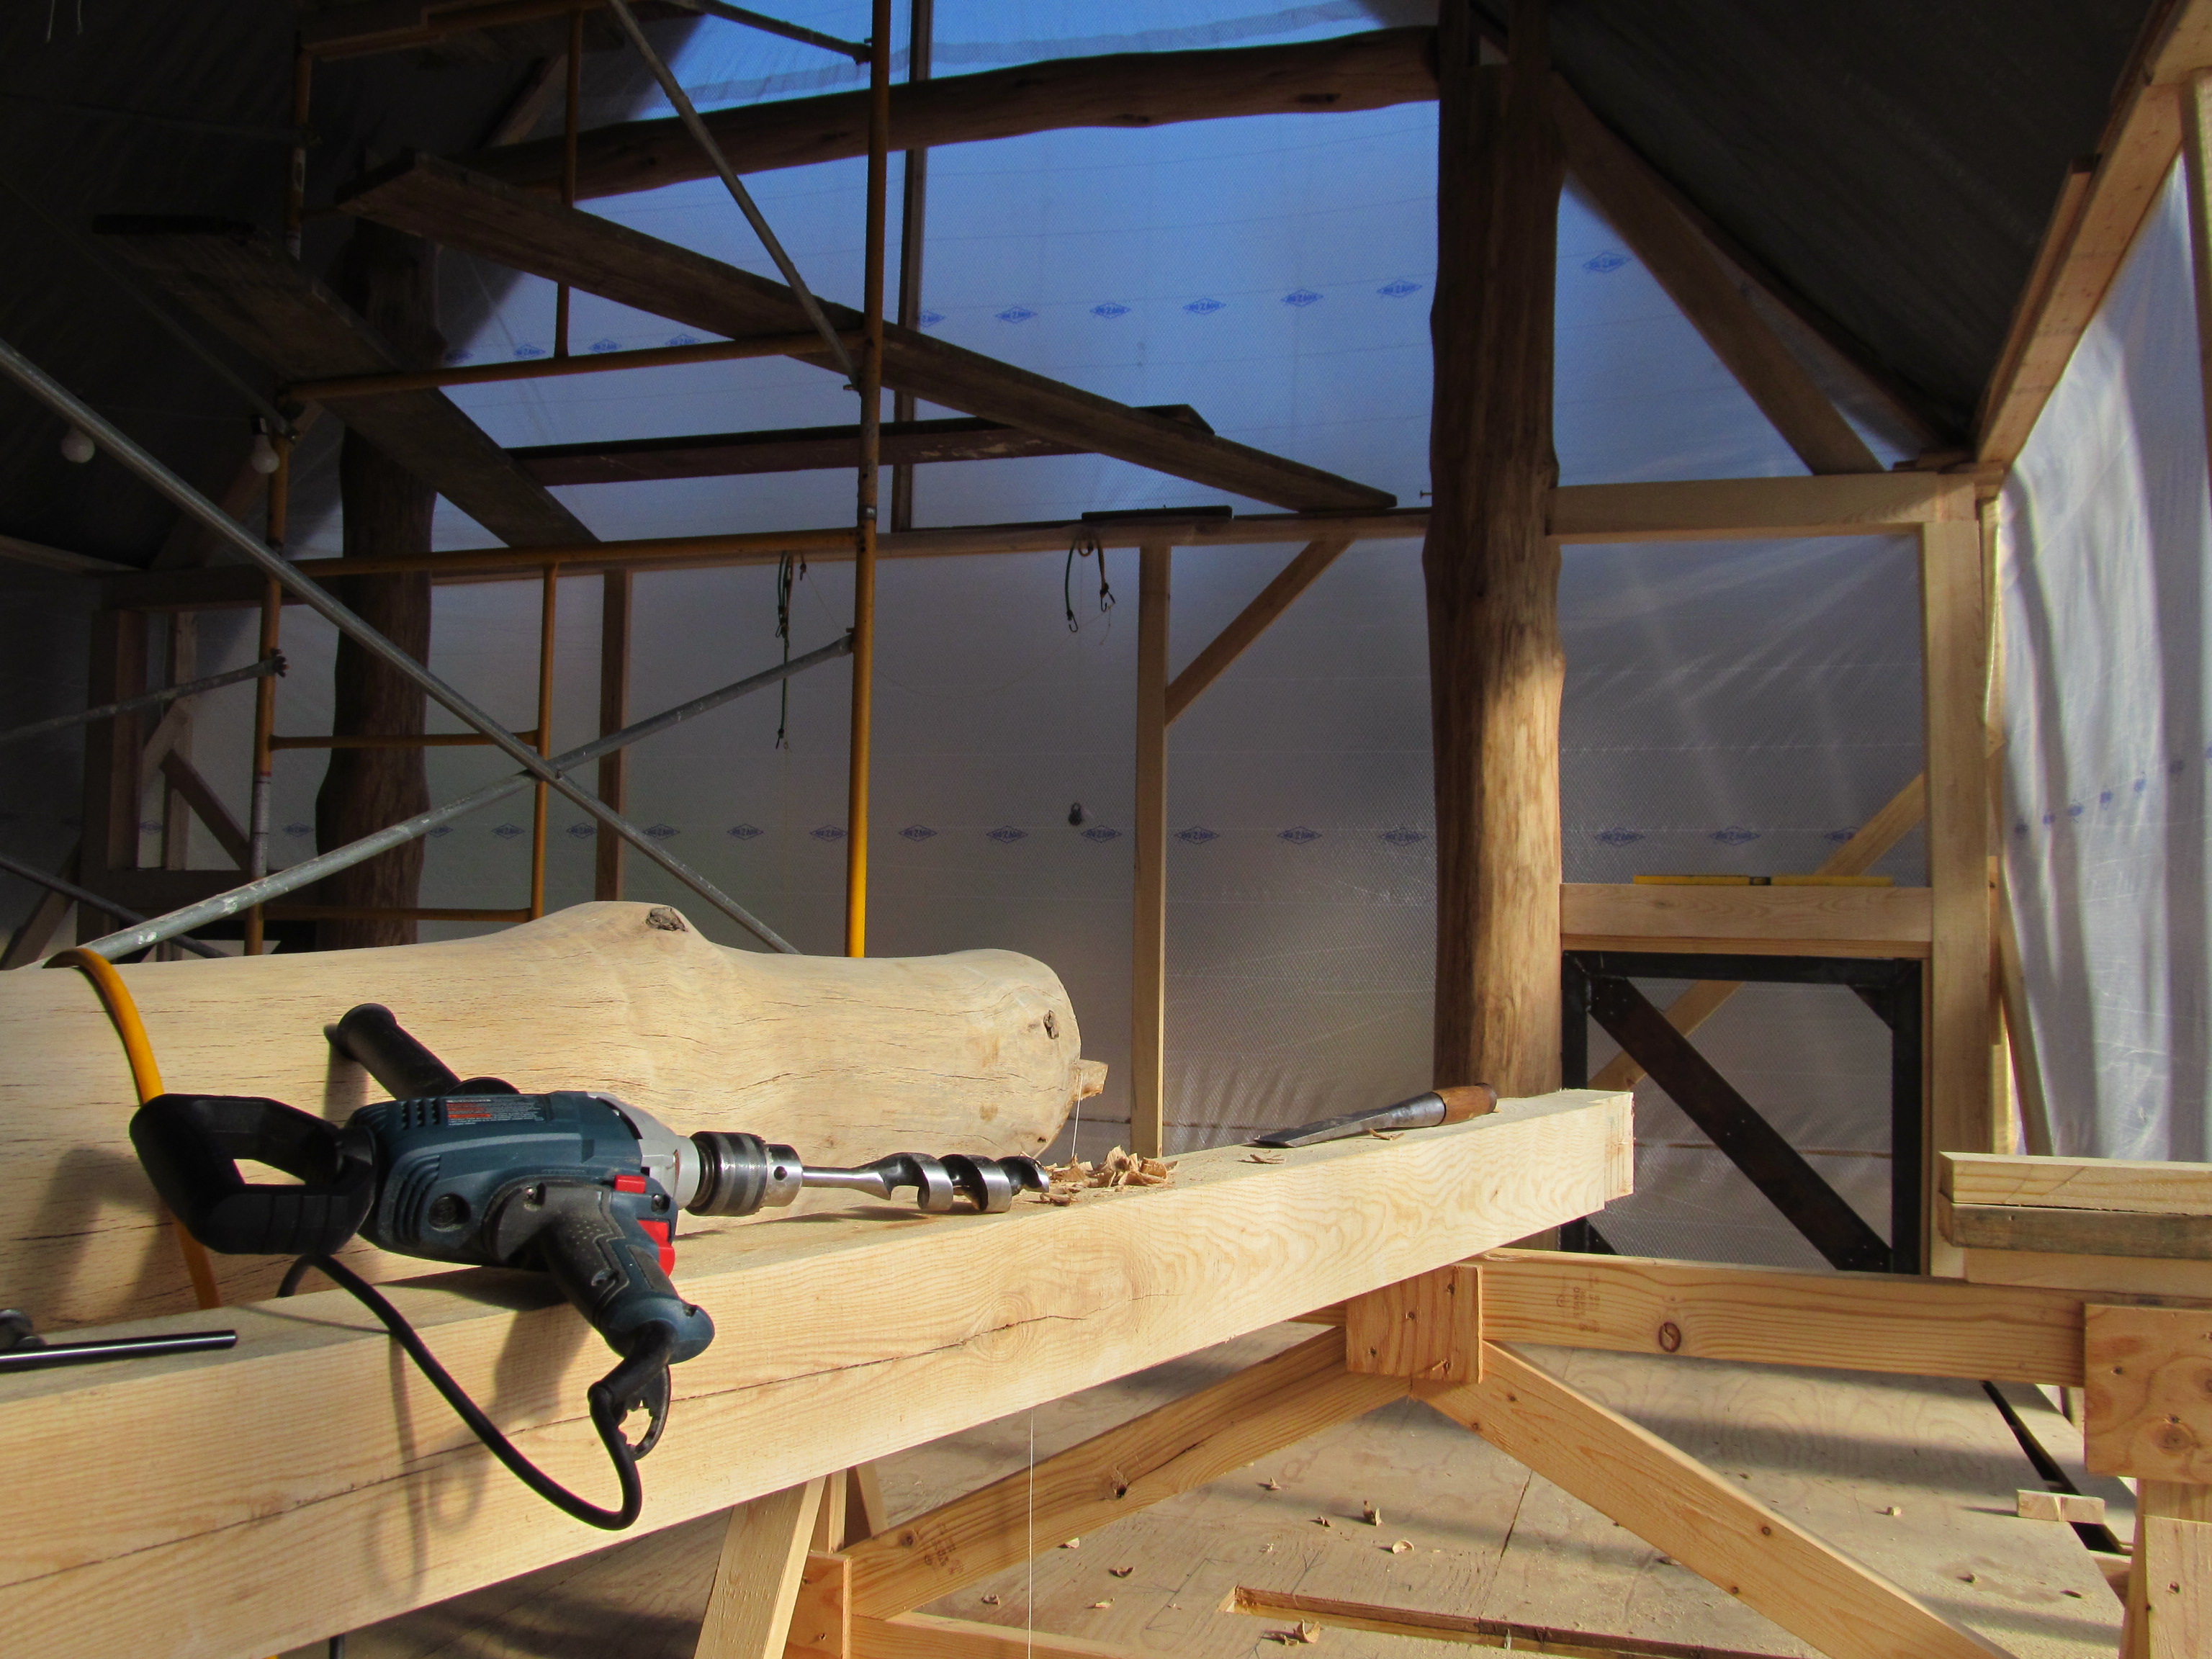
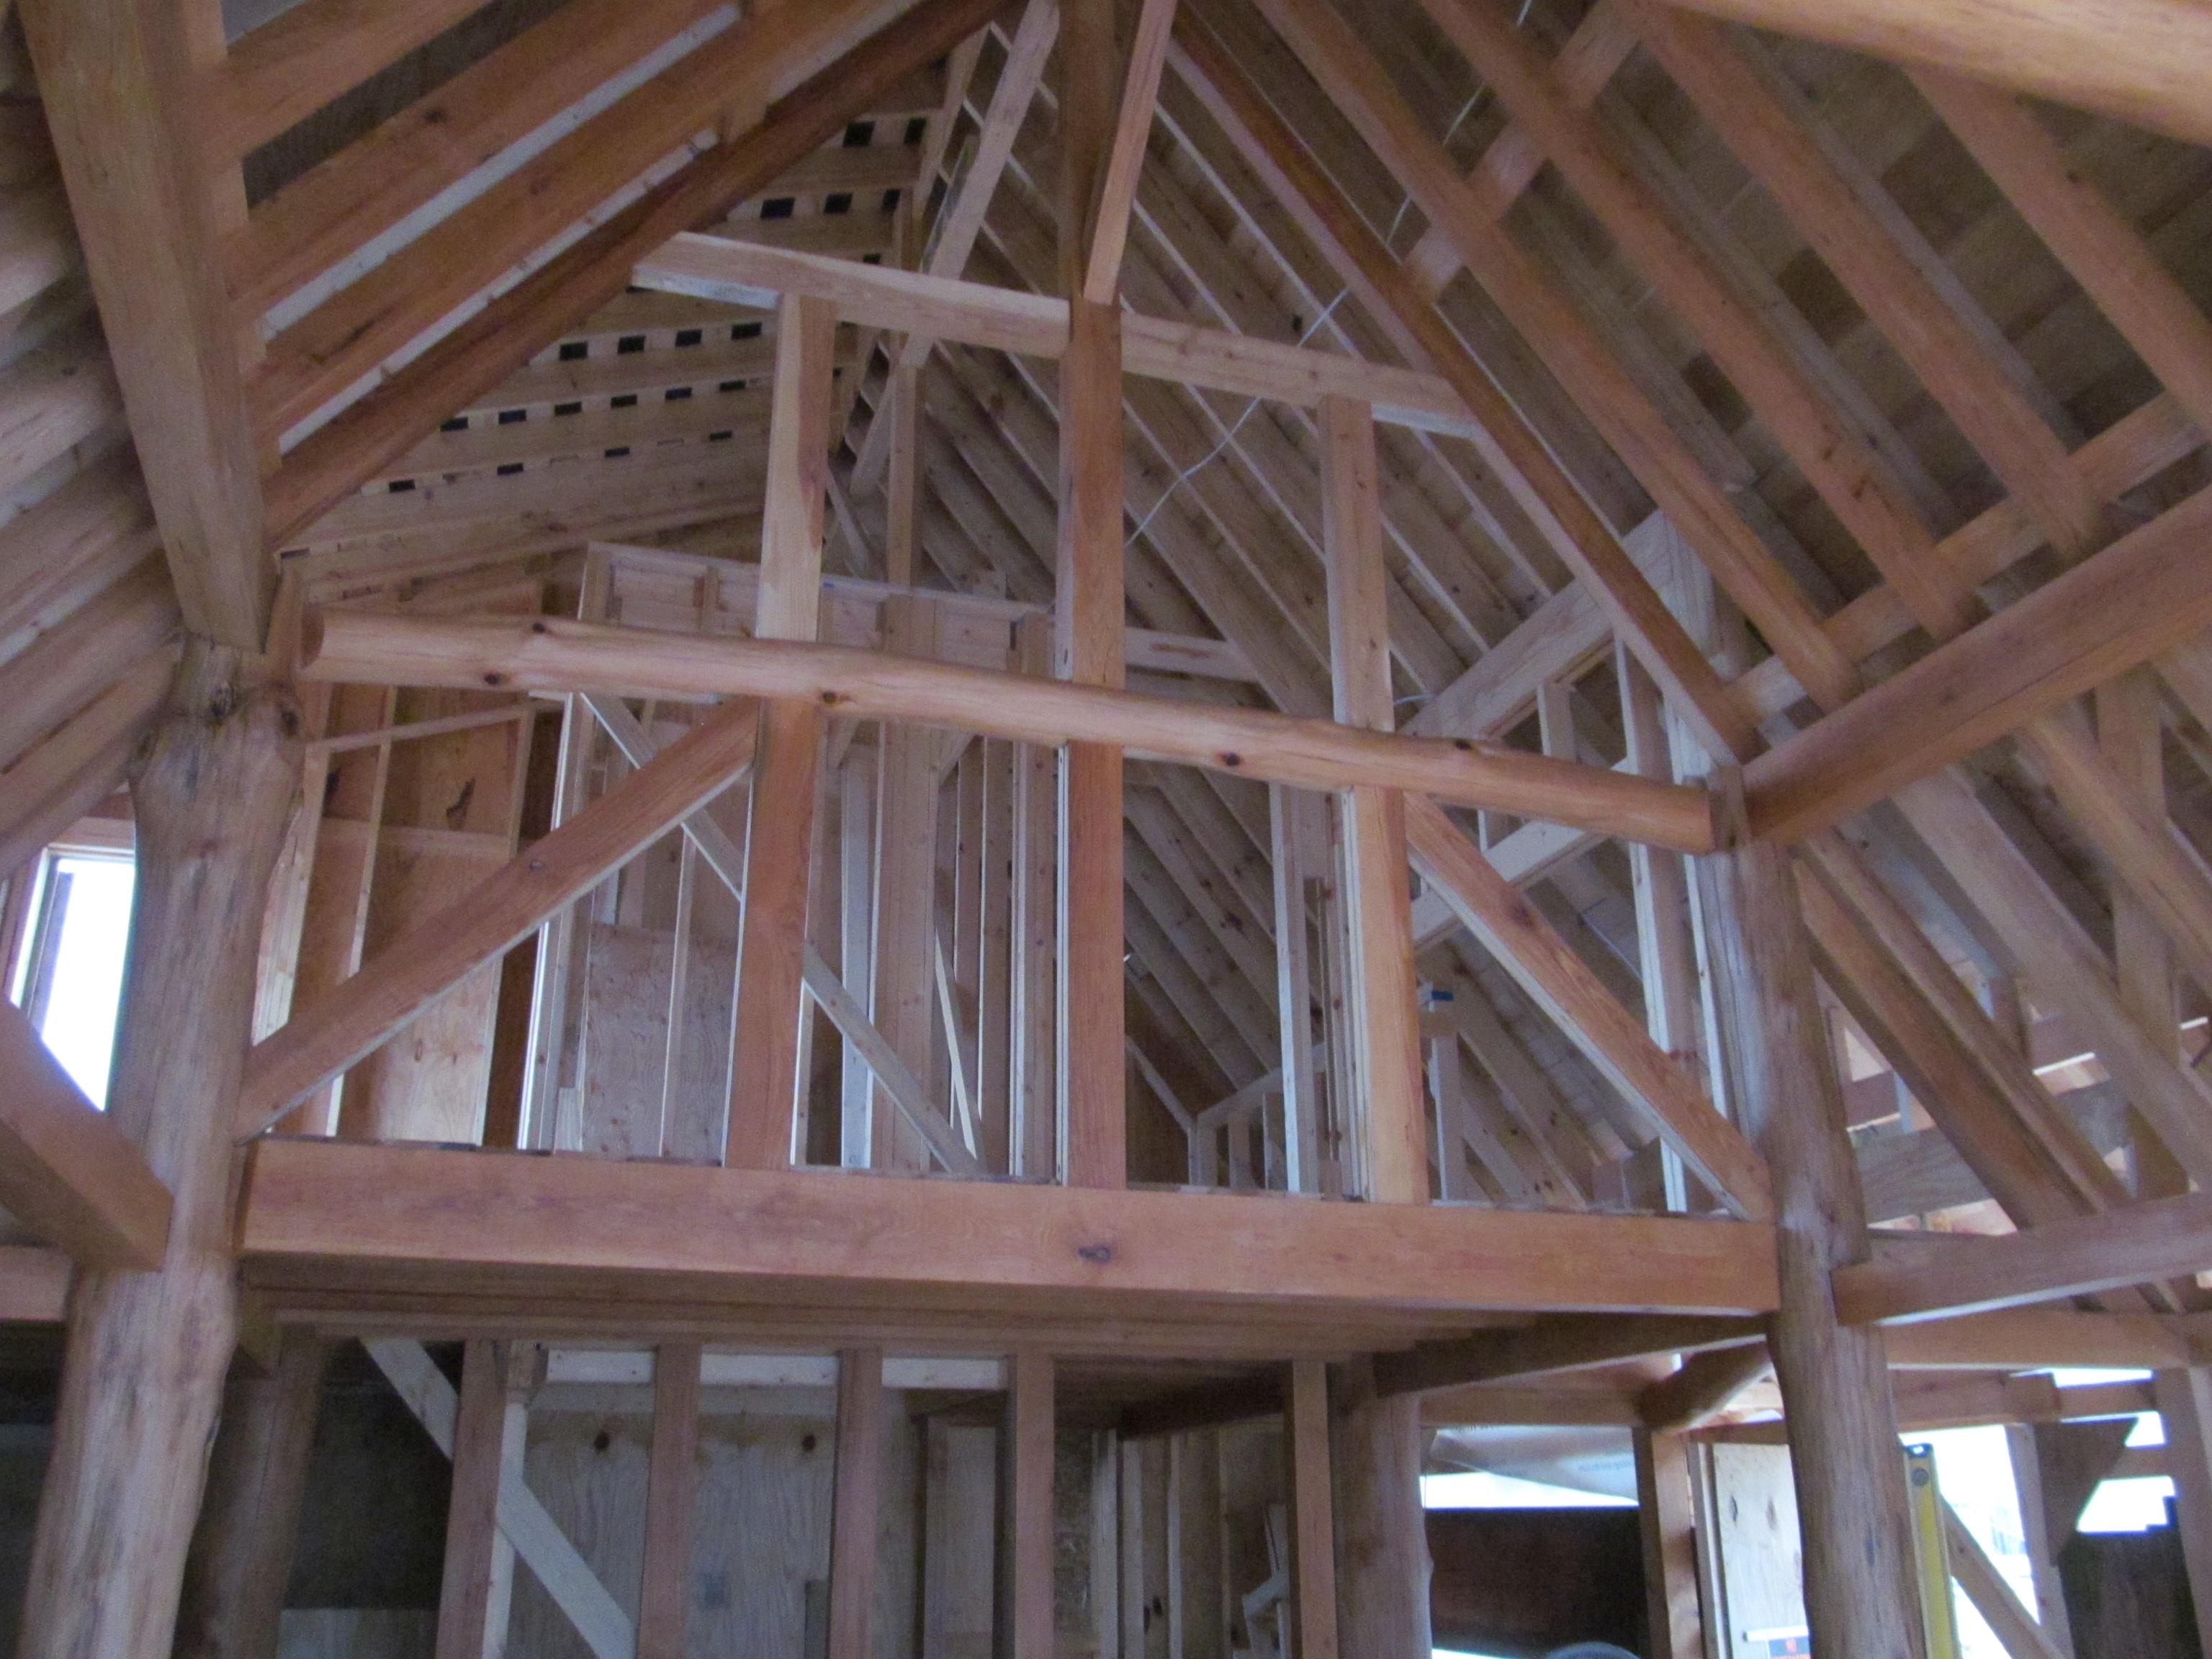
A truss made from log and roughsawn ash 5×5’s. Steel insert is to strengthen truss. The butt end of the log is around 13″ diameter. Mom finishing logs.

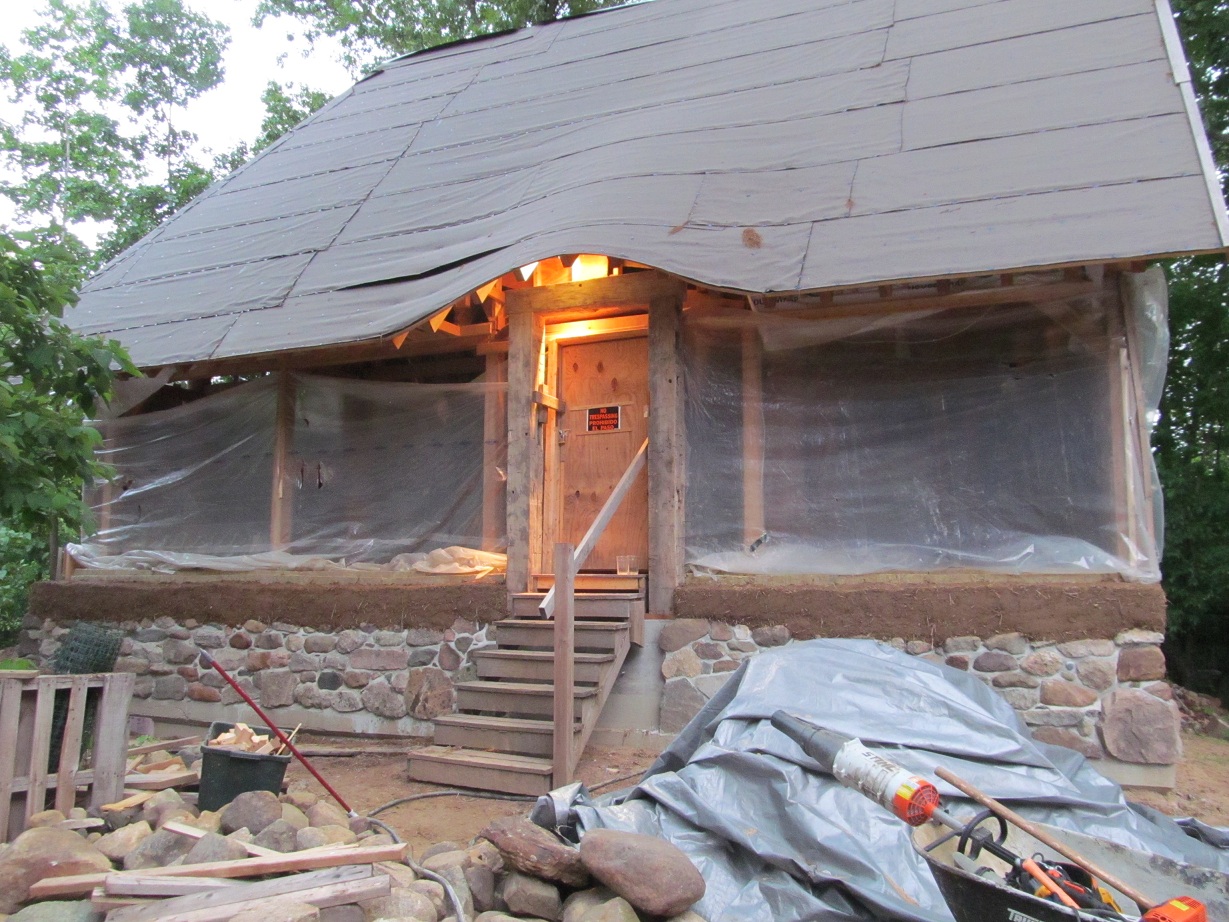
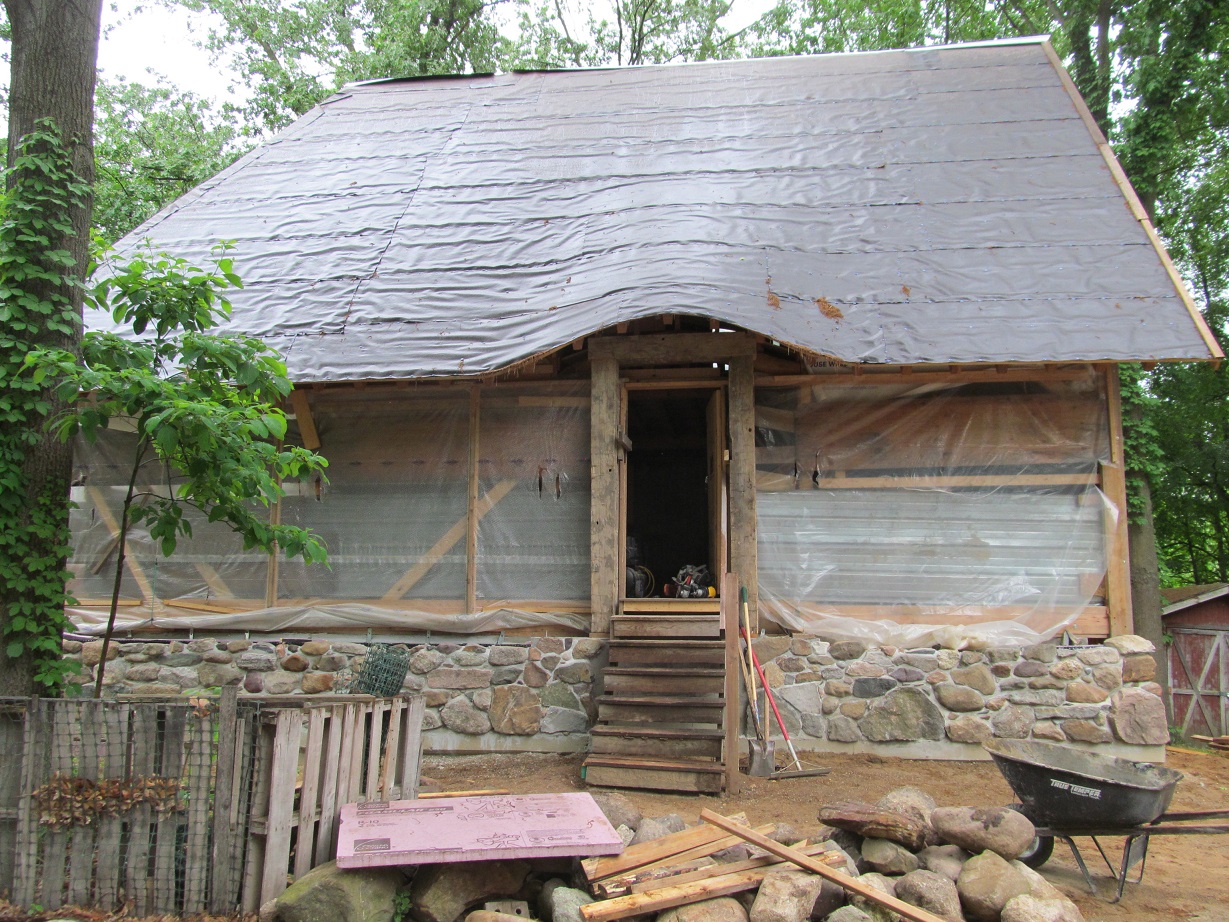
We tarped off the house for the winter so I can still work when it is wet or snowy. After 40 mph gusts in late November, less than a month after the tarp went up I will have to retarp it with a heavier tarp due to grommets getting ripped out and tears starting.

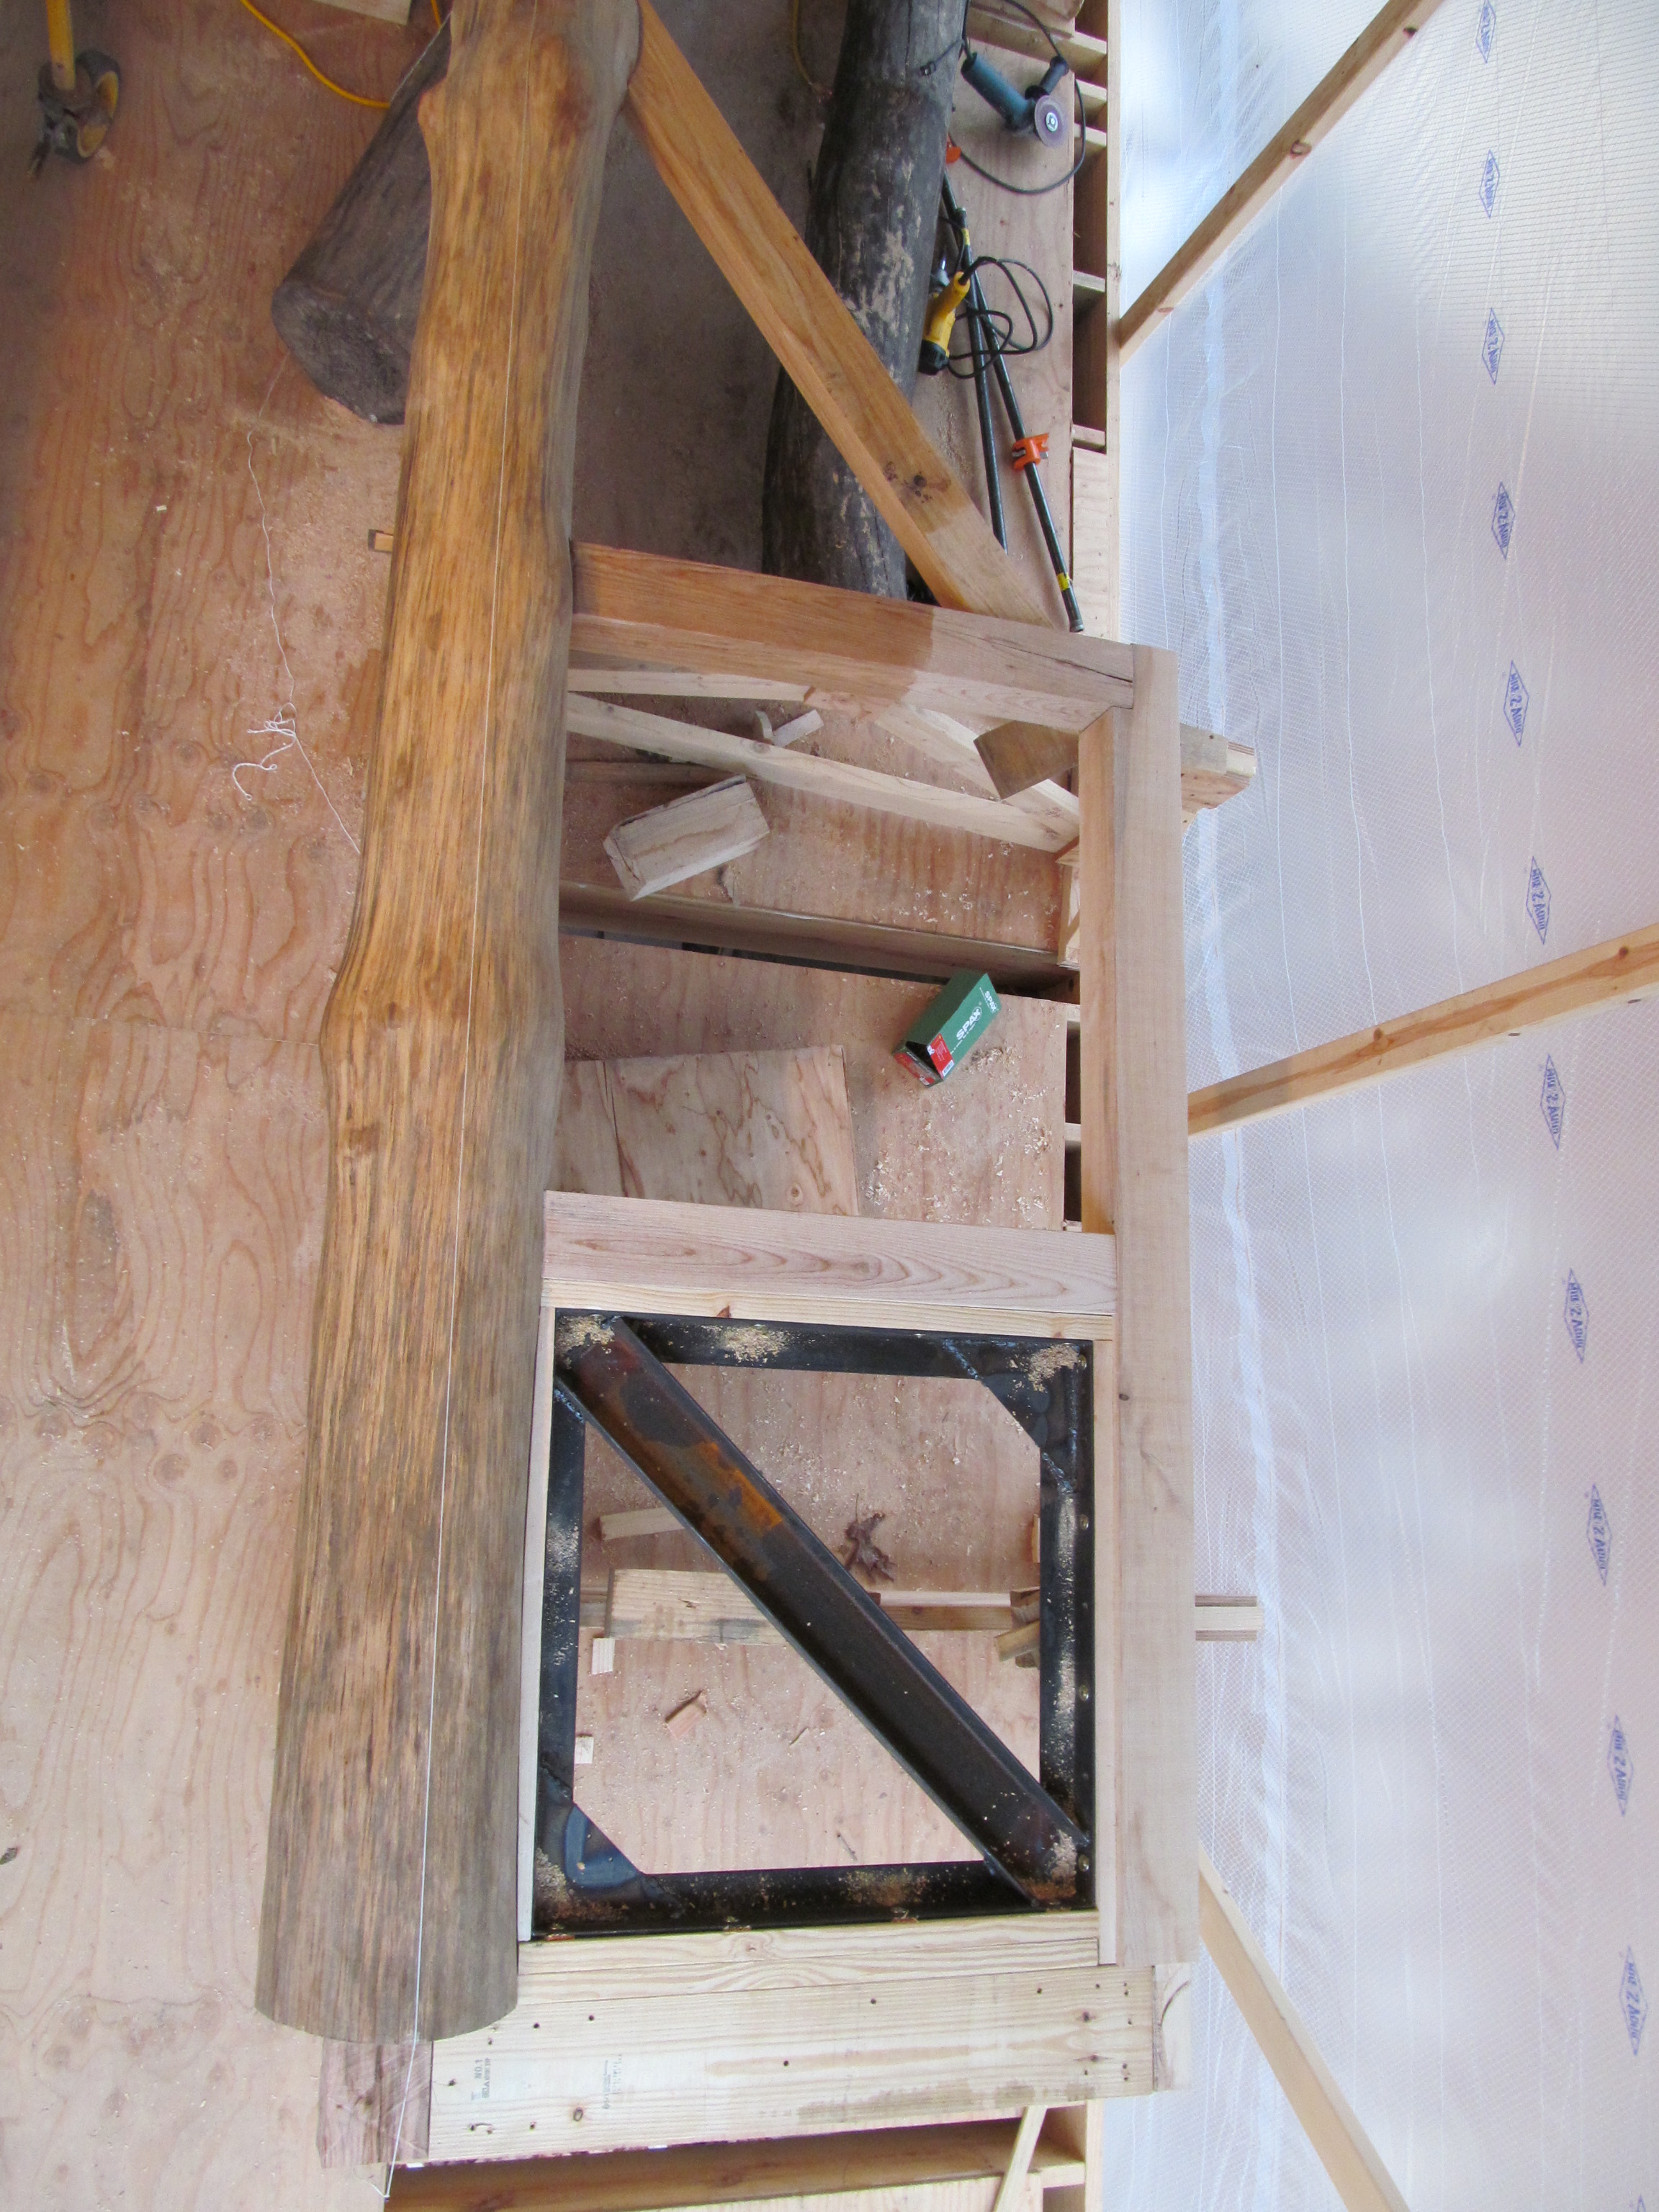
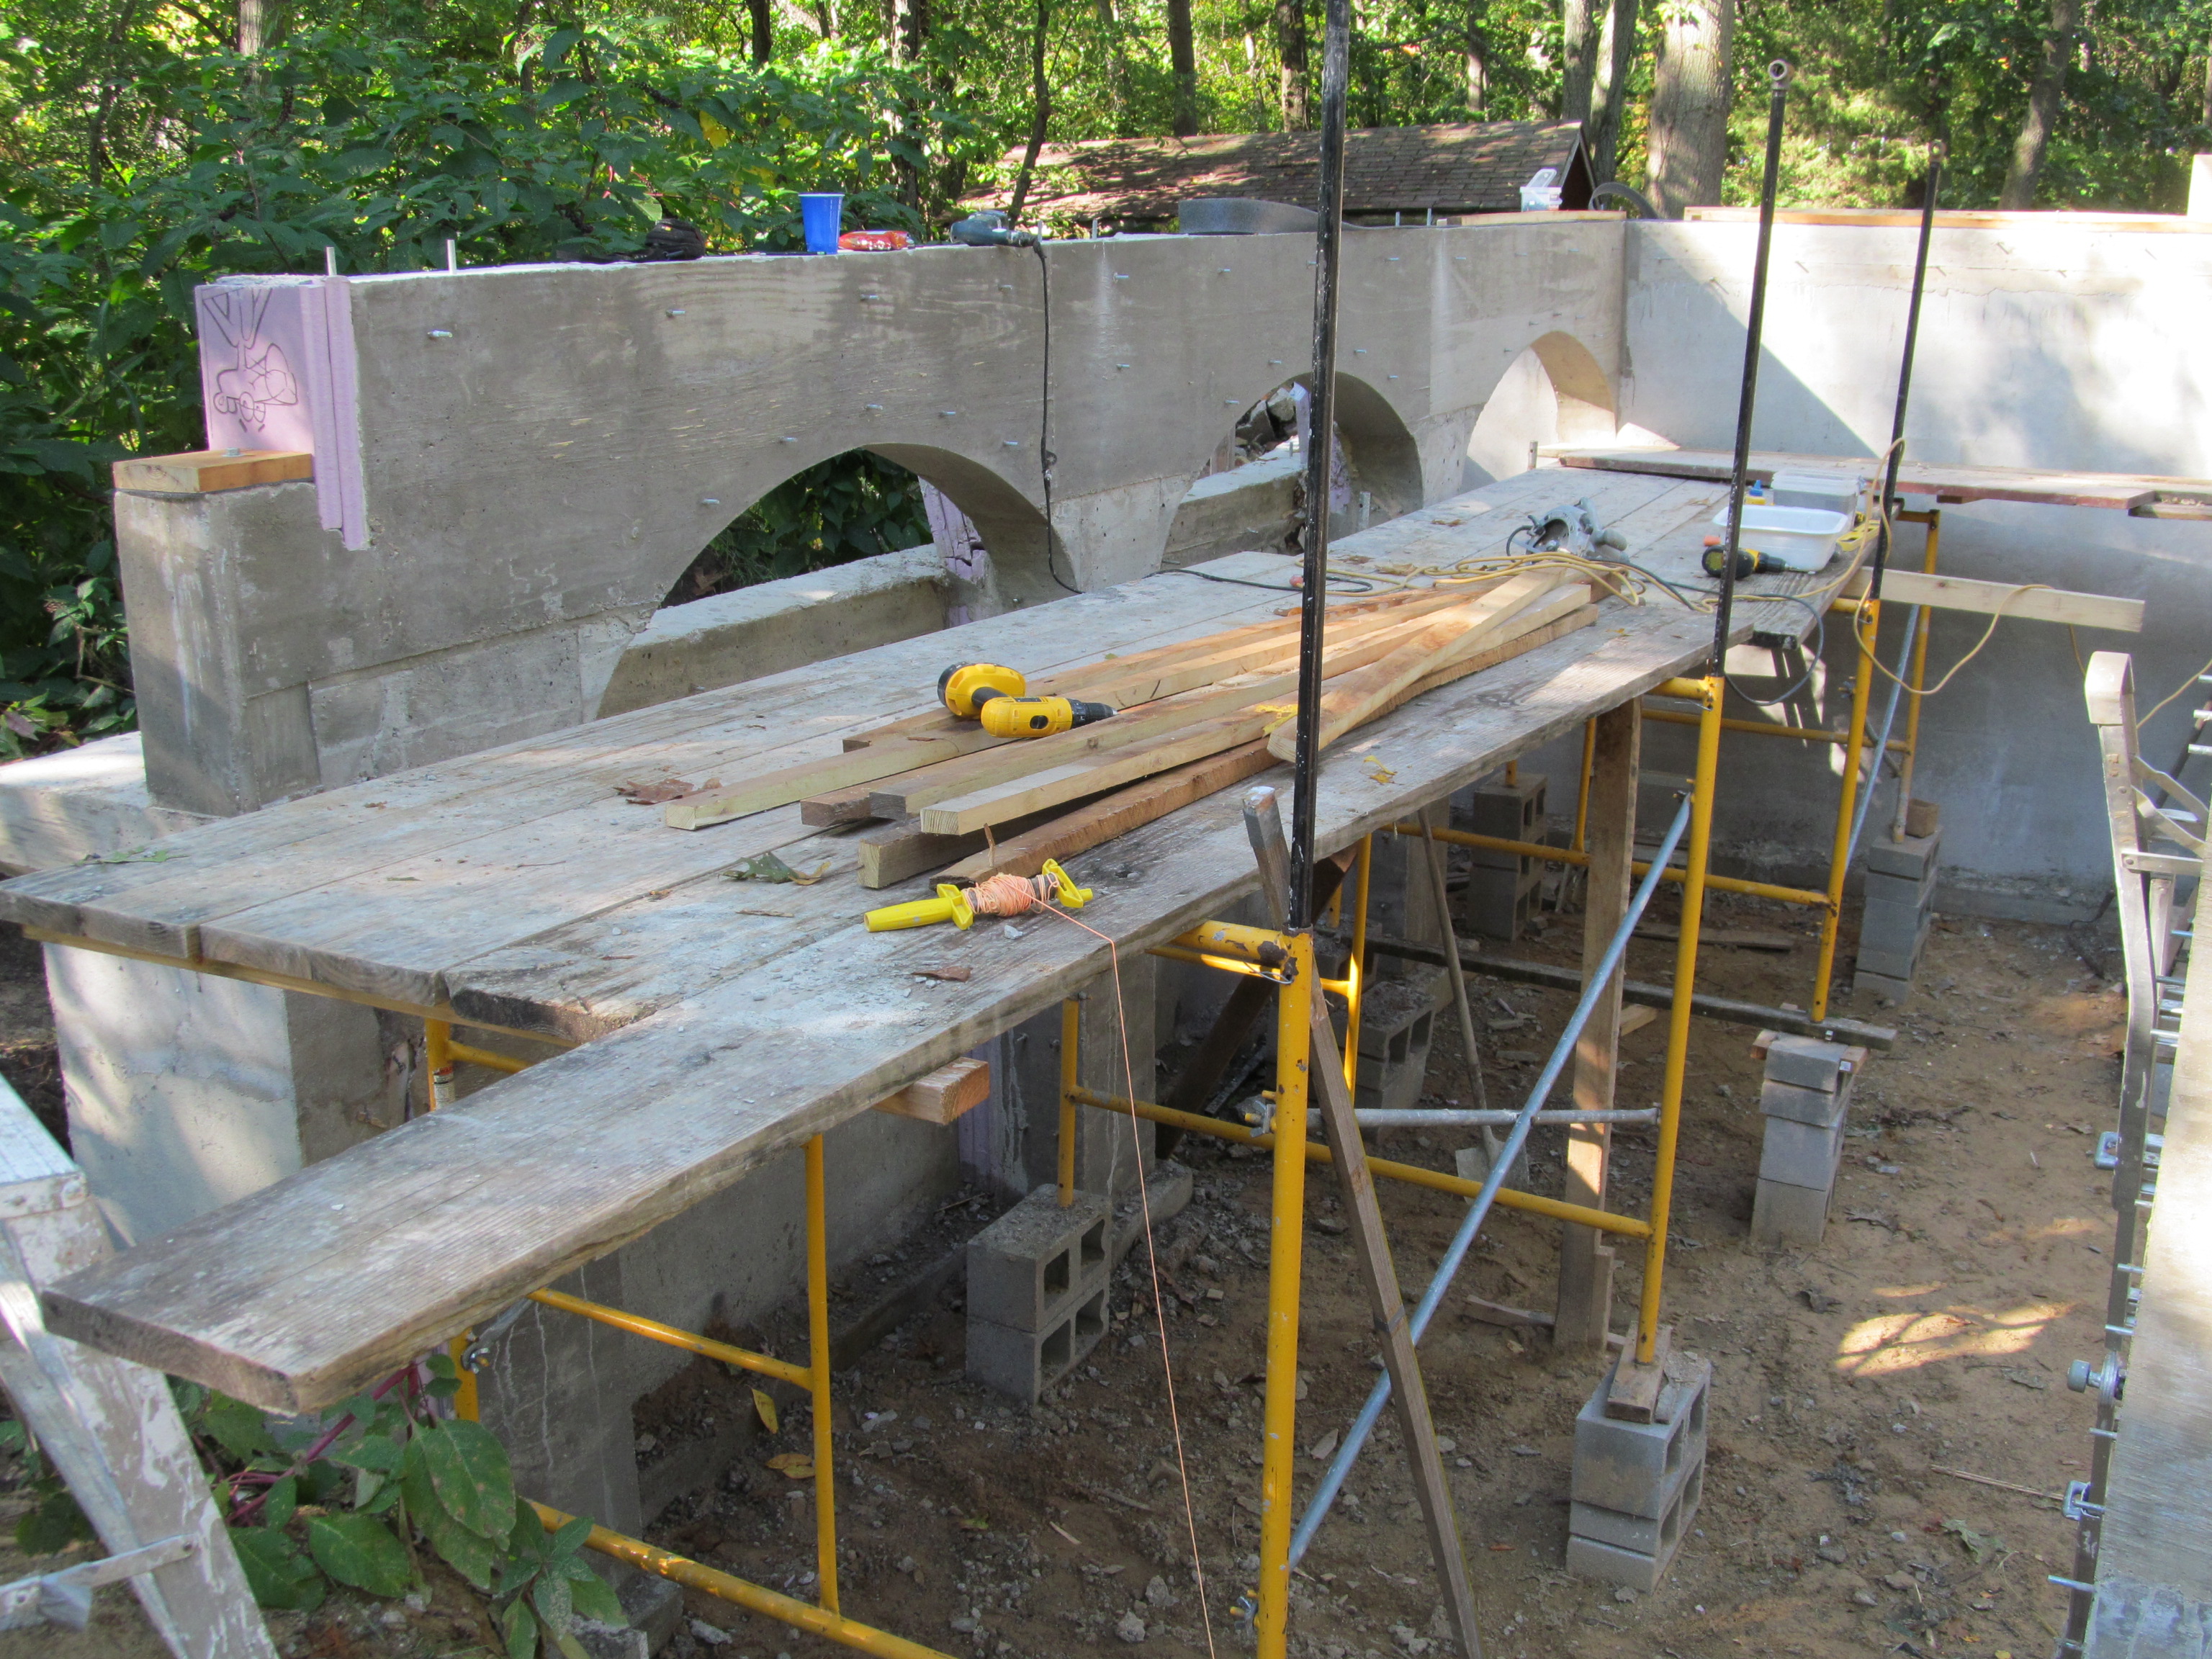
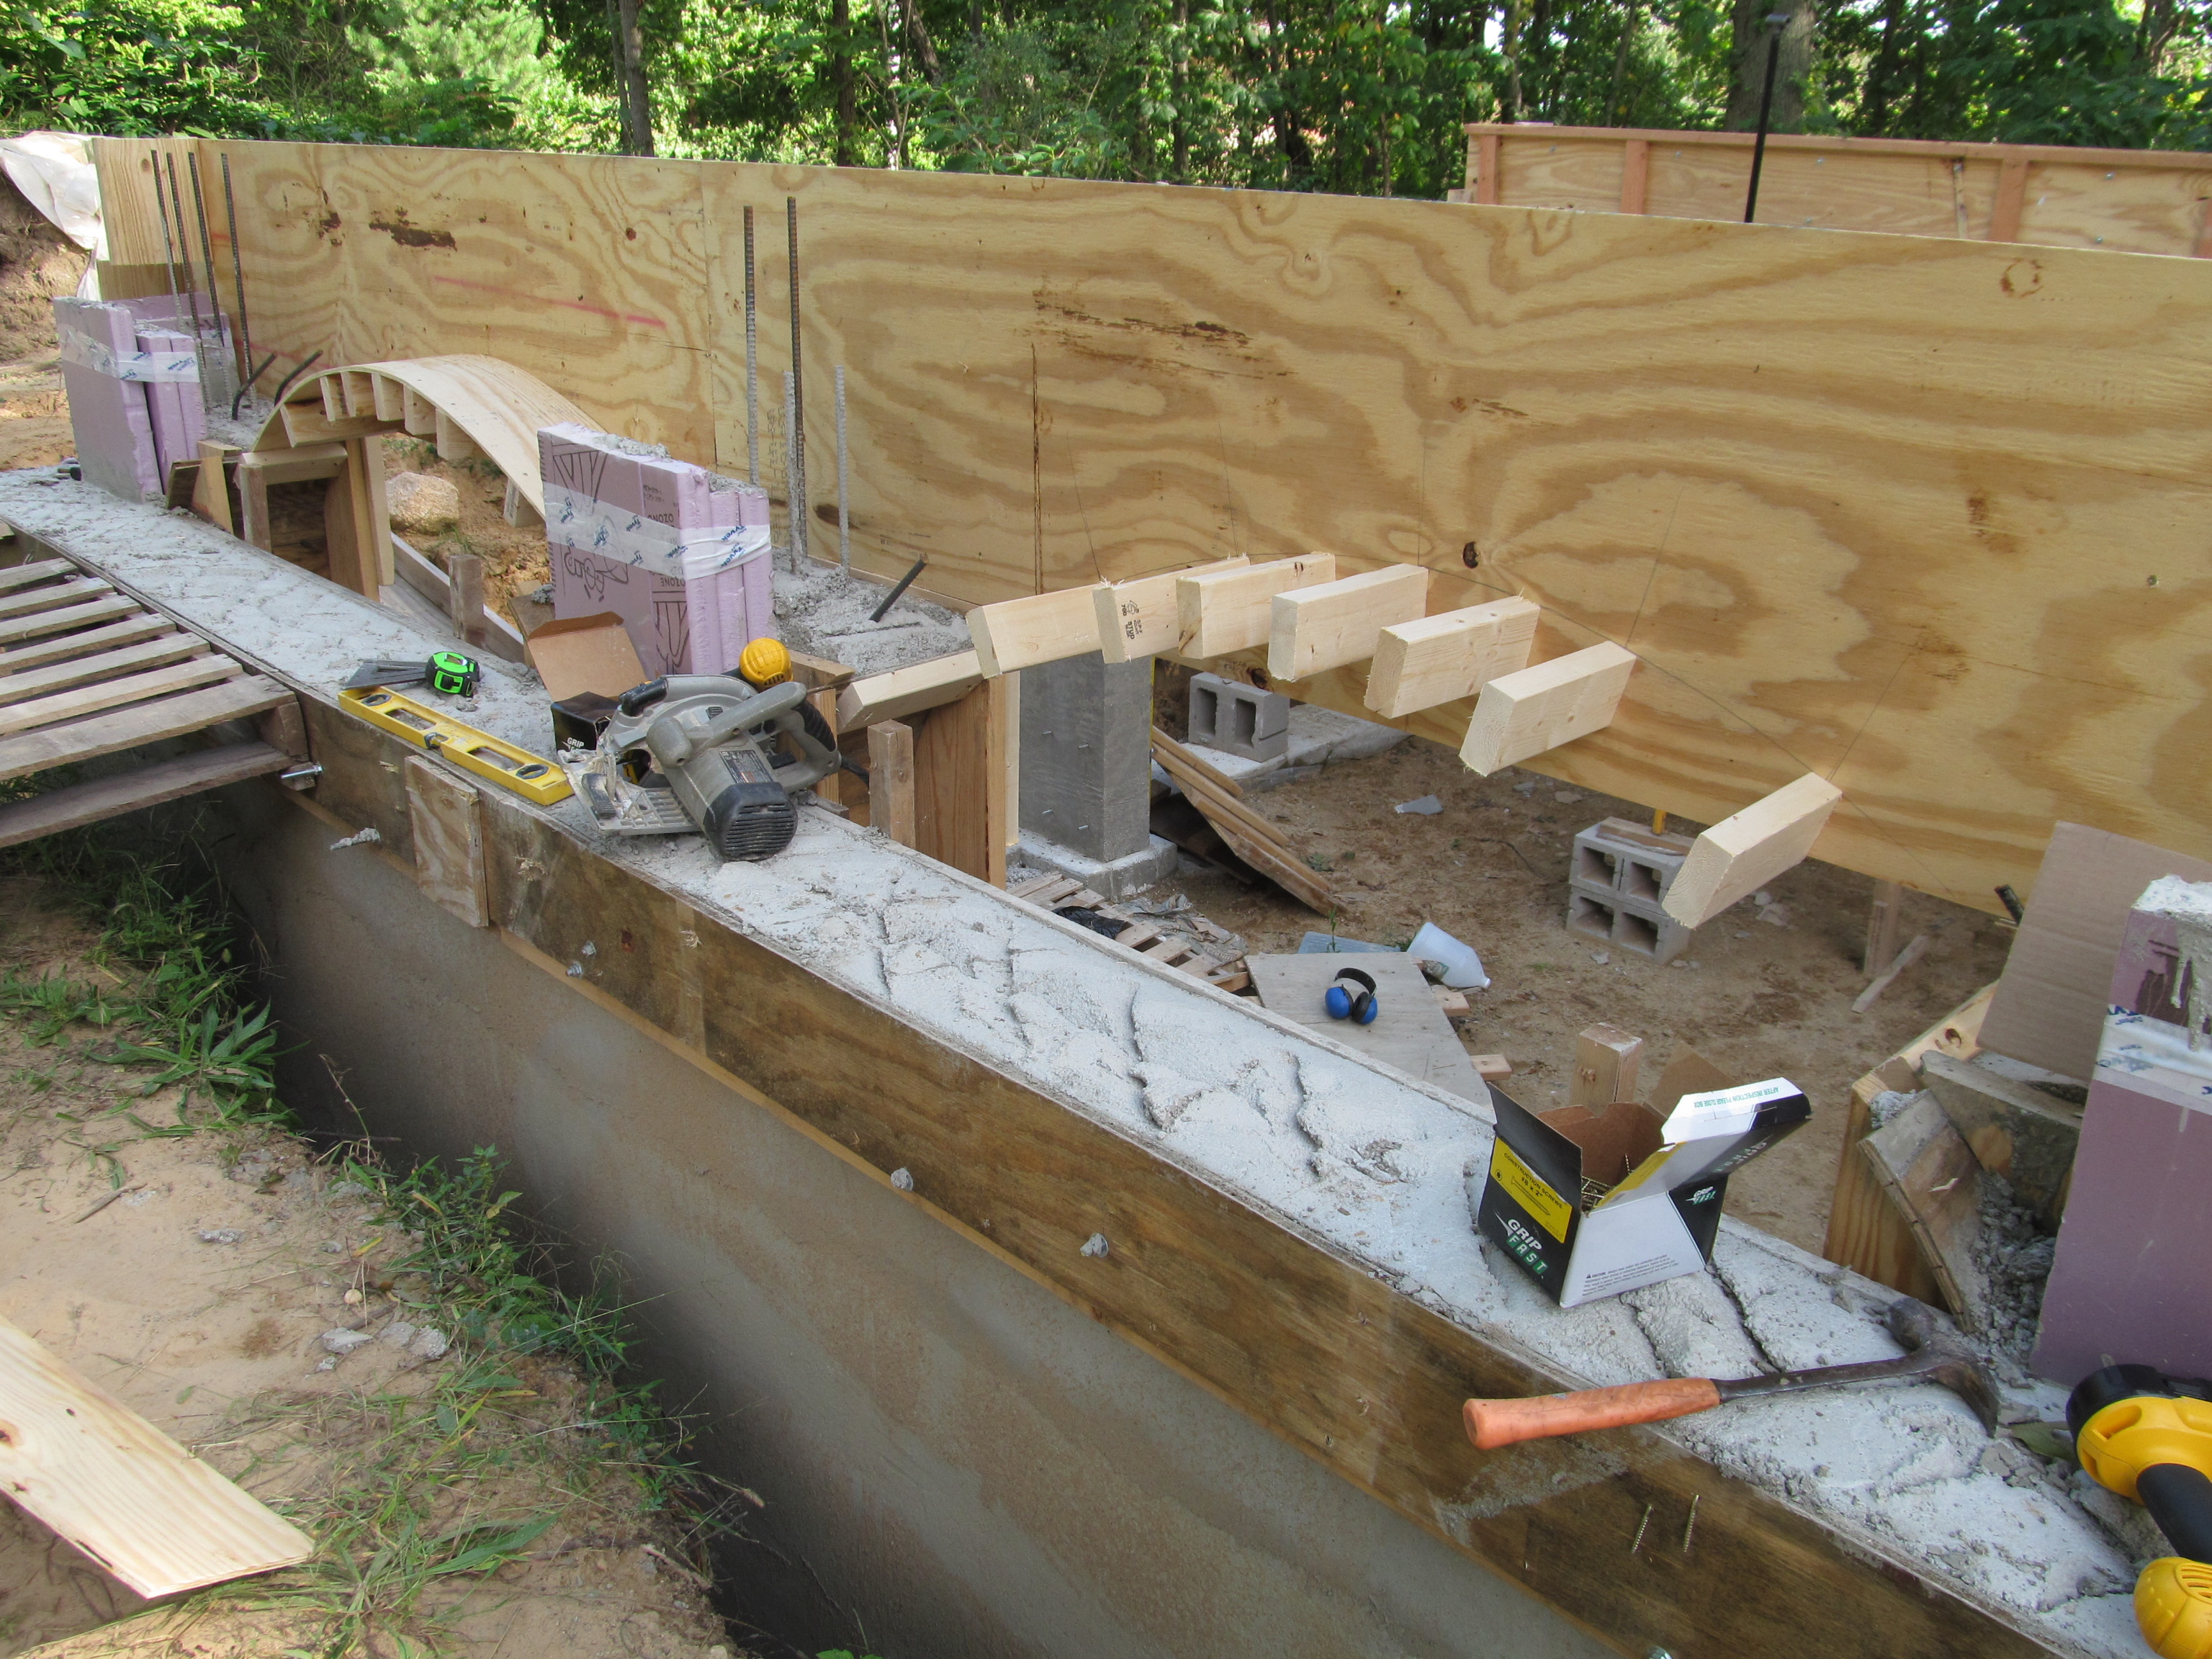
Foundation arches: The post and beam frame will bear on the piers. The arches will hold up the inner leaf of the cob cavity wall. This all turned out to be time consuming and expensive.

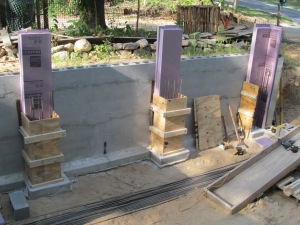
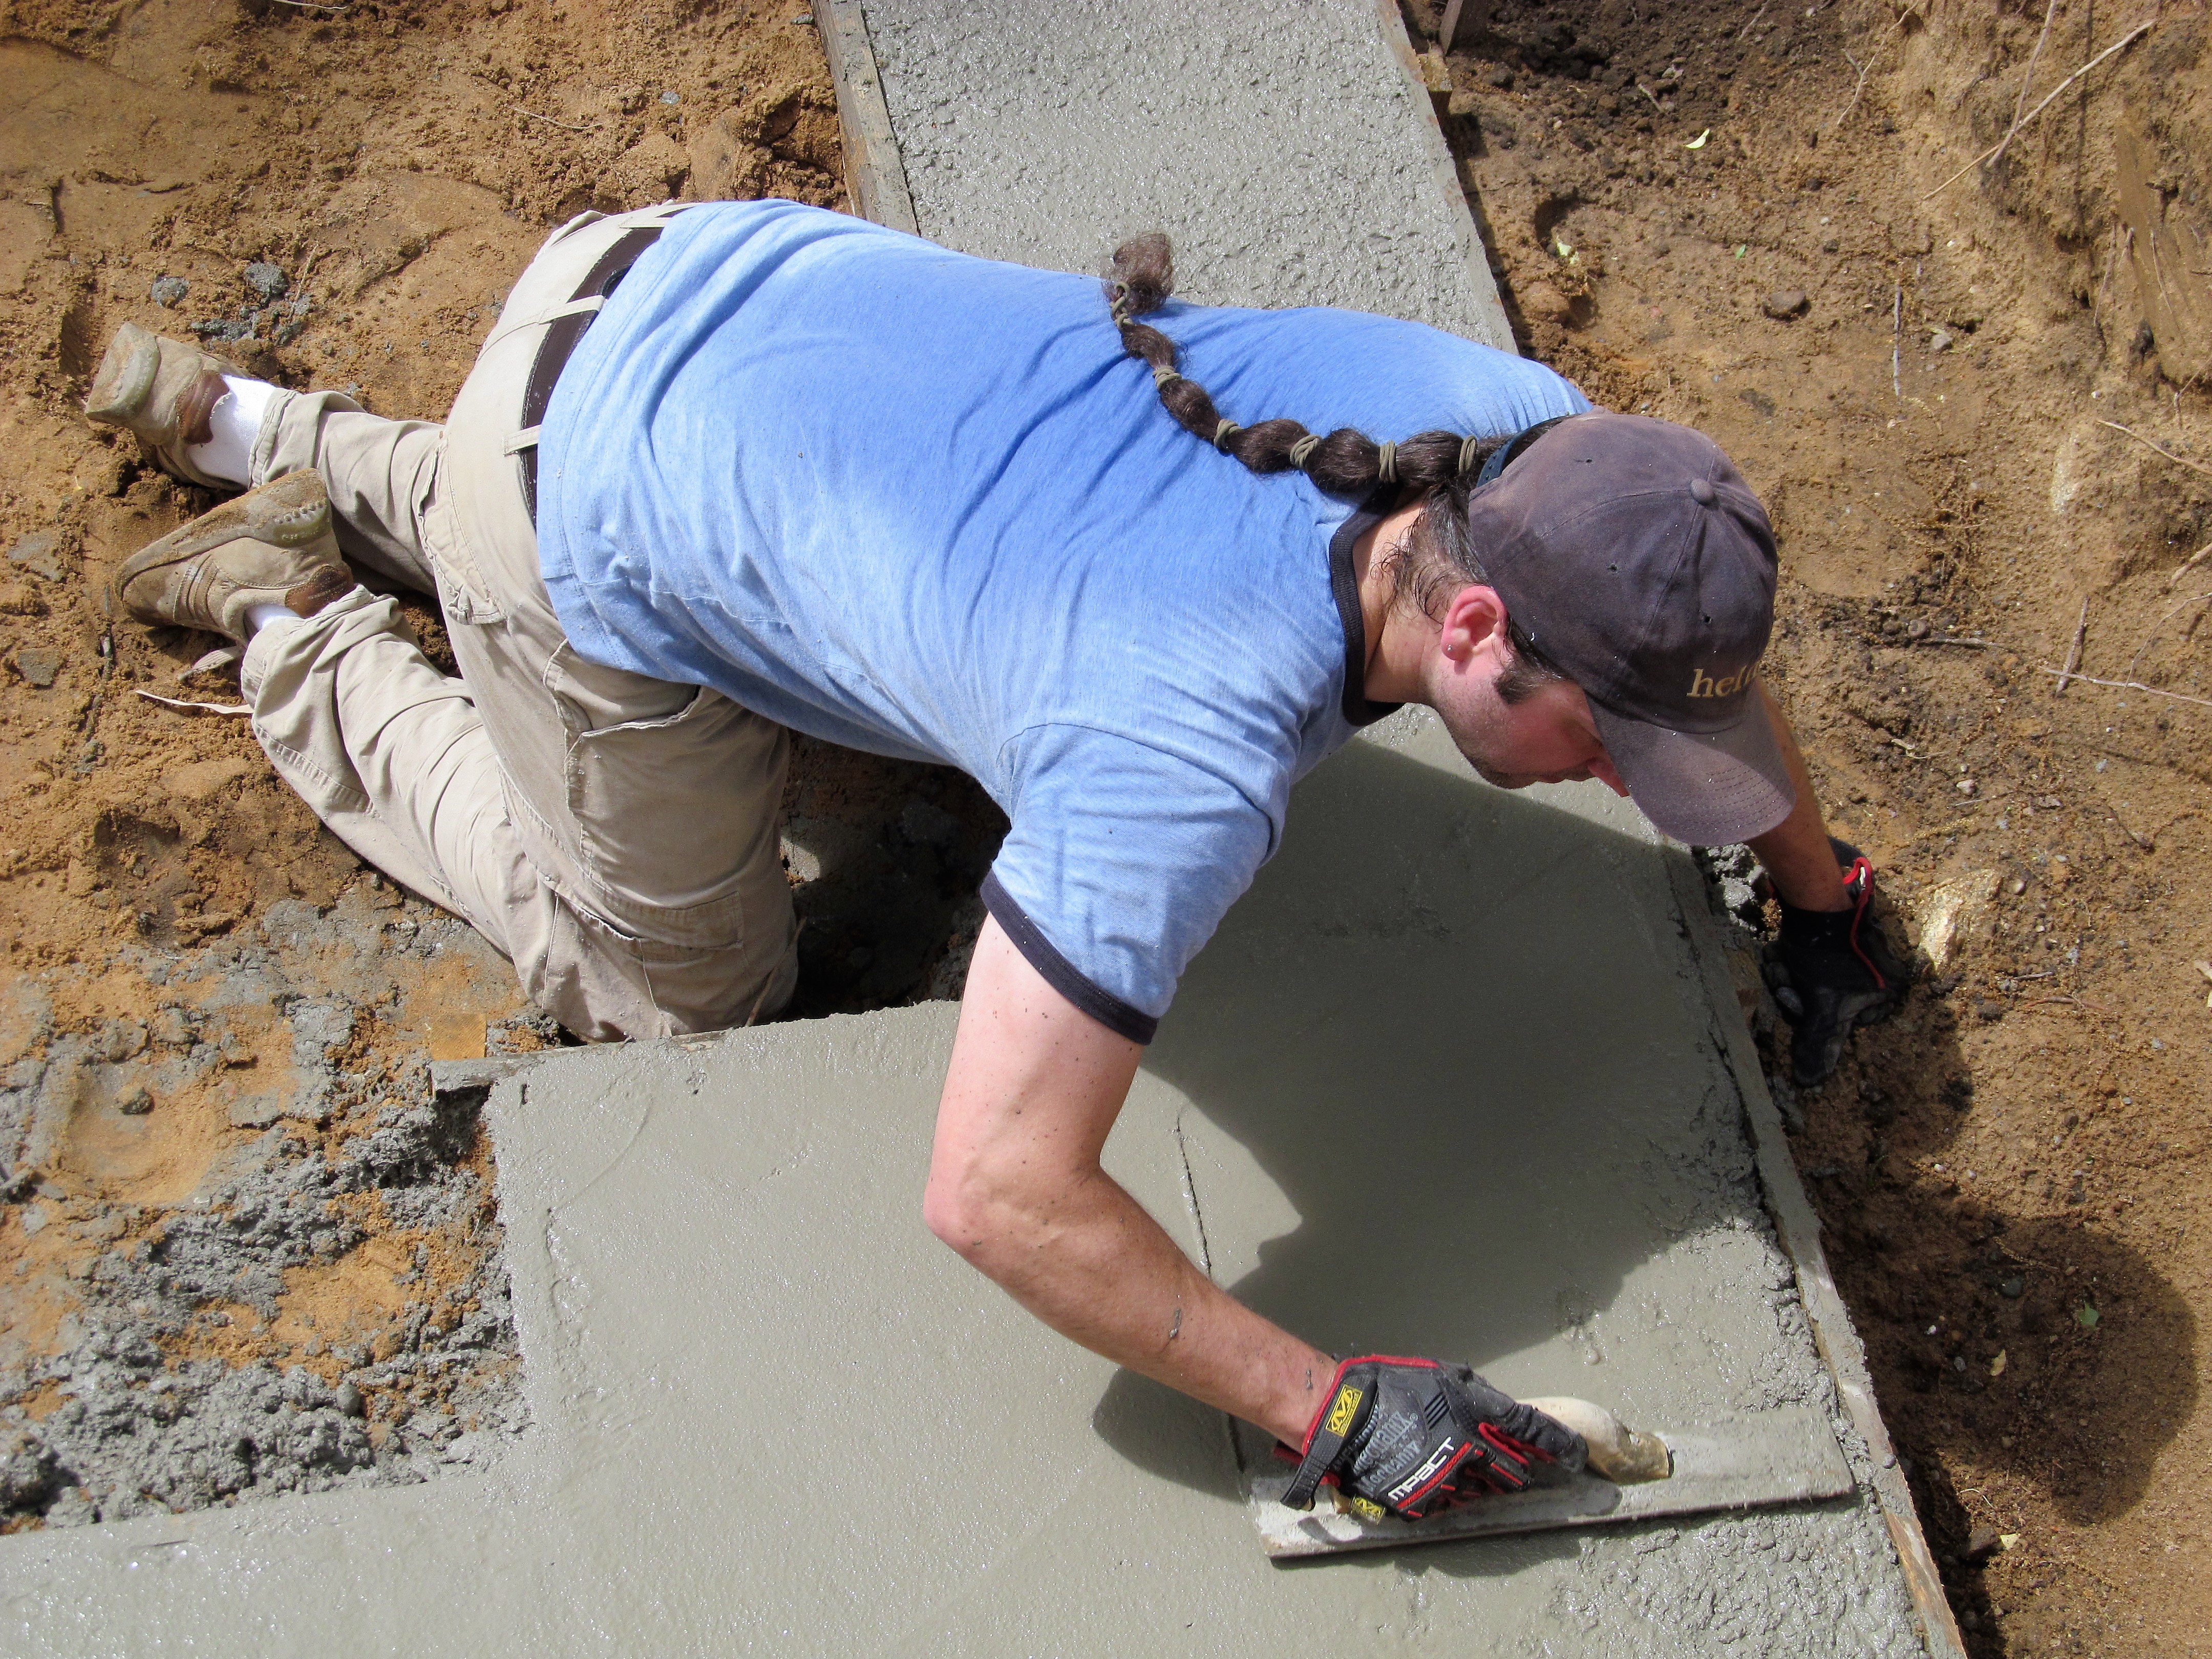
Sept. 30th concrete pour. The foundation uses conventional materials. There will be a 2 car garage in the basement under the main floor of the house. Dad and Don helping pour concrete.


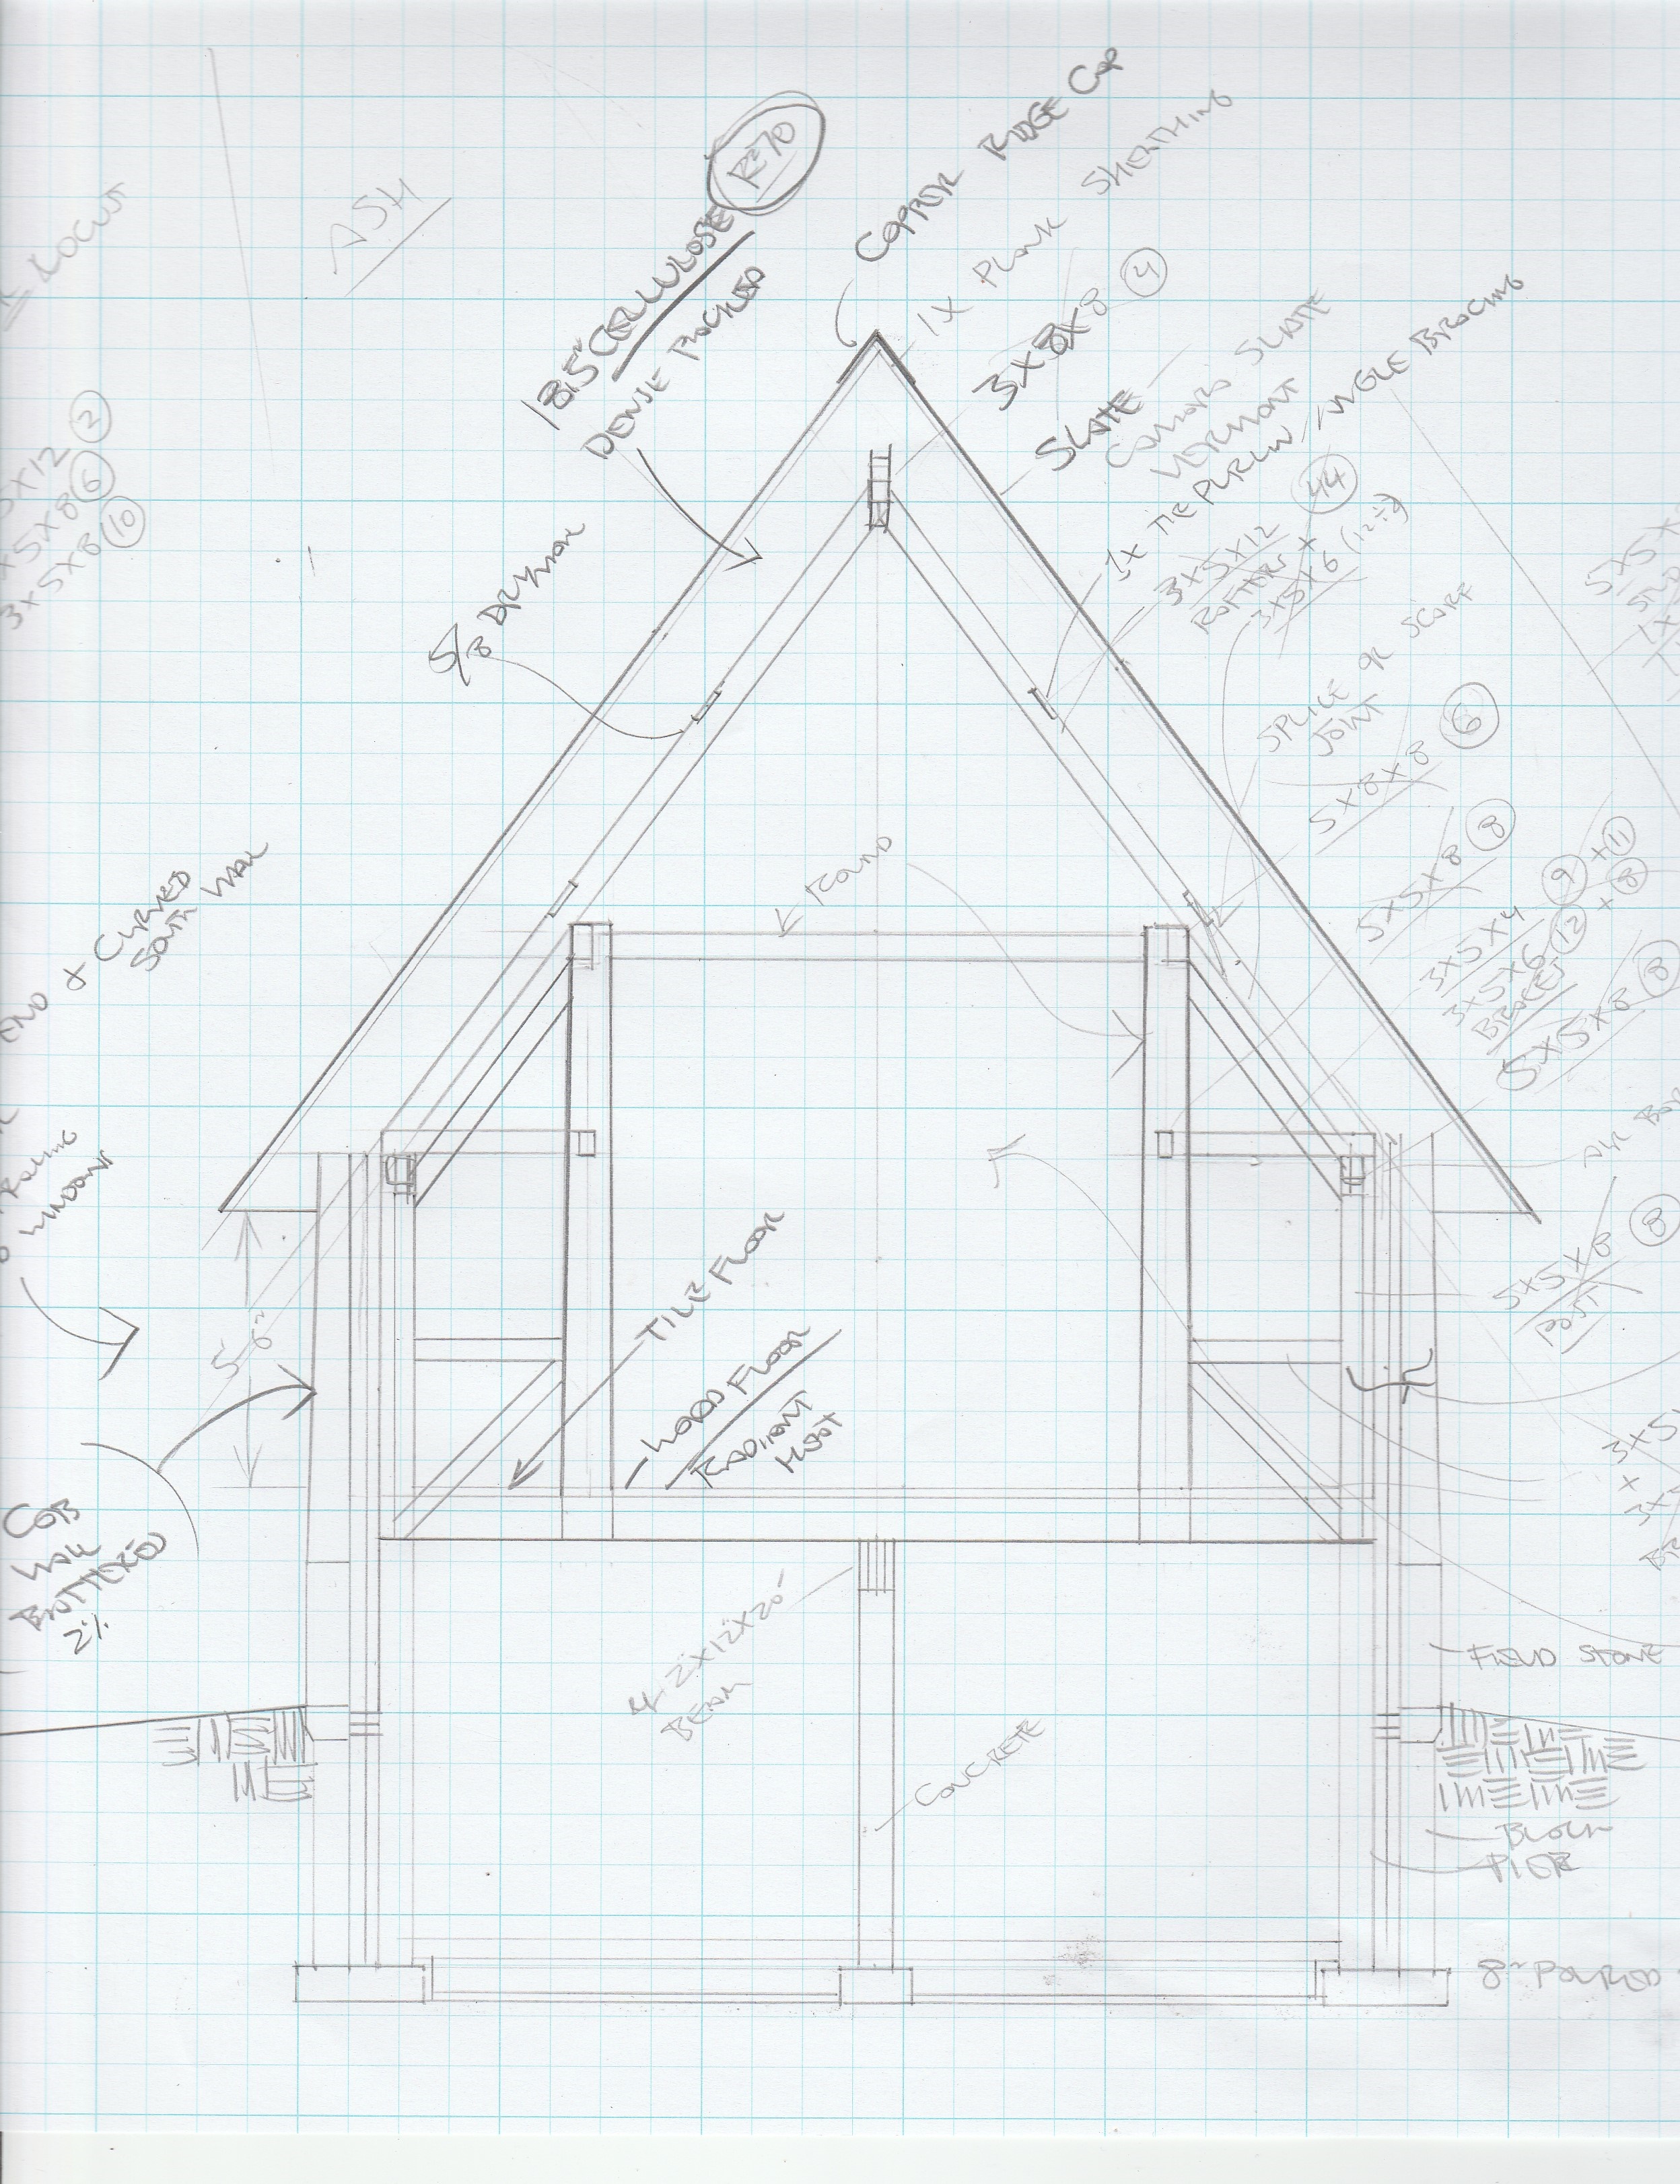
Please note: the cross section drawing shows a post in the center of the lower level. There is not a post there in the building. There is a king post coming down from the ridge to the tie beam which is not shown on the drawing.
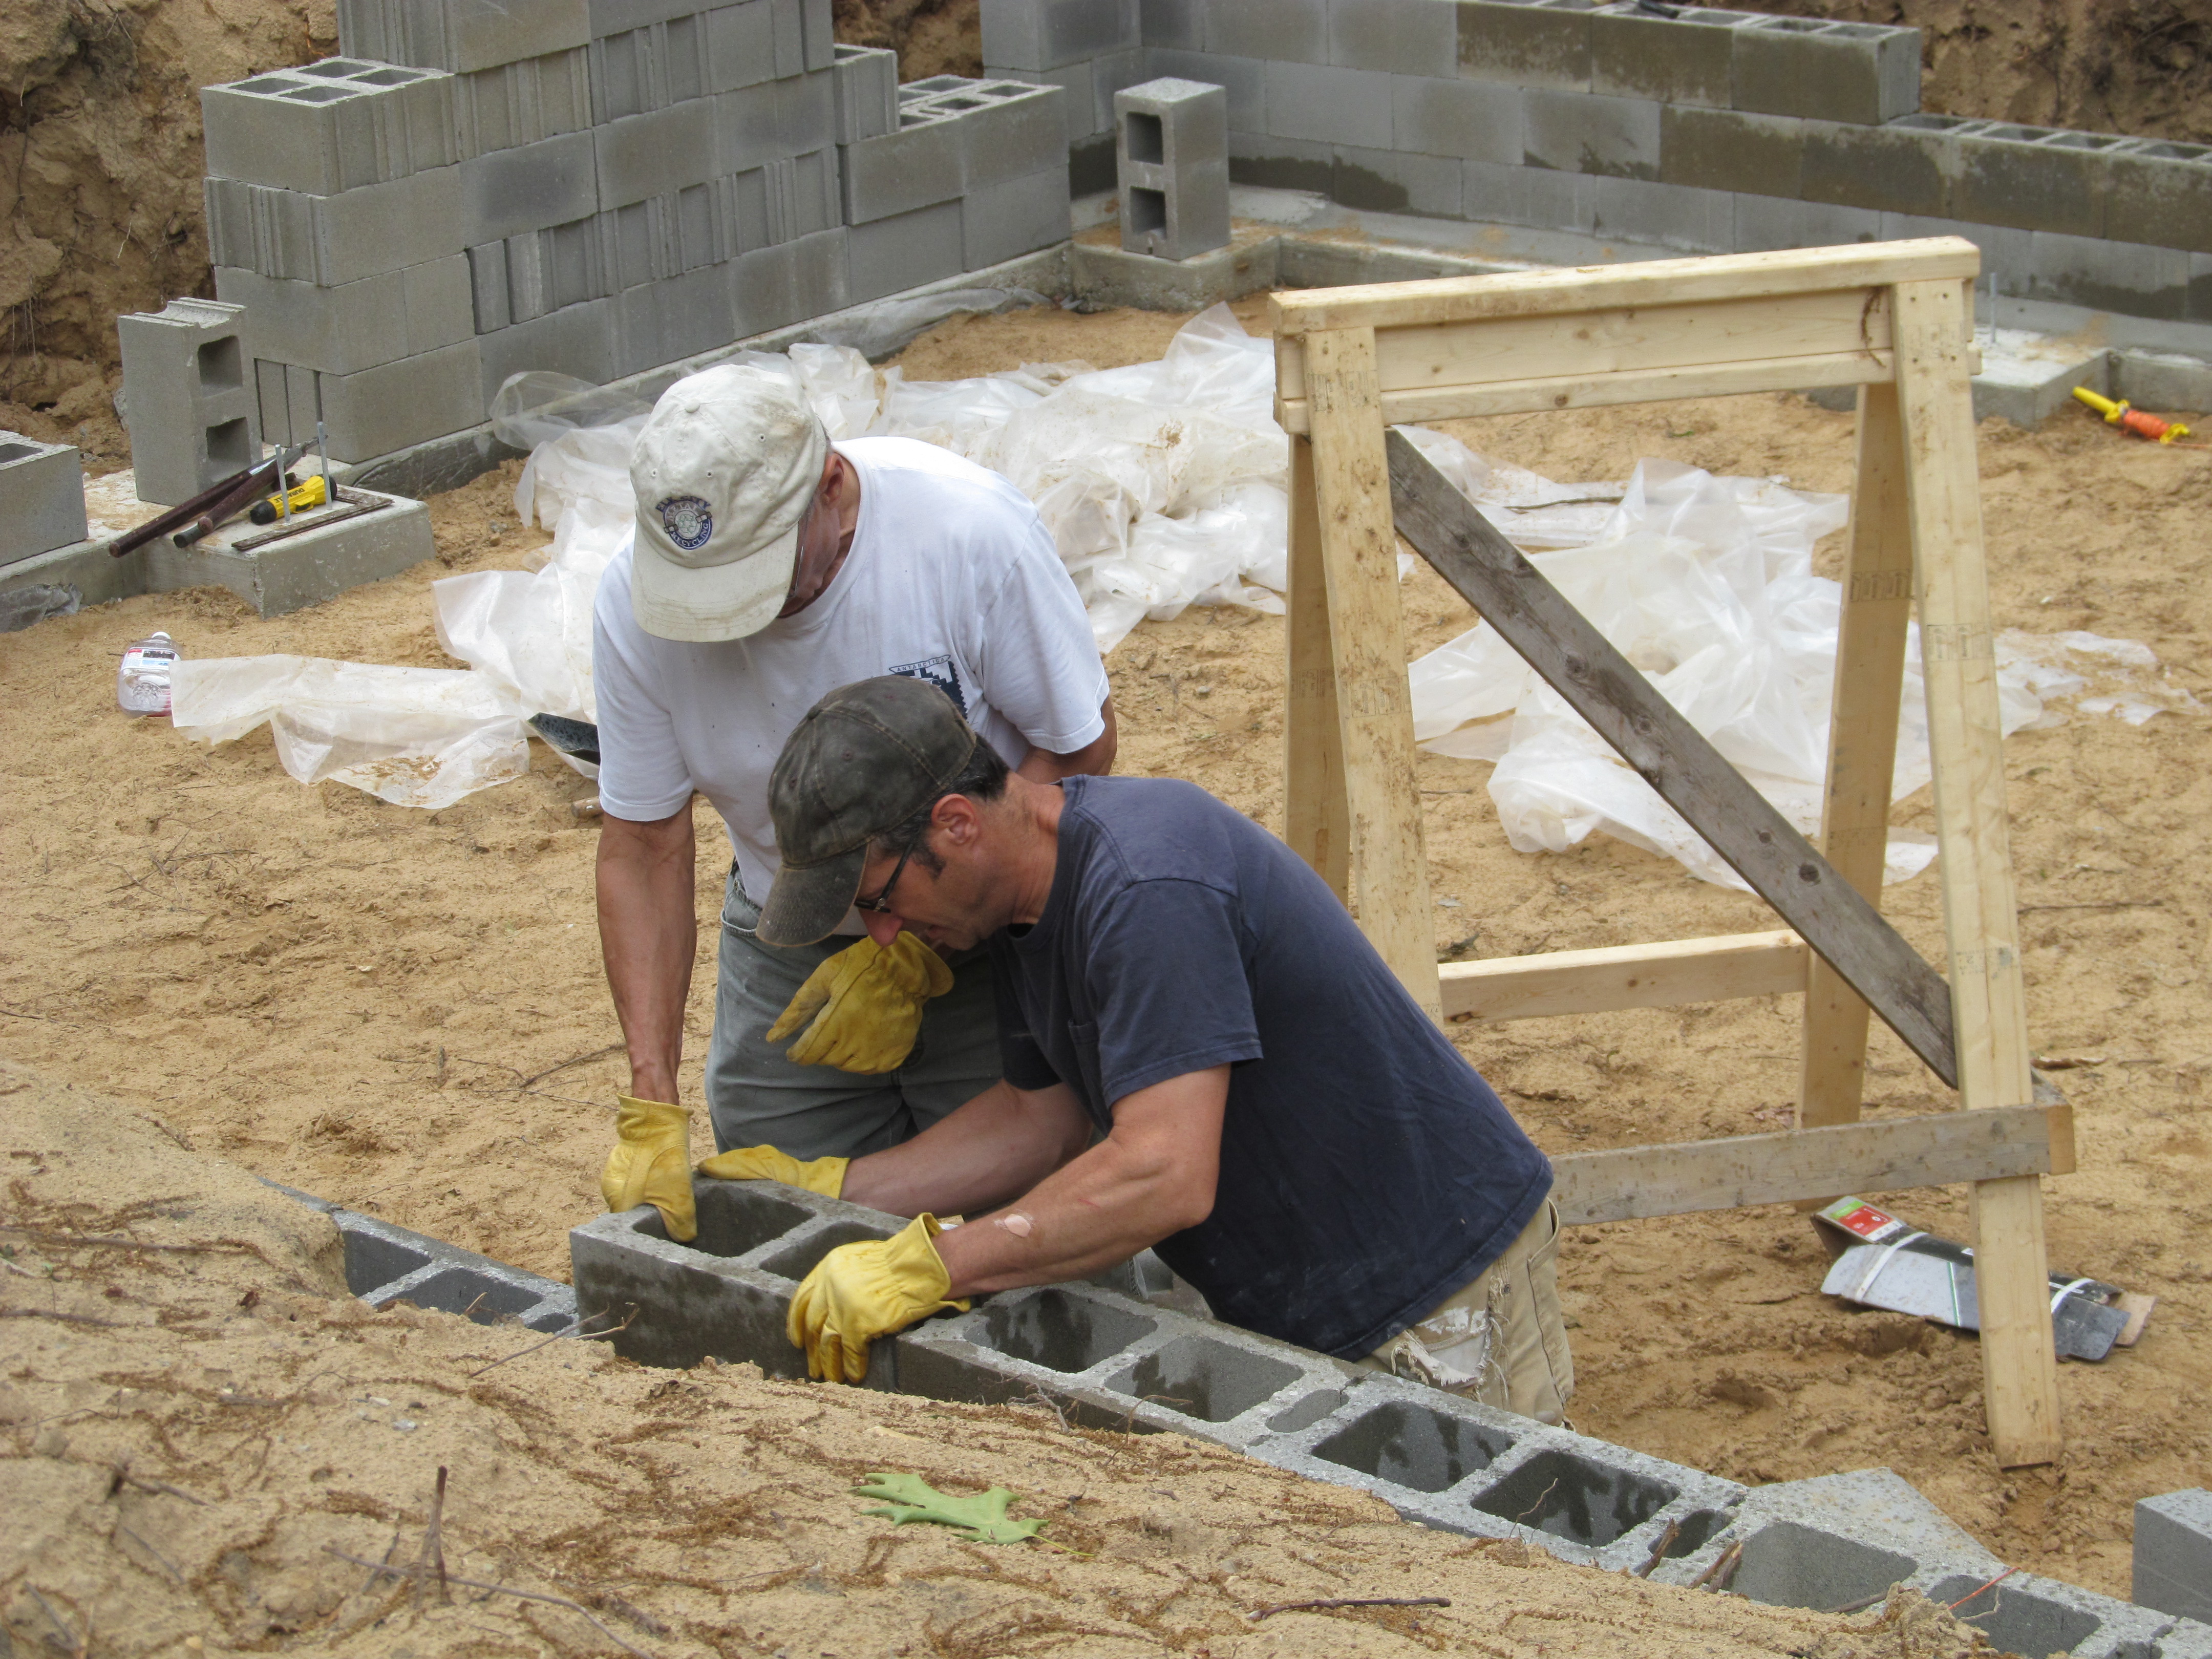
June 1st. Working with Dad stacking blocks.
May 27: Poured the footer with help from Dad and Bob.


Don stripping bark off of a log.
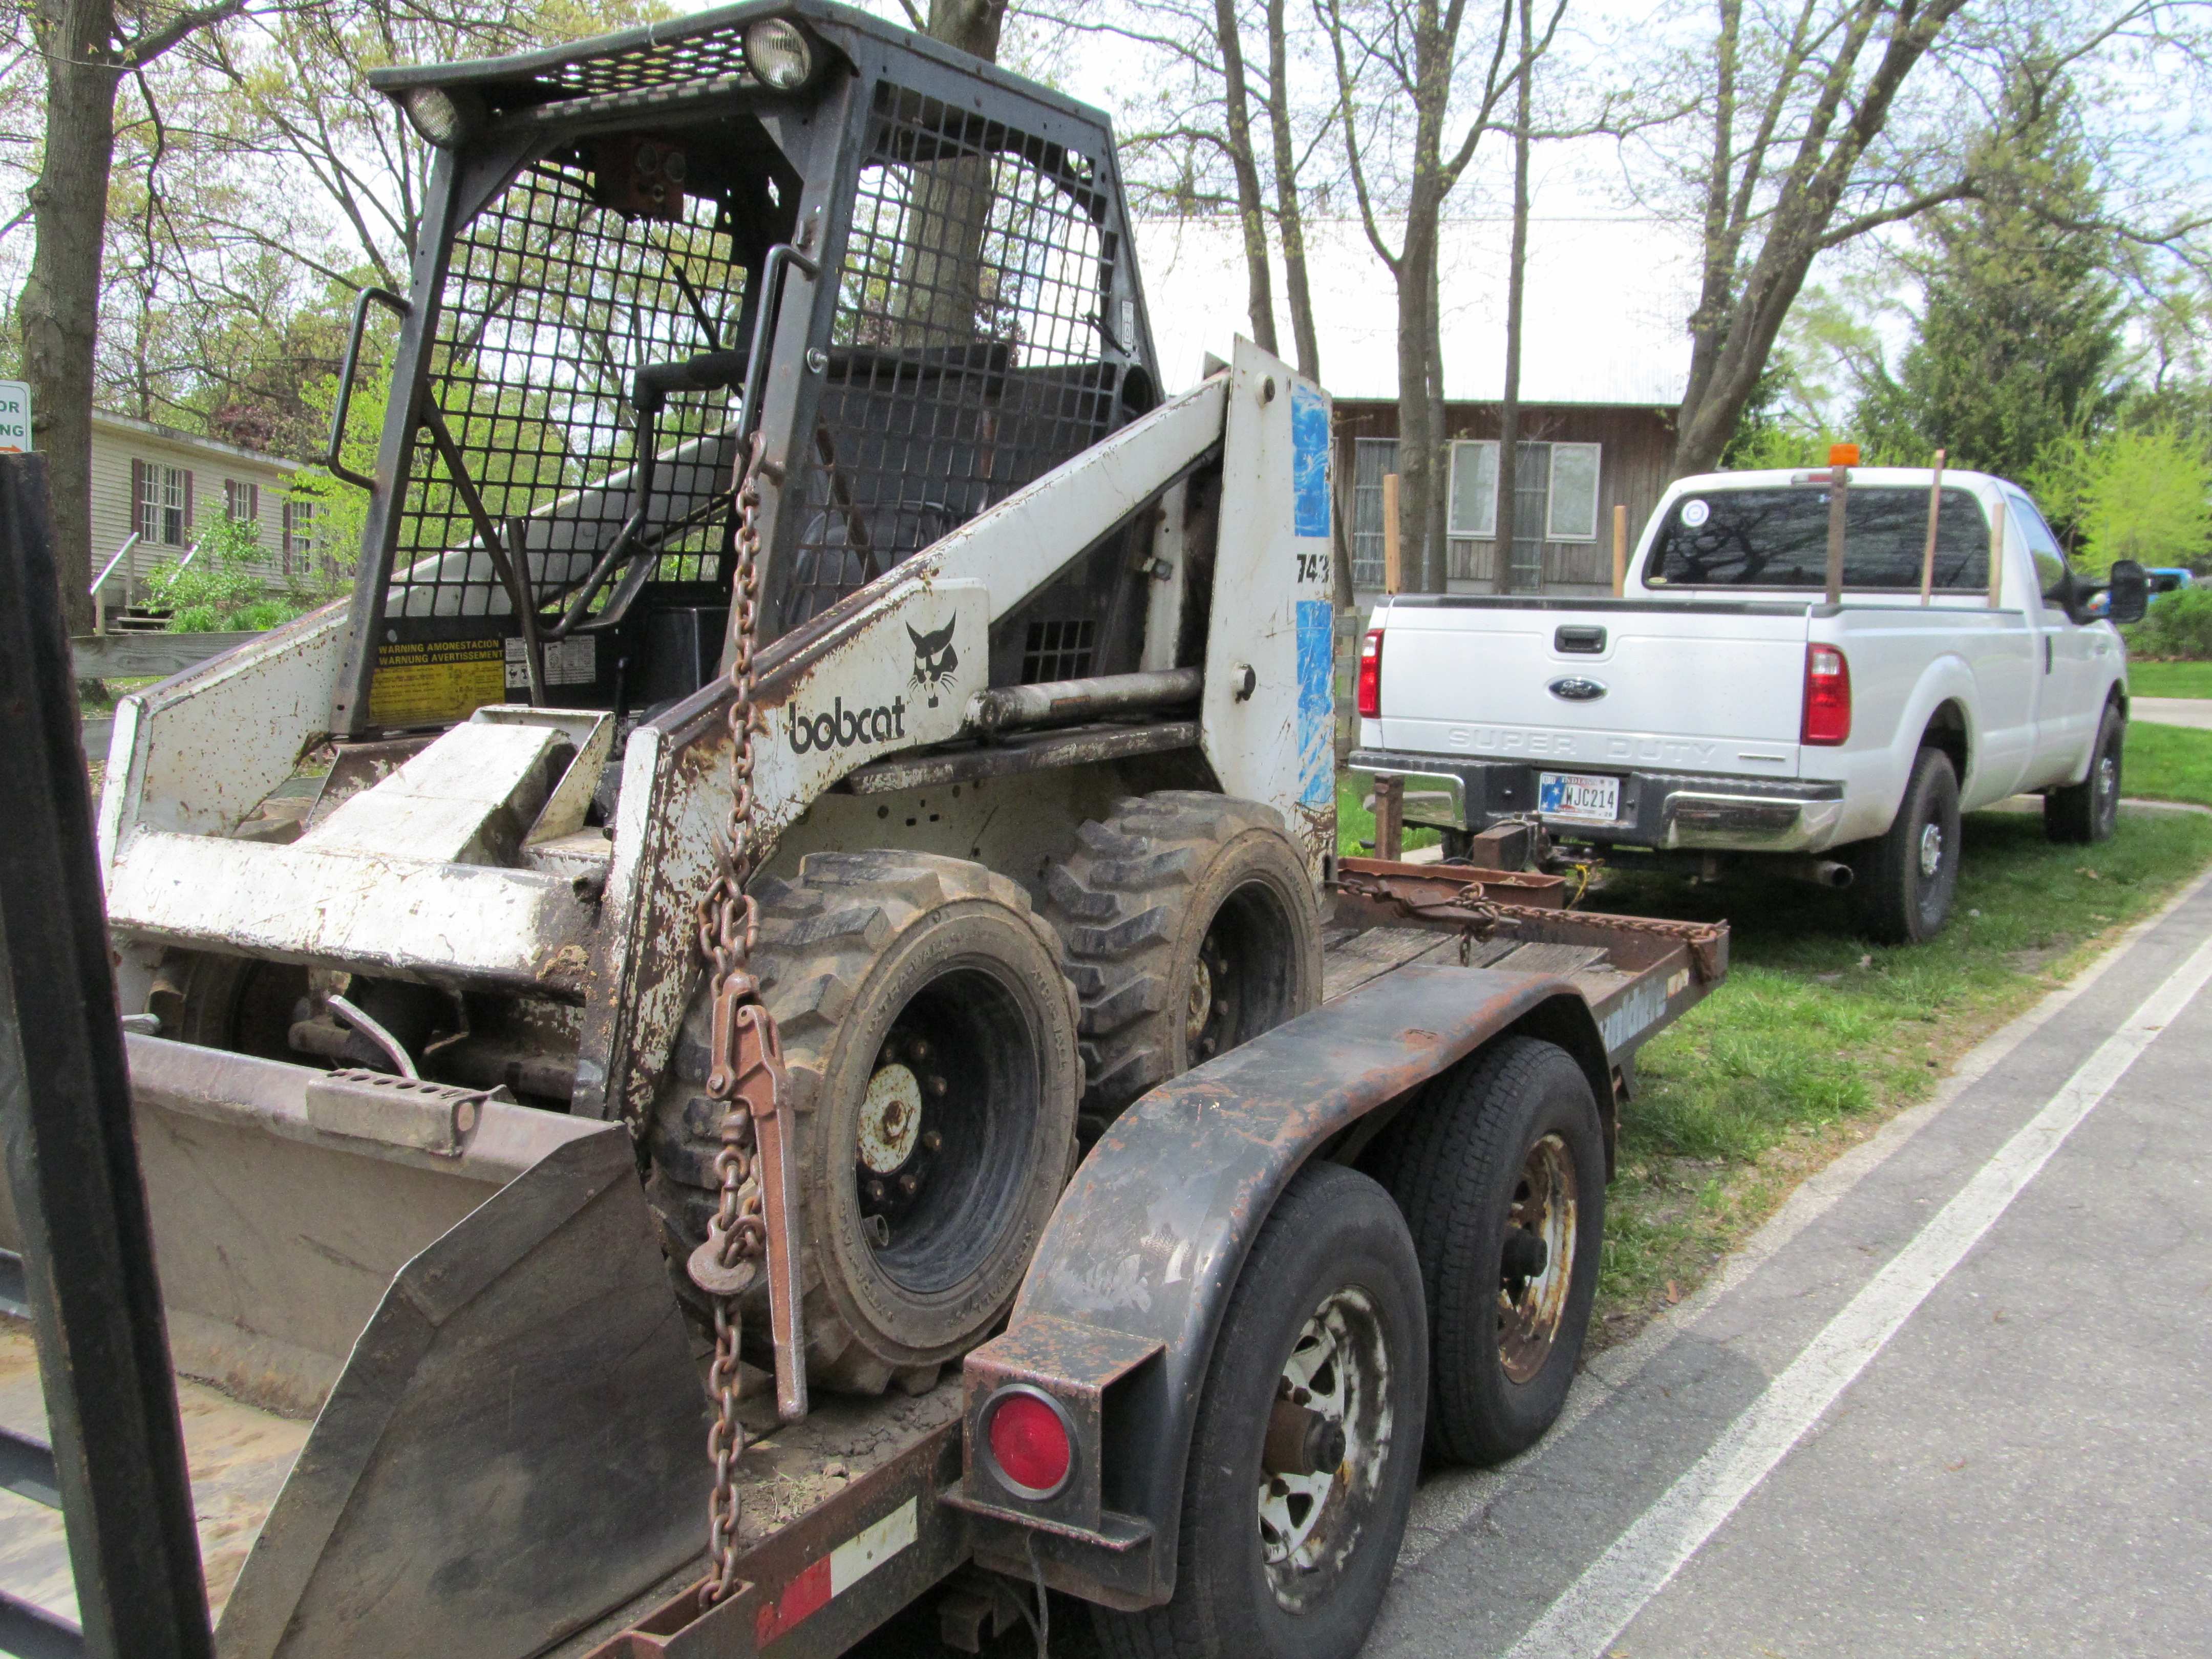
Started excavation with Bobcat

Broke ground May 16.

Trees cut to clear the site will be used as posts the house.
About the house:

Grreat share